By Mike Nesbitt | Contributing Editor
Recently the urge to have a new flintlock overwhelmed me.
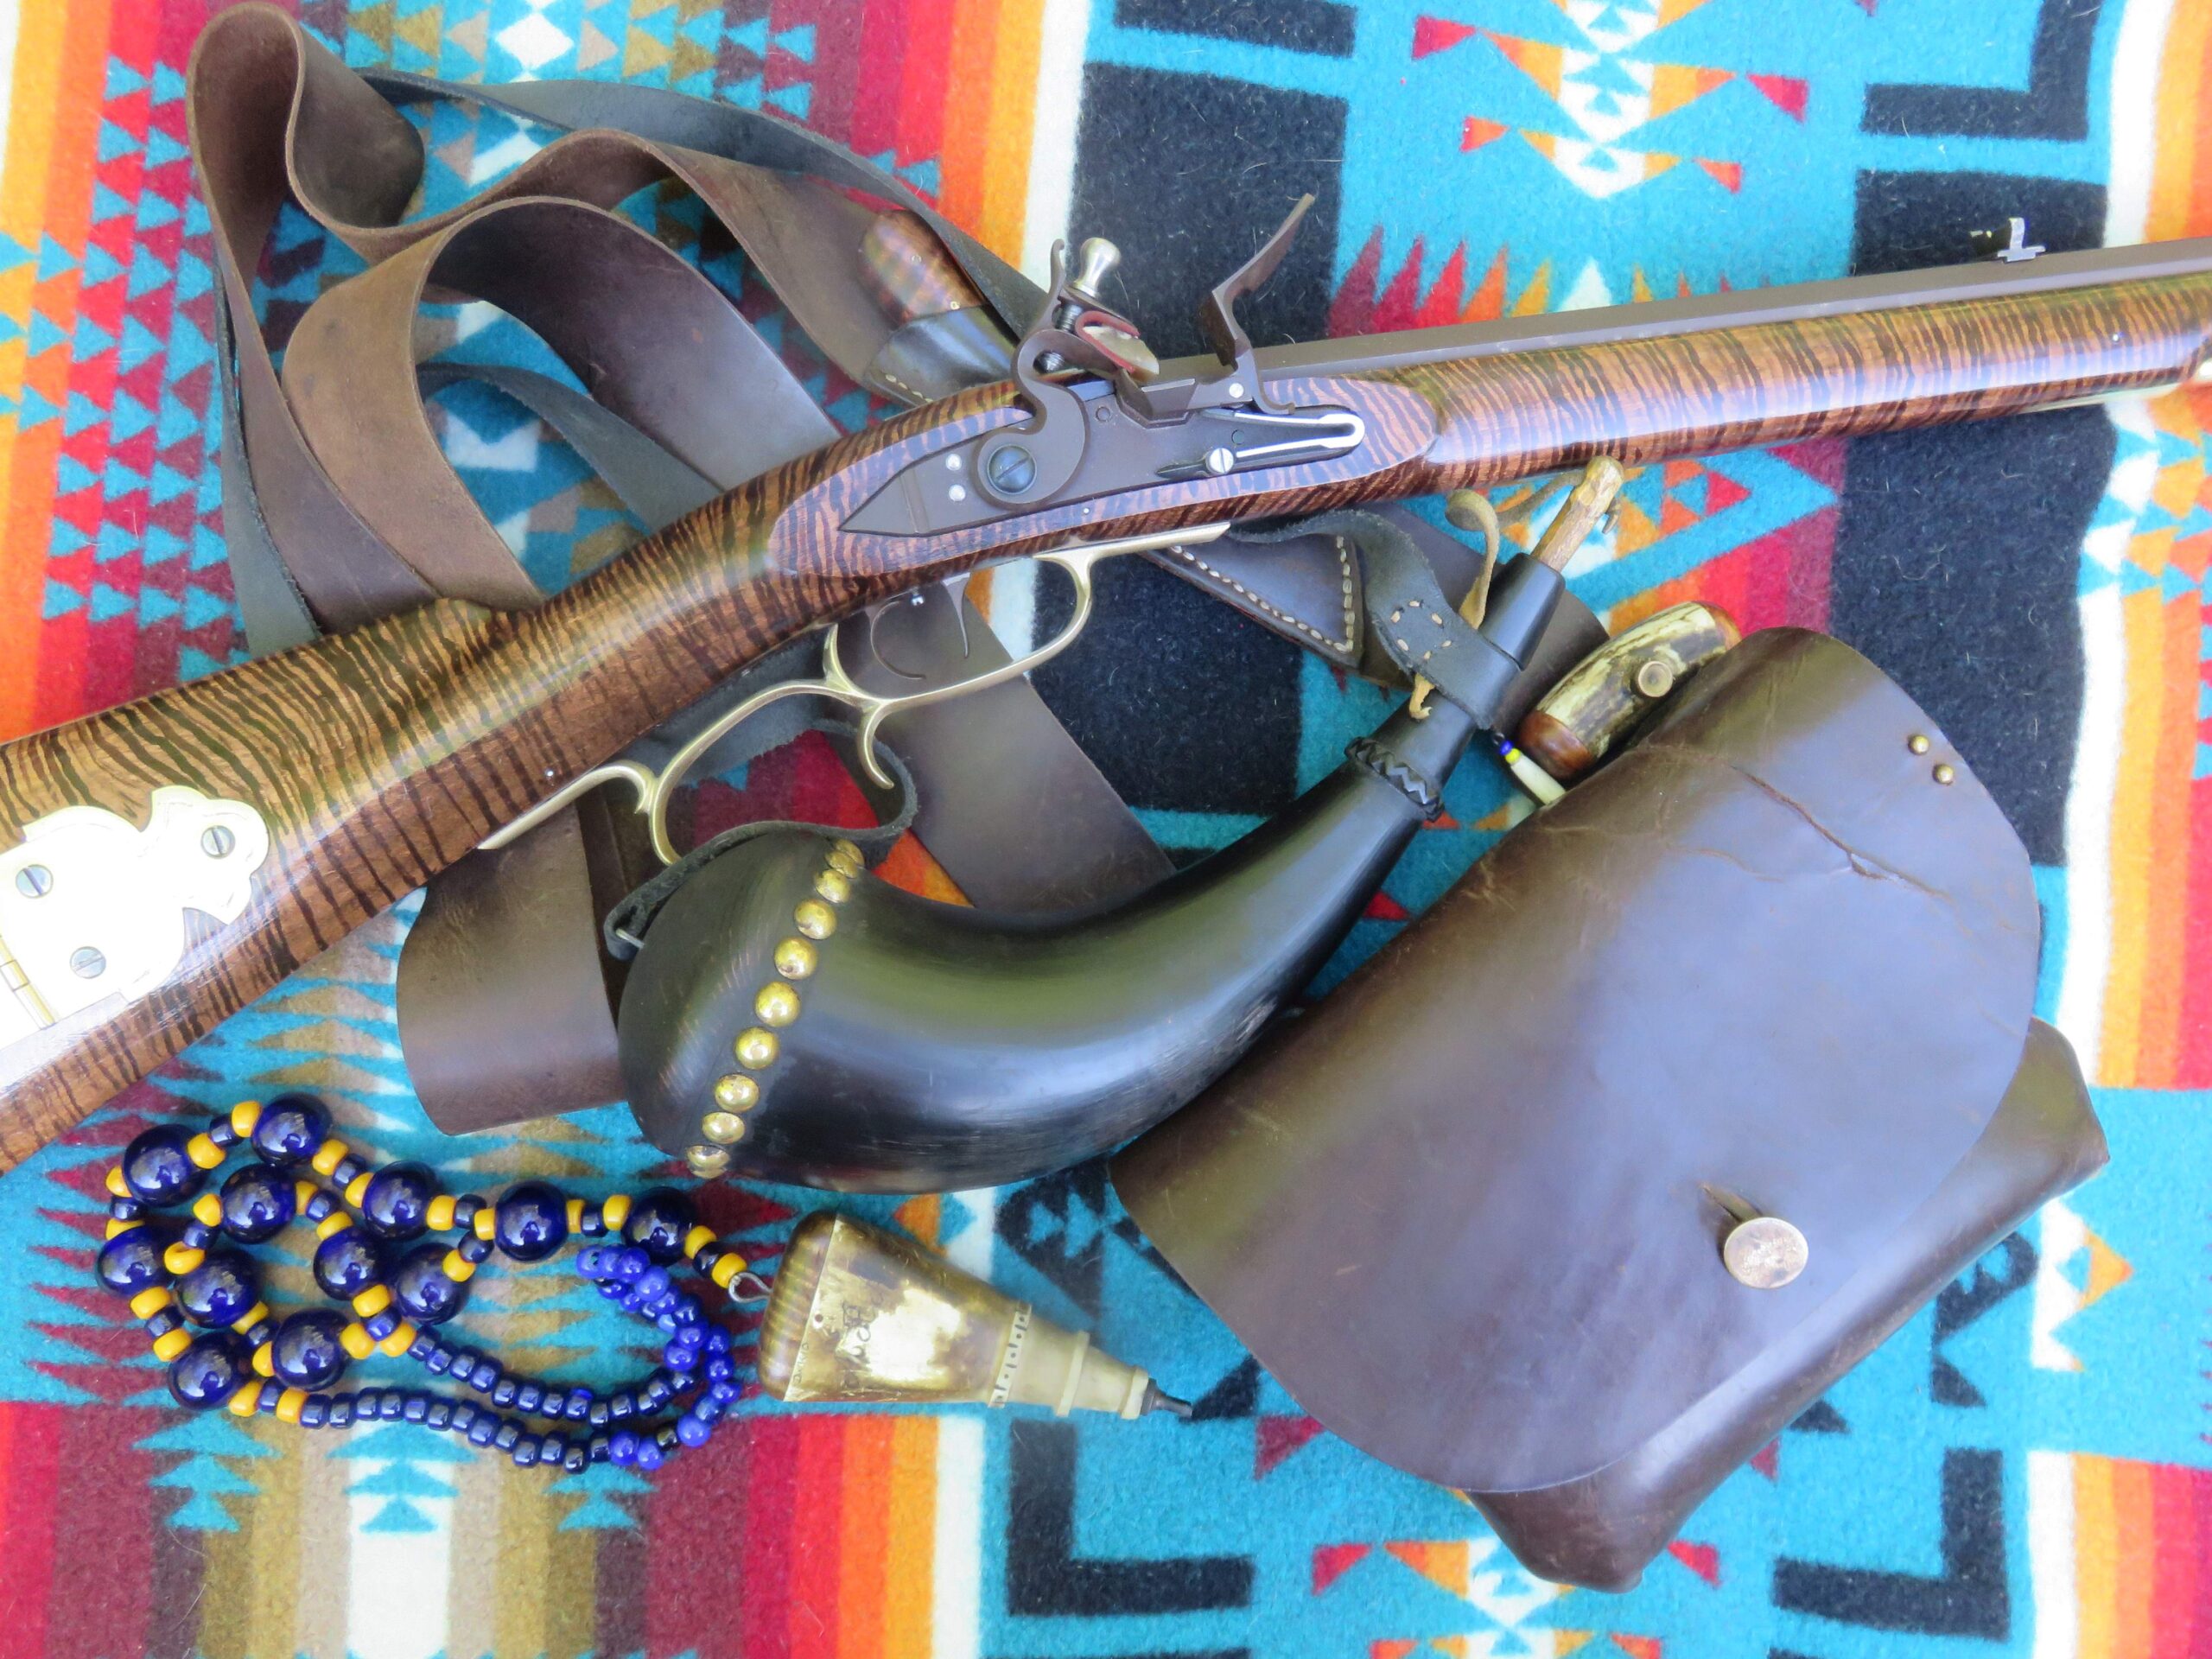
This probably surprises you… But the urge was quickly satisfied by ordering a ‘Standard Kit’ for a Late Lancaster rifle from Tennessee Valley Muzzleloading. Shortly after placing the order, even considering how busy TVM is nowadays, my kit arrived and the work was started. What developed from that kit is a very pleasing “one of a kind” Pennsylvania style rifle.
What I wanted, or what was pictured in my urge, was a fairly lightweight flintlock .50-caliber rifle to use on our muzzleloading trail-walks, for fun and for friendly competition. The guns I already had would certainly do the job but my lightweight Hawken in .50-caliber wasn’t a flintlock, and my Kunz-style .50 half-stock flinter was simply too long and heavy for what I envisioned. And that’s the beauty of custom handmade muzzleloaders, you can get exactly what you are looking for.
All you need to do is to build it.
So, contact was made with Tennessee Valley Muzzleloading to get a ‘Standard Kit’ of their Late Lancaster rifle. A “Lancaster rifle” is a muzzleloader styled after the guns made in Lancaster County, Pennsylvania and a “Late Lancaster” is styled much like the guns made after 1810 or so. If the buyer desires a rifle similar to the guns used in Colonial America, an Early Virginia rifle would be a better choice. For me, the Late Lancaster was it and I would modify the kit to represent a rifle from an even later era, about at the end of the Fur Trade Rendezvous period, just after 1840.
There is a definite evolution in all firearms and muzzleloaders are certainly no different. Things changed, and through those changes we can generally guess which era the gun was either from, if it is an antique, or what it might represent, when the gun is newly made.
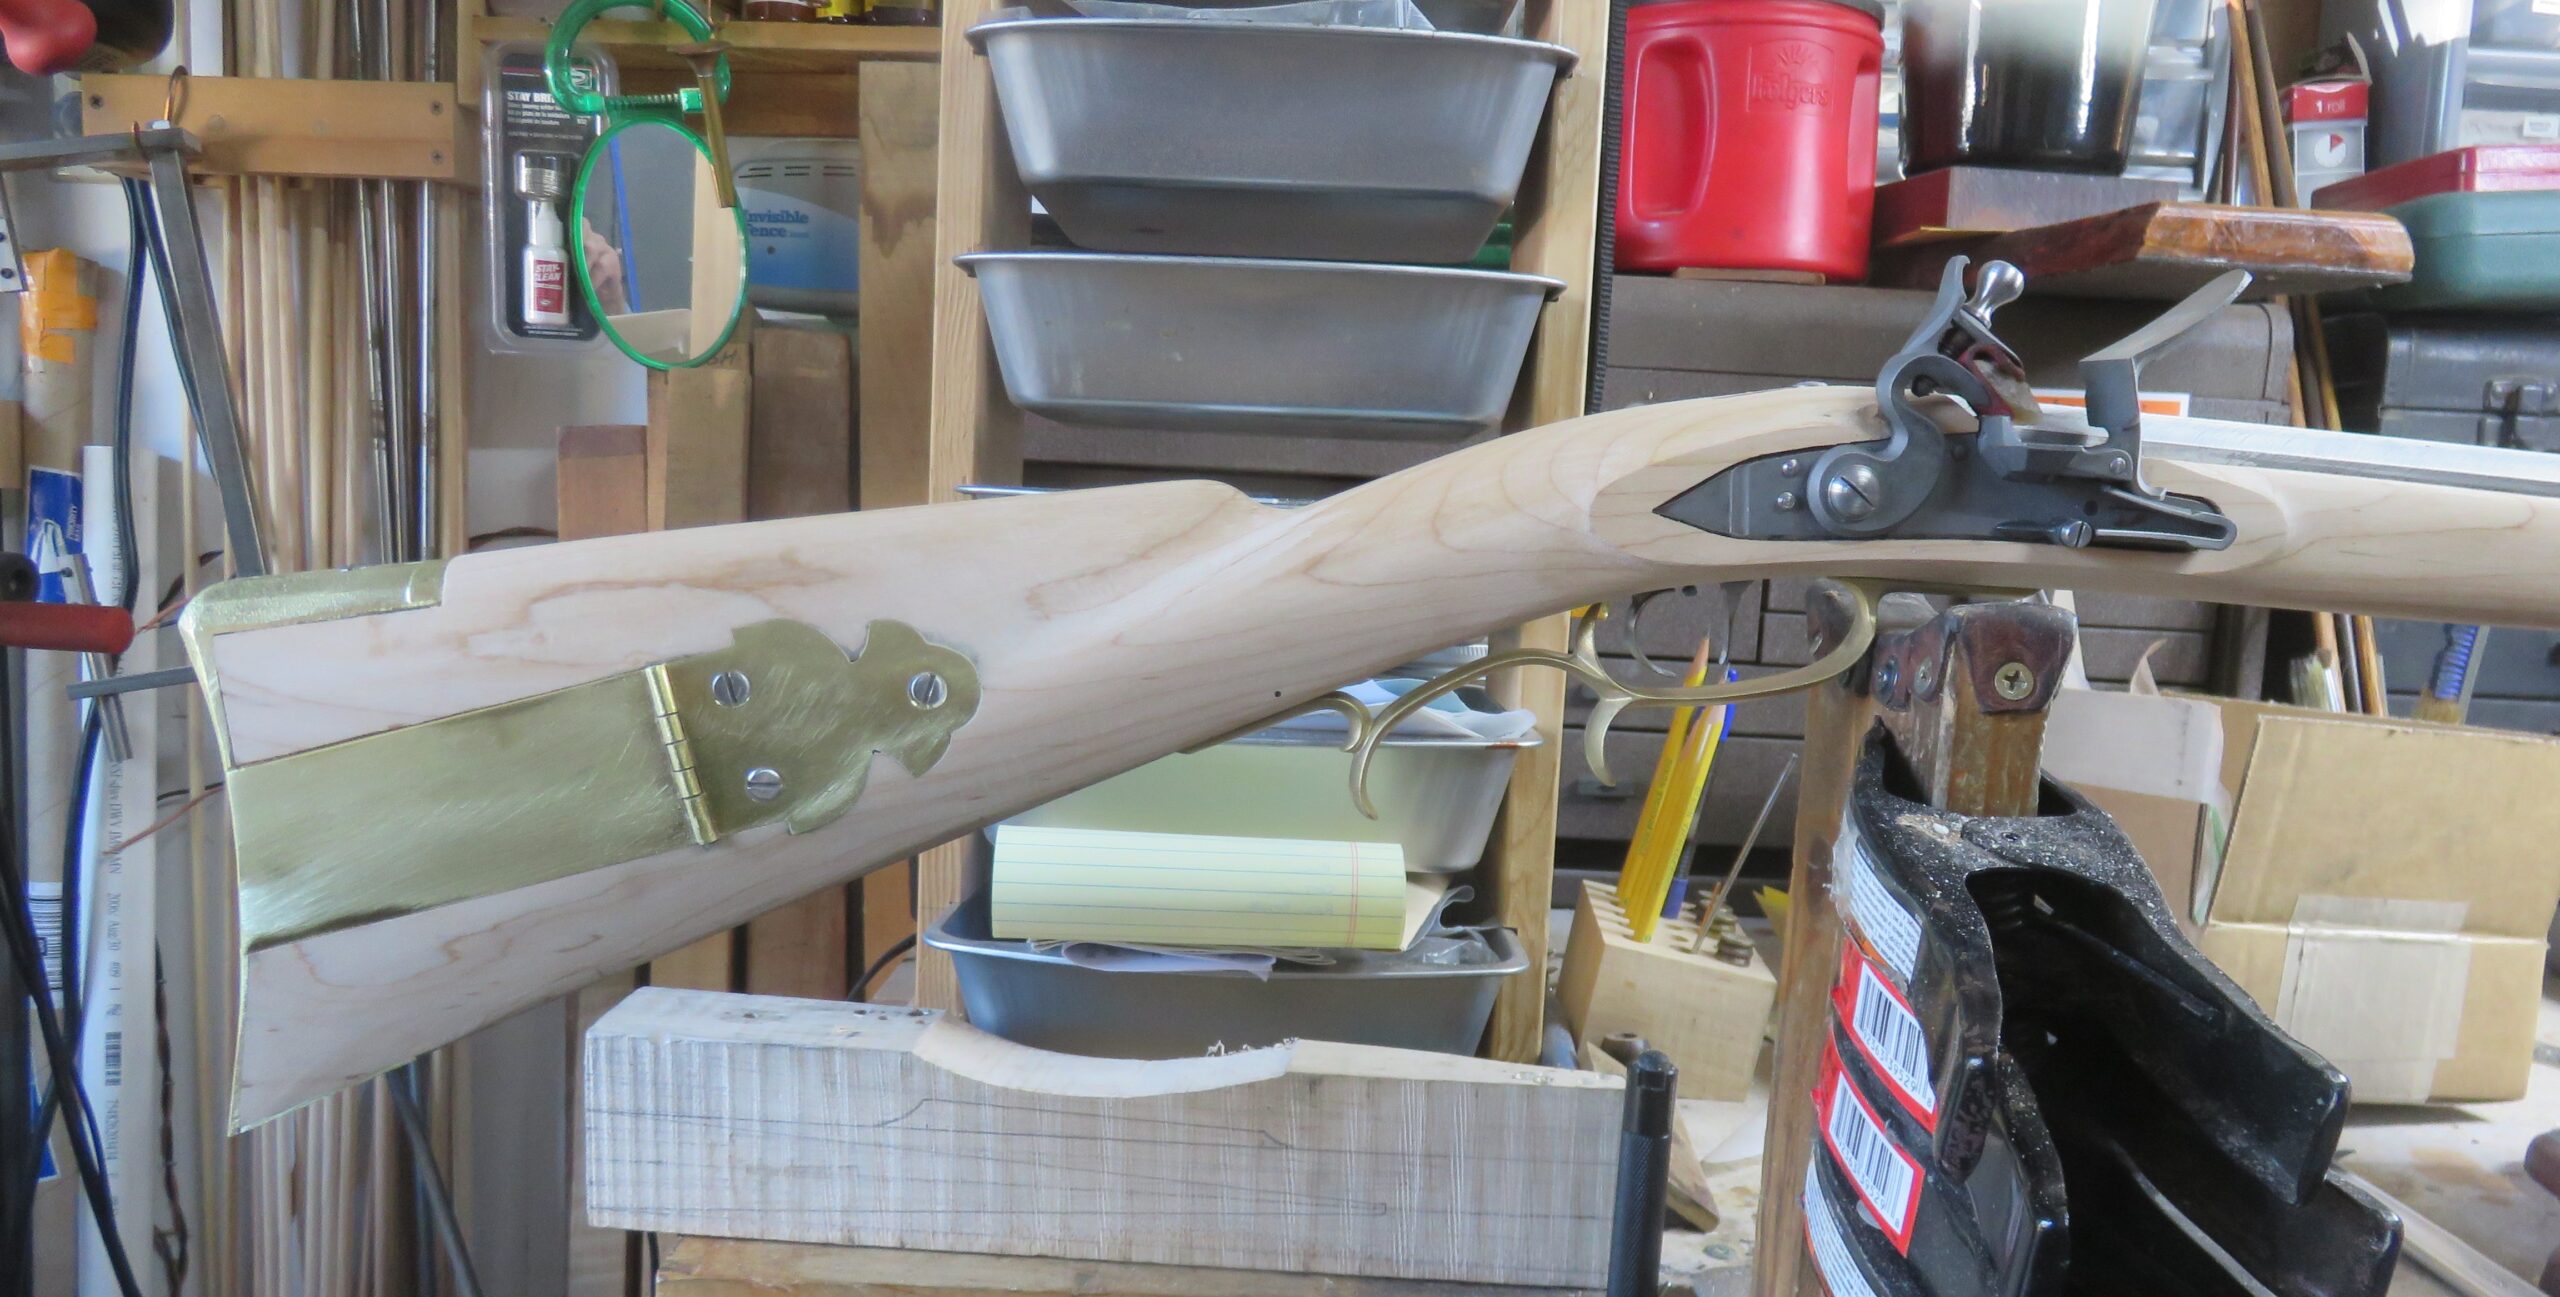
The rifles or rifle kits from Tennessee Valley Muzzleloading are certainly designed and built for the individual buyer. None of their rifle kits are in stock. They begin preparing the rifle kit after the order is placed. One of the first things they need to know is the length of pull, that important distance from the forward trigger (on double set triggers) to the center of the butt plate. When the stock for the kit is cut, the cuts for fitting the butt plate have priority. It is from there that the location of the lock, the breech of the barrel, and the triggers are all set. That is the best way to assure a good fit at your shoulder for the finished rifle.
The TVM ‘Standard Kit’ has several important things already done for the buyer/builder. The breech of the barrel and the lock, in addition to the triggers, are already located with the important screw-holes already drilled. The location of those “ingredients” are important so the flash pan of the lock will be properly aligned with the flash hole in the barrel. And the triggers need to be in alignment with the lock to properly trip the sear. Getting a ‘Standard Kit’ from TVM simply eases a lot of frustration for the builder.
TVM also makes a ‘Builder’s Kit’ for more experienced gun builders. They will also make completed rifles on order, built to the buyer’s wants and desires. Tennessee Valley Muzzleloading is located in Natchez, Mississippi and for a better look at what they offer, visit their web site at www.tvmnatchez.com.
So, my ‘Standard Kit’ for a TVM Late Lancaster was ordered, with a 13 5/8” length of pull, in .50-caliber, with a 7/8” wide Colerain barrel, 36 inches long. This kit included a large Siler flint lock, double set triggers, and all brass furniture. And I specified getting a very plain maple stock.
This rifle kit was ordered without a patchbox. So, a patchbox kit was ordered from Cash Manufacturing, then cut to the design you see fitted to the rifle. Another part that was added was the trigger guard with the added spur, which can be considered a “later feature.”
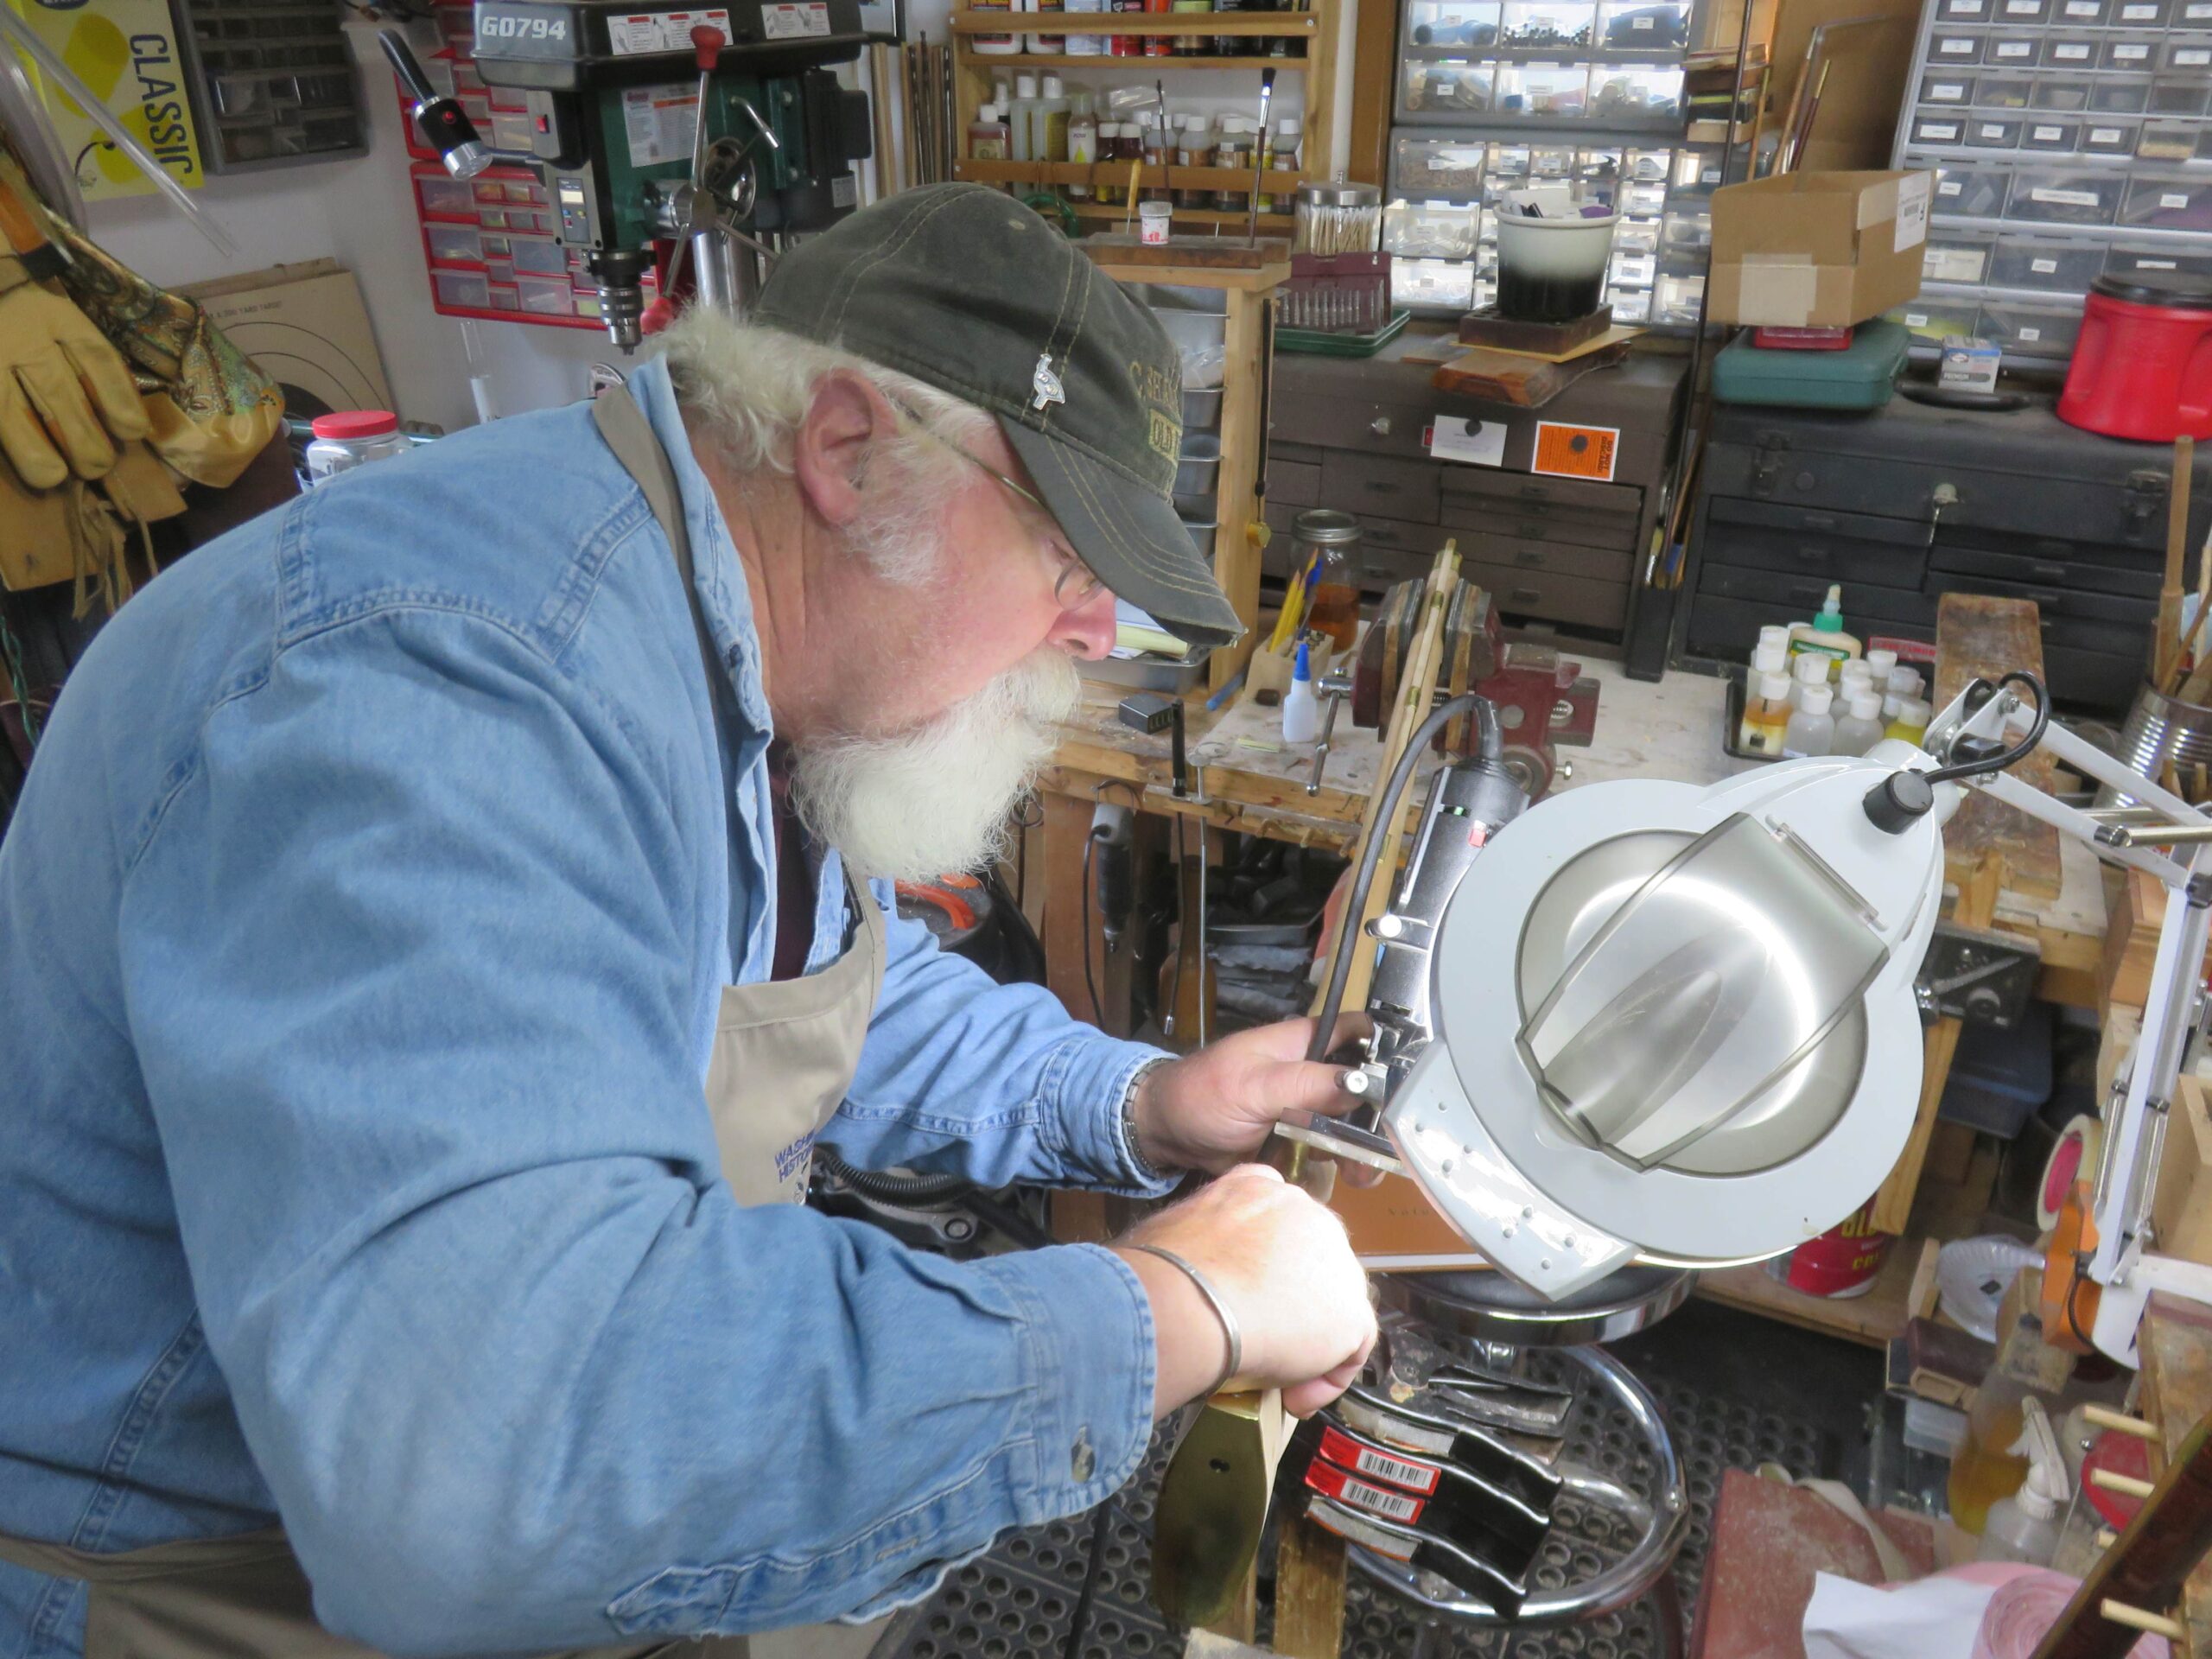
After receiving the rifle kit, it was taken to Allen Cunniff’s shop for assembly. And there is still plenty to do in getting one of these kits put together. The TVM kits are definitely not “screwdriver kits” like some of the mass-produced muzzleloader kits. Putting a TVM kit together still requires some “gunsmithing” and an array of good tools are needed. Allen has all of those tools and he invited me to do the work in his shop. Actually, Allen did most of the work in getting the rifle assembled and I certainly appreciated his help.
A couple of the little pieces for the rifle were actually made by Allen. One of those was the front sight. I wanted a silver blade in a copper base and I had one that was made by Cash Manufacturing. But that one didn’t fit the dovetail cut into the barrel by TVM. So, Allen simply made a new sight for the rifle. He’s a crafty guy…
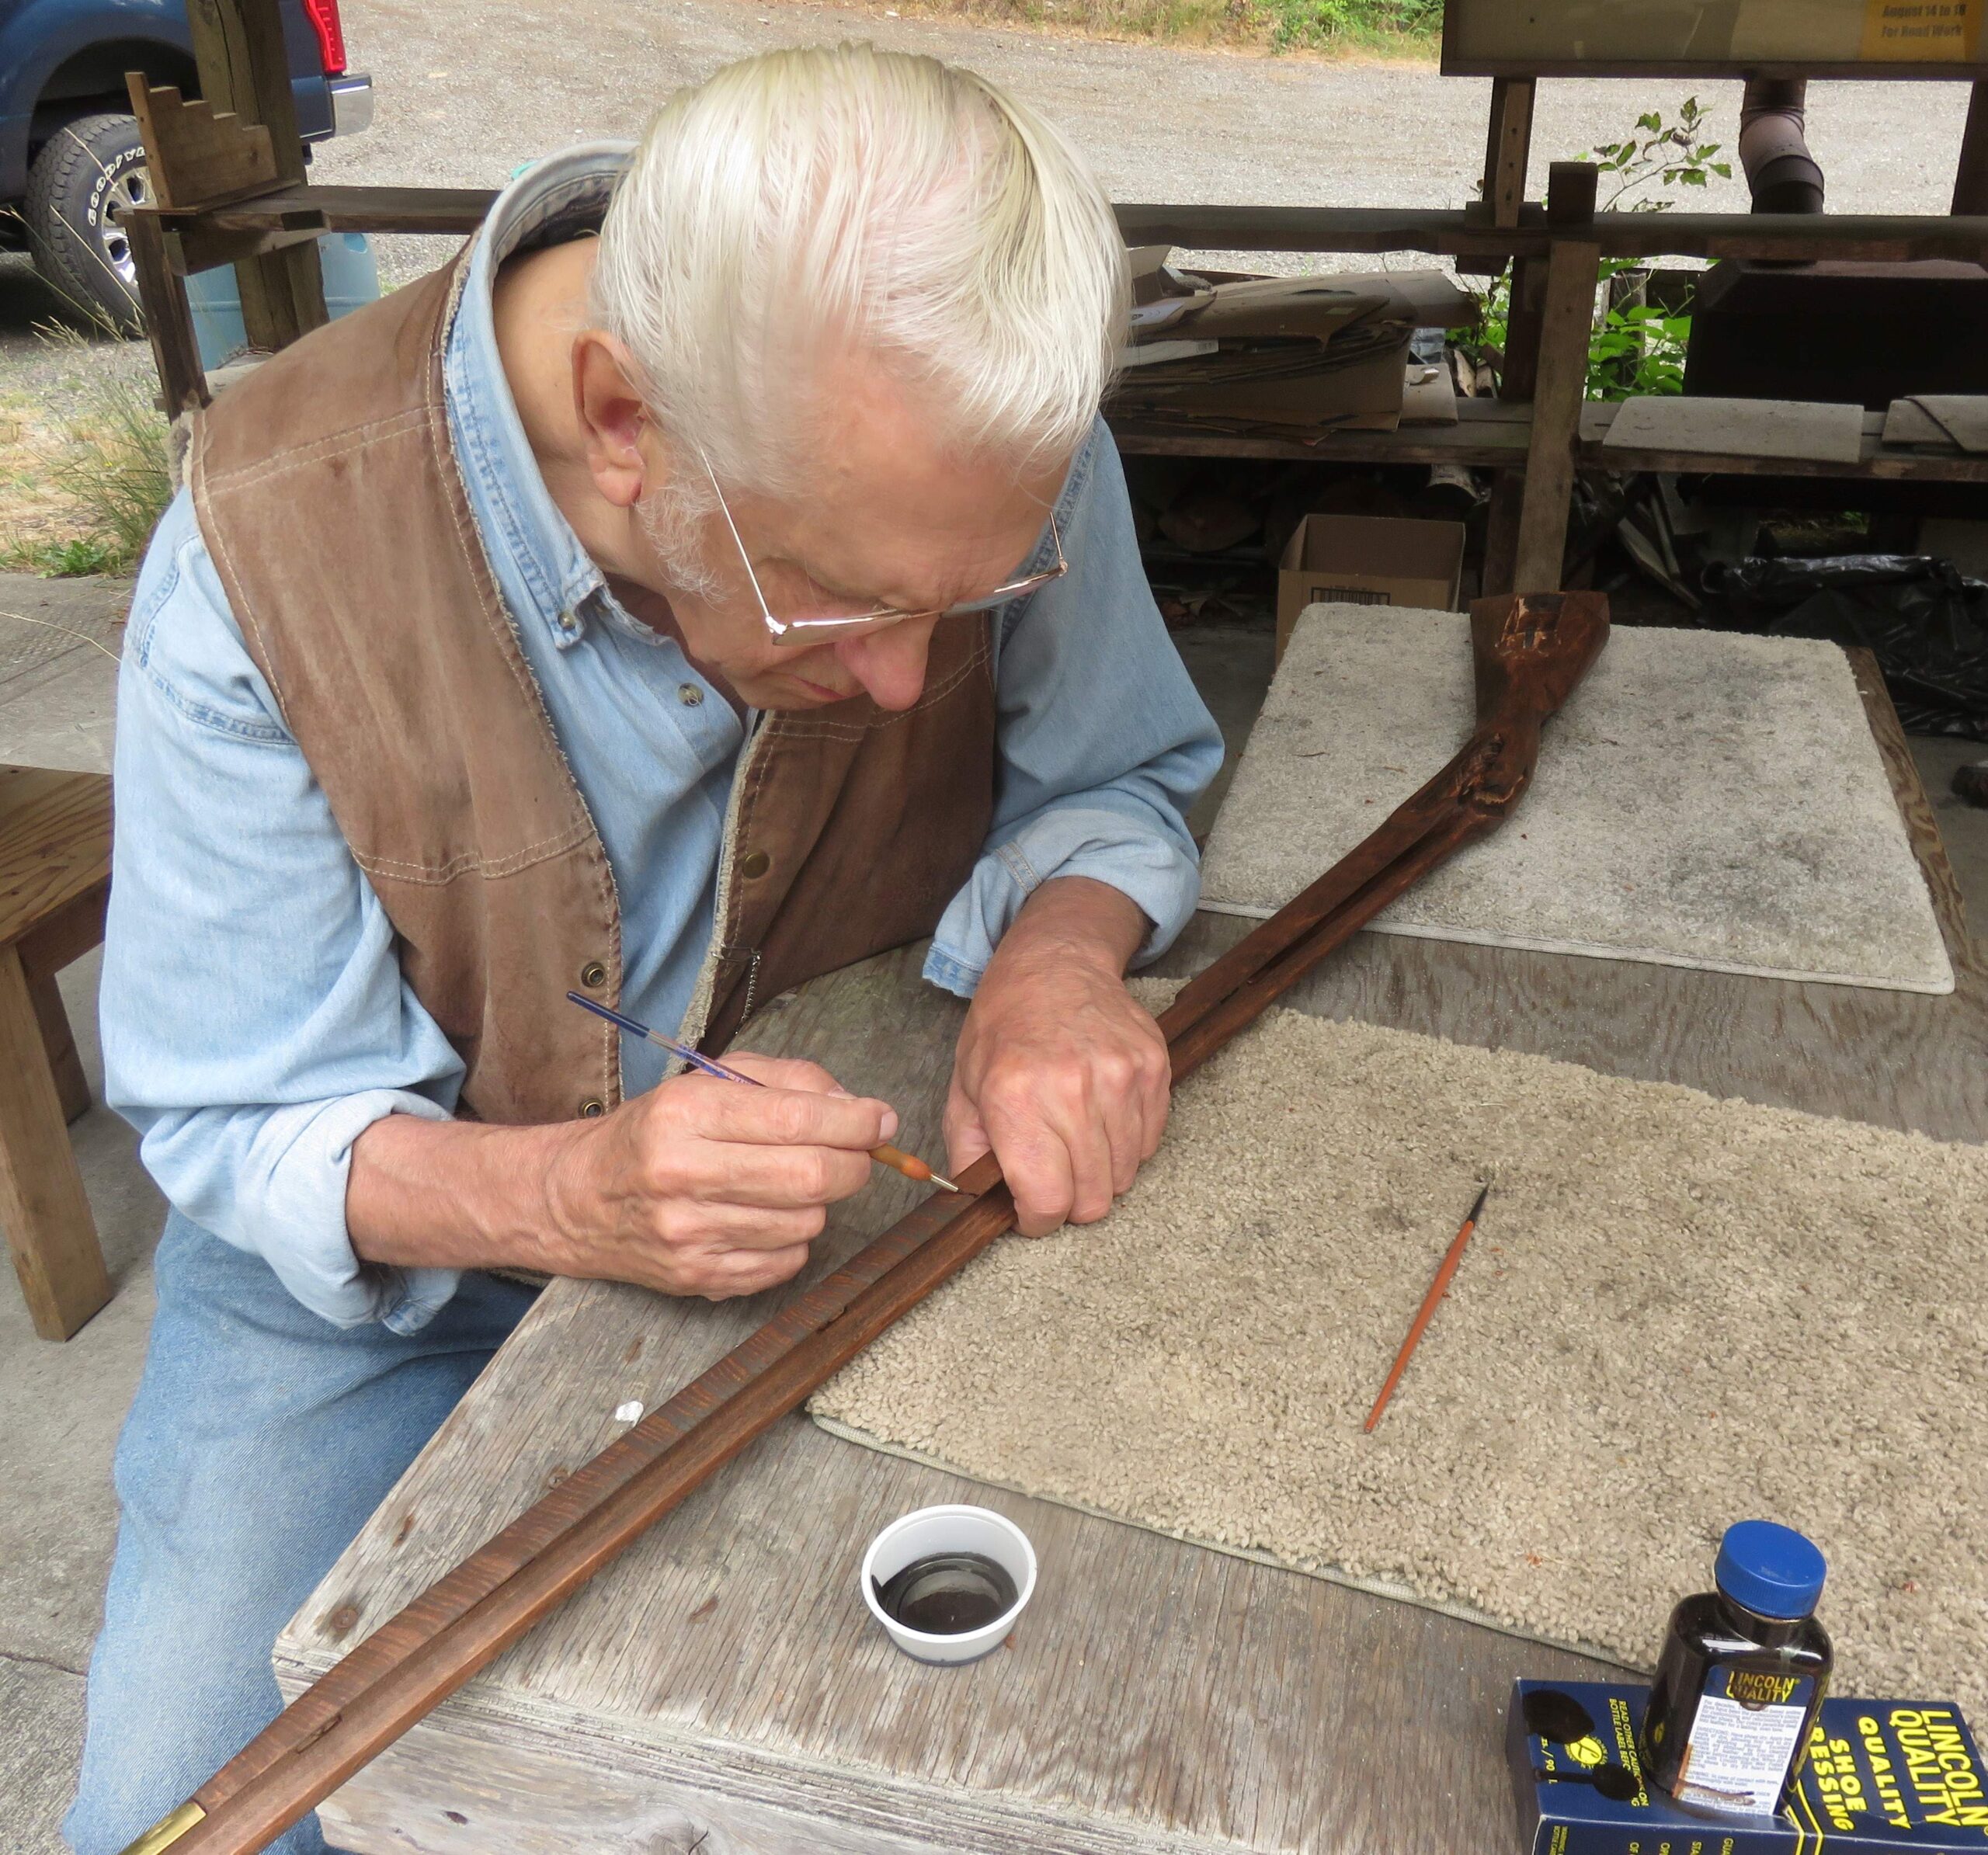
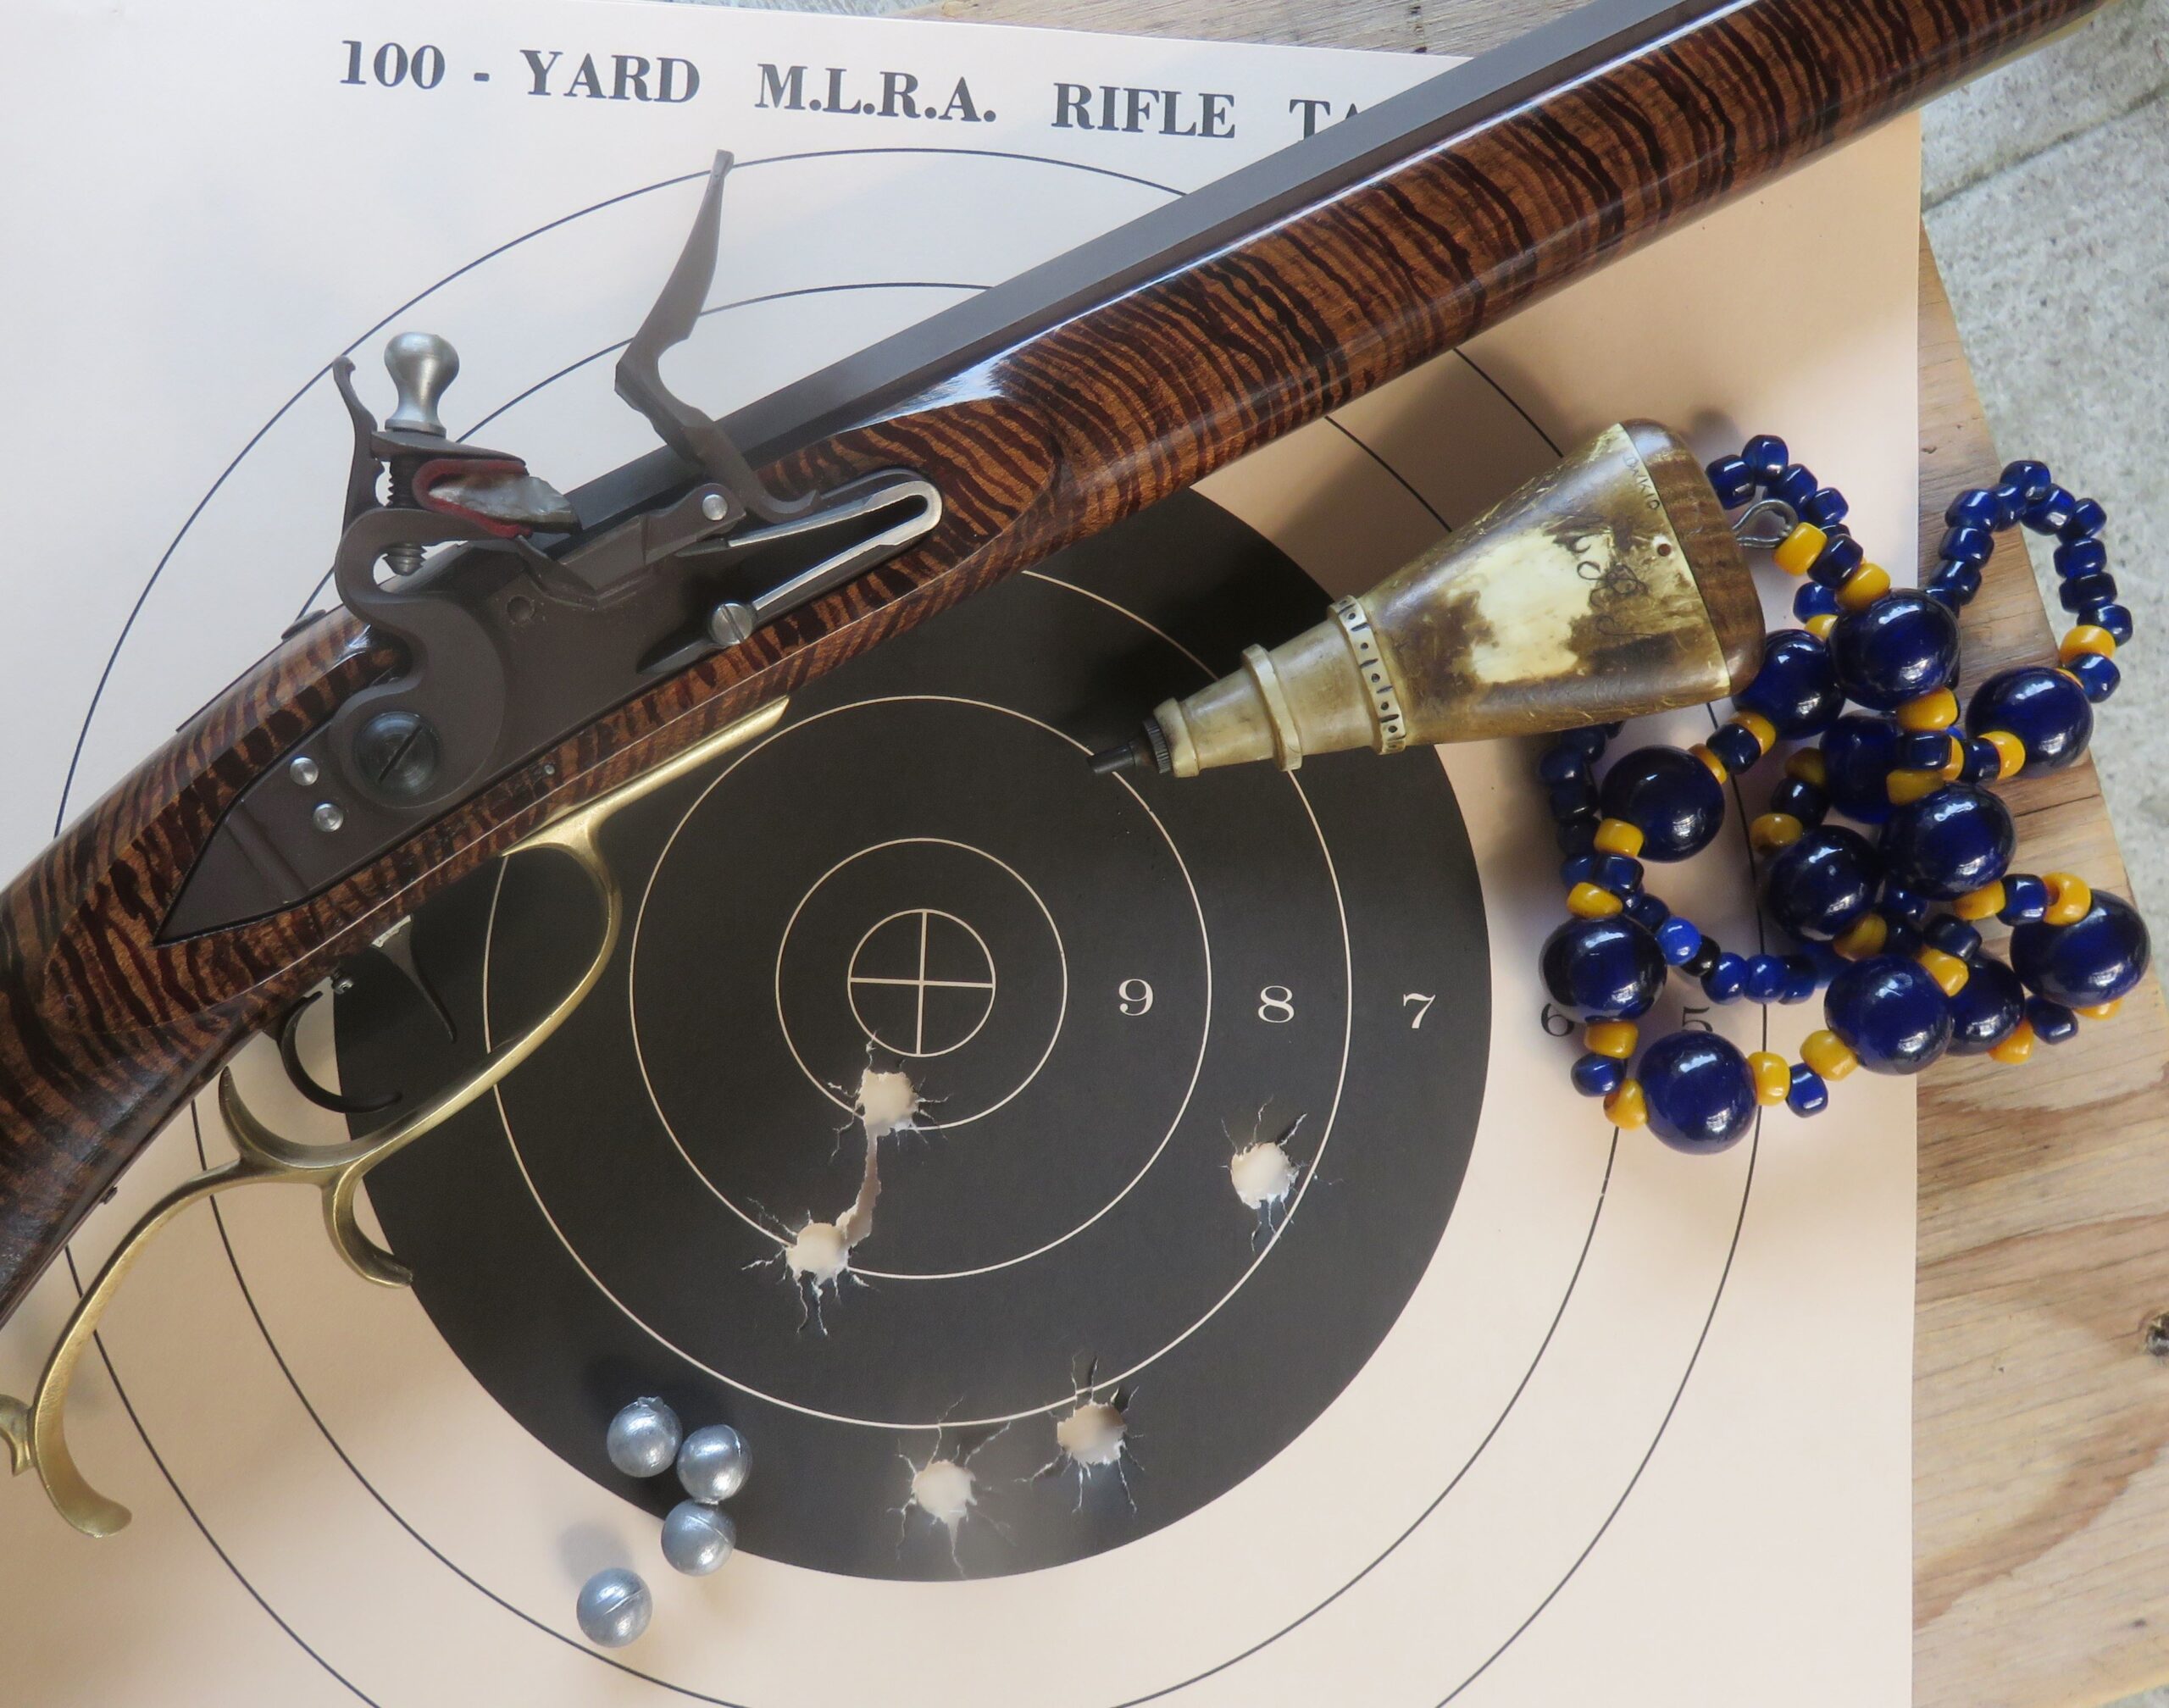
Once the rifle was assembled, it had to be taken apart again to finish the stock. That was my special job. The very plain maple stock was stained, with a dark walnut stain, and then the striping you see was added artificially. One late Lancaster maker was Henry Leman and Leman was noted for his artificially striped stocks. I like to copy that artificial striping and I do it with a very fine paint brush with dark brown leather dye. The tip of the brush is dipped just a little bit into the dye, then the striping begins. Lines are drawn very close together, continuing until the brush is “empty” and the line are no longer made. Then dip the brush in the dye again, just a little bit, and continue like that. Striping a stock takes time, about four hours for this one.
After the striping is completed and dried, on both sides, the stock is ready for its actual finish. For that I use Tru-Oil. Tru-Oil, some gunmakers say, is for beginners. Well, that suits me just fine. In addition to that, I like the finish and the protection it gives the wood. It is the finish that really lets the figure of the wood, and the artificial striping, stand out. I applied eight thin coats of the Tru-Oil over five days before taking the stock back to Allen’s to have the rifle assembled for the final time.

Then the rifle was ready to be fired and the first order of business would be to sight it in. It was taken to the range and only five shots were fired, three of them in a very outstanding way.
Our club’s black powder range has a loading bench all along the back of the shooting shed. This is quite common; rifles are leaned against the loading bench while powder and then patch and ball are loaded down the muzzle. Then the gun it taken to the firing line, either for offhand shooting or firing from a shooting bench, before it is primed. The priming, either by adding priming powder (4Fg) to the flash pan or putting a percussion cap on the nipple, is only done while at the firing position. This is practiced for safety, a very good general rule.
For my first target, a standard “100-yard” rifle target was posted at just 25 yards. That’s done to find out where the bullets are going because with muzzleloaders we don’t have the easy opportunity of bore-sighting the rifle.
My starting load was a light one, only 45 grains of GOEX 3Fg under a .490” cast ball, wrapped in one of October Country’s .015” Daisy patches. With the barrel containing that load, the rifle was positioned on the shooting bench, the pan primed, and with the sights aimed at the center of the bullseye, it was fired. That first shot was a good hit, right at 6 o’clock at the bottom of the black.
That pleased me and I had files along to use in filing down the front sight, in order to raise the point of the bullet’s impact. I’ll have to get to that later…
The second shot was loaded at the bench behind the firing line, then the rifle was moved to the shooting bench again. With the hammer at half-cock, the pan was primed and I sat down to get into a shooting position. The rifle’s muzzle was safely pointed down range while I pulled the hammer back to full cock. That’s when the rifle fired, all by itself! That, of course, startled me. But what surprised me even more was how that shot almost scored an X!
When something like that happens, I tend to wonder what I had done to make the rifle fire before the trigger was squeezed. At the same time, I was very grateful that the rifle’s muzzle was pointed in a safe and appropriate direction. (Develop those safety habits, they are necessities.) With those things on my mind, the rifle was loaded again.
Things were different this time. While sitting at the shooting bench, with the rifle primed and ready, I wasn’t quite aiming at the target yet while pulling the rear trigger to set the triggers. The rifle fired as I pulled the rear trigger… And, to my surprise again, that bullet scored rather well, in the 8 ring at about 4 o’clock.
A shooting partner had been watching and he asked me if my triggers were reversed, with the set trigger at the front… I had to tell him that wasn’t the case, that my new rifle had fired prematurely again.
Allen showed up at the range about then and he got to witness the last two shots. One of those fired prematurely as well and that shot scored a 9; a surprise again, because once more the rifle was only pointed down range and not aimed. But my final shot was fired in what we might call the normal way, by aiming and squeezing the front trigger. That shot scored almost next to my first shot, which was my only other aimed shot. So, the rifle is shooting very well, just hitting a little low.
The cause of the premature firing is simple. Allen had fitted the triggers and he had simply done his job too well. The fitting was tight enough that the sear bar could not drop sufficiently for the sear to completely engage the full-cock notch in the lock’s tumbler.
One way the rifle could have been fired properly would be by setting the trigger first, then cocking the hammer. Setting the trigger would lower the set trigger lever beneath the sear bar which would allow the sear bar to drop a tiny bit further, also allowing the sear to completely engage the full-cock notch in the lock’s tumbler. But setting the trigger first is not my general habit.
Correction for the situation can be done in at least a couple of ways. The triggers can be lowered slightly, either by removing some of the material from the top of the trigger levers or by adding a permanent shim in the stock so the entire trigger mechanism won’t be fitted so deeply. Or the sear bar can be ‘raised’ either by thinning it somewhat or by heating and bending it higher. Any of these corrections will do and with that done, my new rifle should be quite perfect, for my habits or otherwise.
Those are the only five shots fired with this new rifle so far. And, as you can easily see by the group on that target, this rifle really wants to shoot well, even if it has to do it itself!
I’m certainly looking forward to getting the rifle properly sighted-in and then using it on the trails, just what the rifle was built for. And because of its intended use, plus my admiration of it so far, I’ve already named the rifle. This is my “Trailblazer.” I’m sure you’ll be reading more about it.


