By Mike Nesbitt | Contributing Writer
In this discussion about cap & ball revolvers we’ll be talking about loading, shooting, and cleaning those historical guns, but not necessarily in that order.
The reason for that is because too many shooters try a new revolver by loading and then trying to shoot before they’ve given the gun a good cleaning. So, cleaning the gun, even though it might be unfired, actually must come first. And with that first cleaning, some special attention is highly recommended.
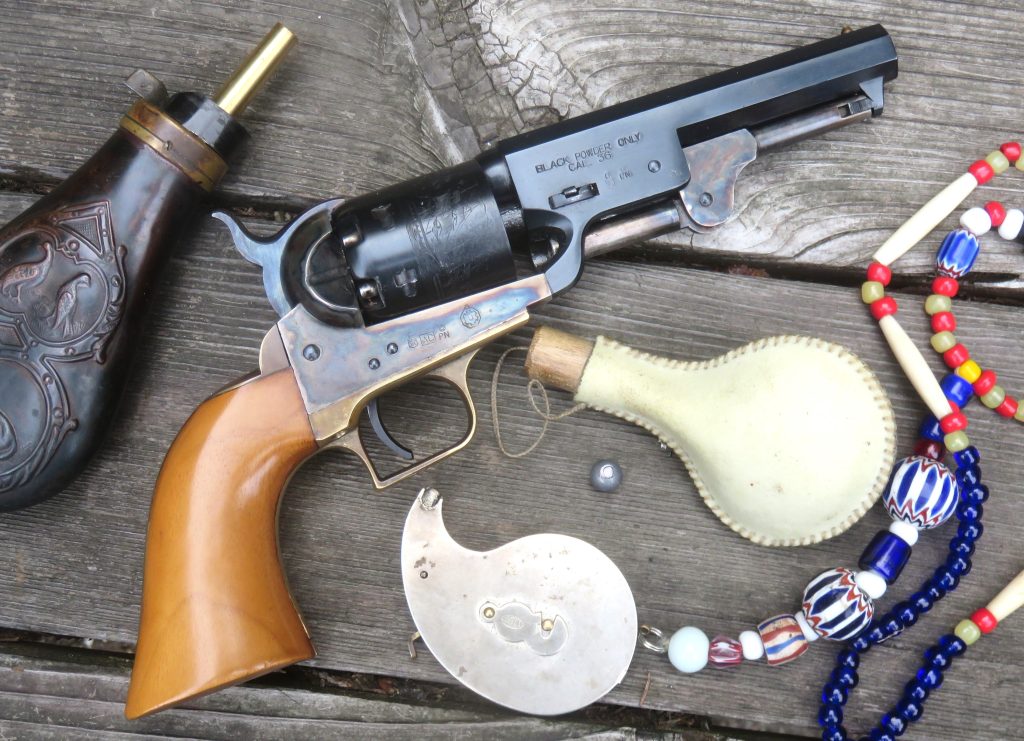
The guns we’ll focus on right now are the replicas of the open-top Colt revolvers, or the real ones if you happen to have a good original to shoot. For the points that will be covered in this short tale, the main differences between the Colt style guns and the Remington style revolvers is the way their cylinders are removed. While I do favor the Colt style guns, I will try to include the Remington guns as we go along.

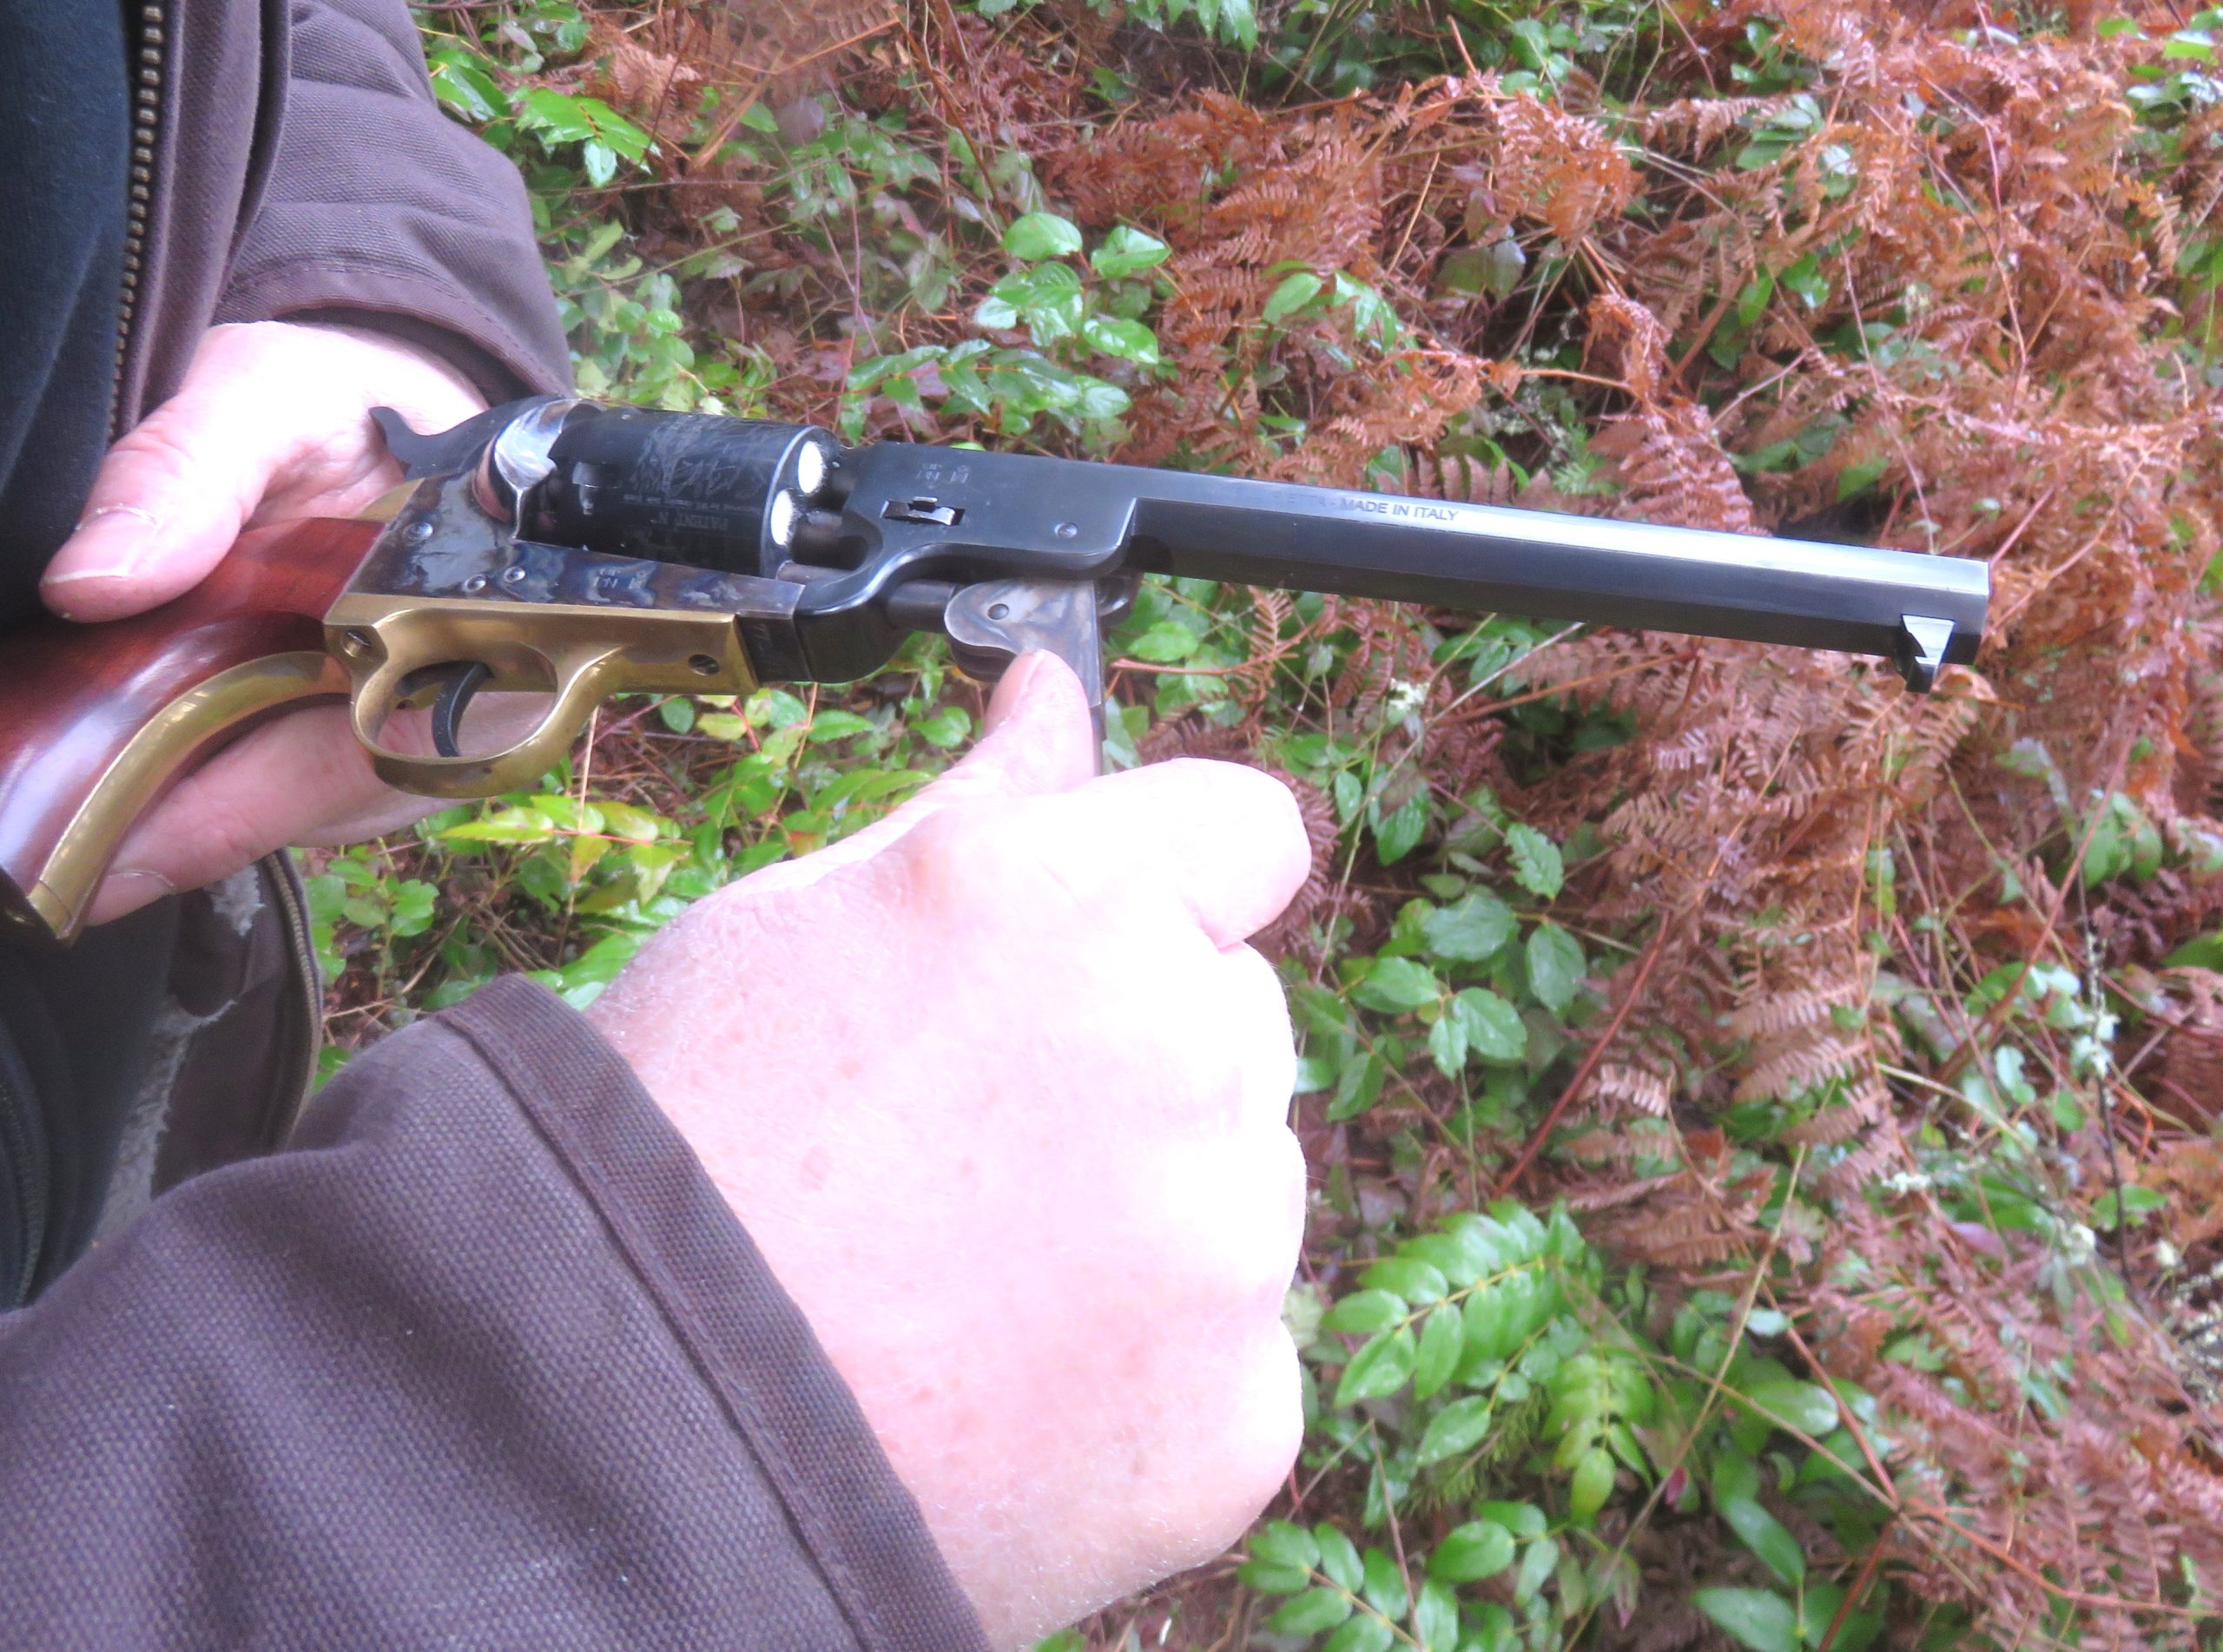
Before shooting a new Colt replica, we need to remove the cylinder. That is done by popping out the wedge that holds the barrel to the frame. To do that, I use a plastic-handled screwdriver and tap the wedge with the handle to start with. Then the blade of the common screwdriver is used to drive the wedge out. That wedge won’t come all of the way out unless the retaining screw is removed but it doesn’t need to be completely taken out. Just be sure it is loose to the feel so it won’t still have a “grip” in the slot through the gun’s base pin.
With the wedge loosened, we should be able to remove the barrel which will seem like the front half of the gun. The barrel might be tight at first but it should come right off. Then we can remove the cylinder with ease and that’s the part we need to give attention.
On a Remington style revolver, removing the cylinder is actually easier. Just drop the loading lever and pull the base pin out, then remove the cylinder to the right. That is much like removing the cylinder from a Colt Single Action Army.
While those cylinders are removed, we can swab out the chambers, cleaning out any excess oils that might have been used to protect the gun parts. But the main objective is actually the base pin which the cylinder rotates around. On the Colt style revolvers there are threads around the base pin for holding grease. Oils won’t do the job. Use grease, a non-petroleum grease is best. What I use is “Bumblin’ Bear Grease” from October Country. Go to October Country for other black powder needs as well and visit their website. Fill the threads around the base pin generously with grease. Without that grease, black powder fouling can be blasted in at each shot and in only a few shots the gun can get so fouled that the cylinder can’t be turned. So, grease it up before you shoot and grease it again each time you clean the gun.
After the base pin and the cylinder are well greased, it is time to put the gun back together, or, if you’ve got a Remington style gun, put the cylinder back in. We’re getting ready to load the cylinder’s chambers with powder and ball but there is one thing to do first. New cap & ball revolvers are generally so well-oiled that the nipples are often blocked with oil, sometimes gummy oils. To clear those nipples, let’s snap a cap on each chamber. One cap is usually all it takes and if you see smoke lingering in the mouth of the chambers, you can bet the nipples have been cleared.
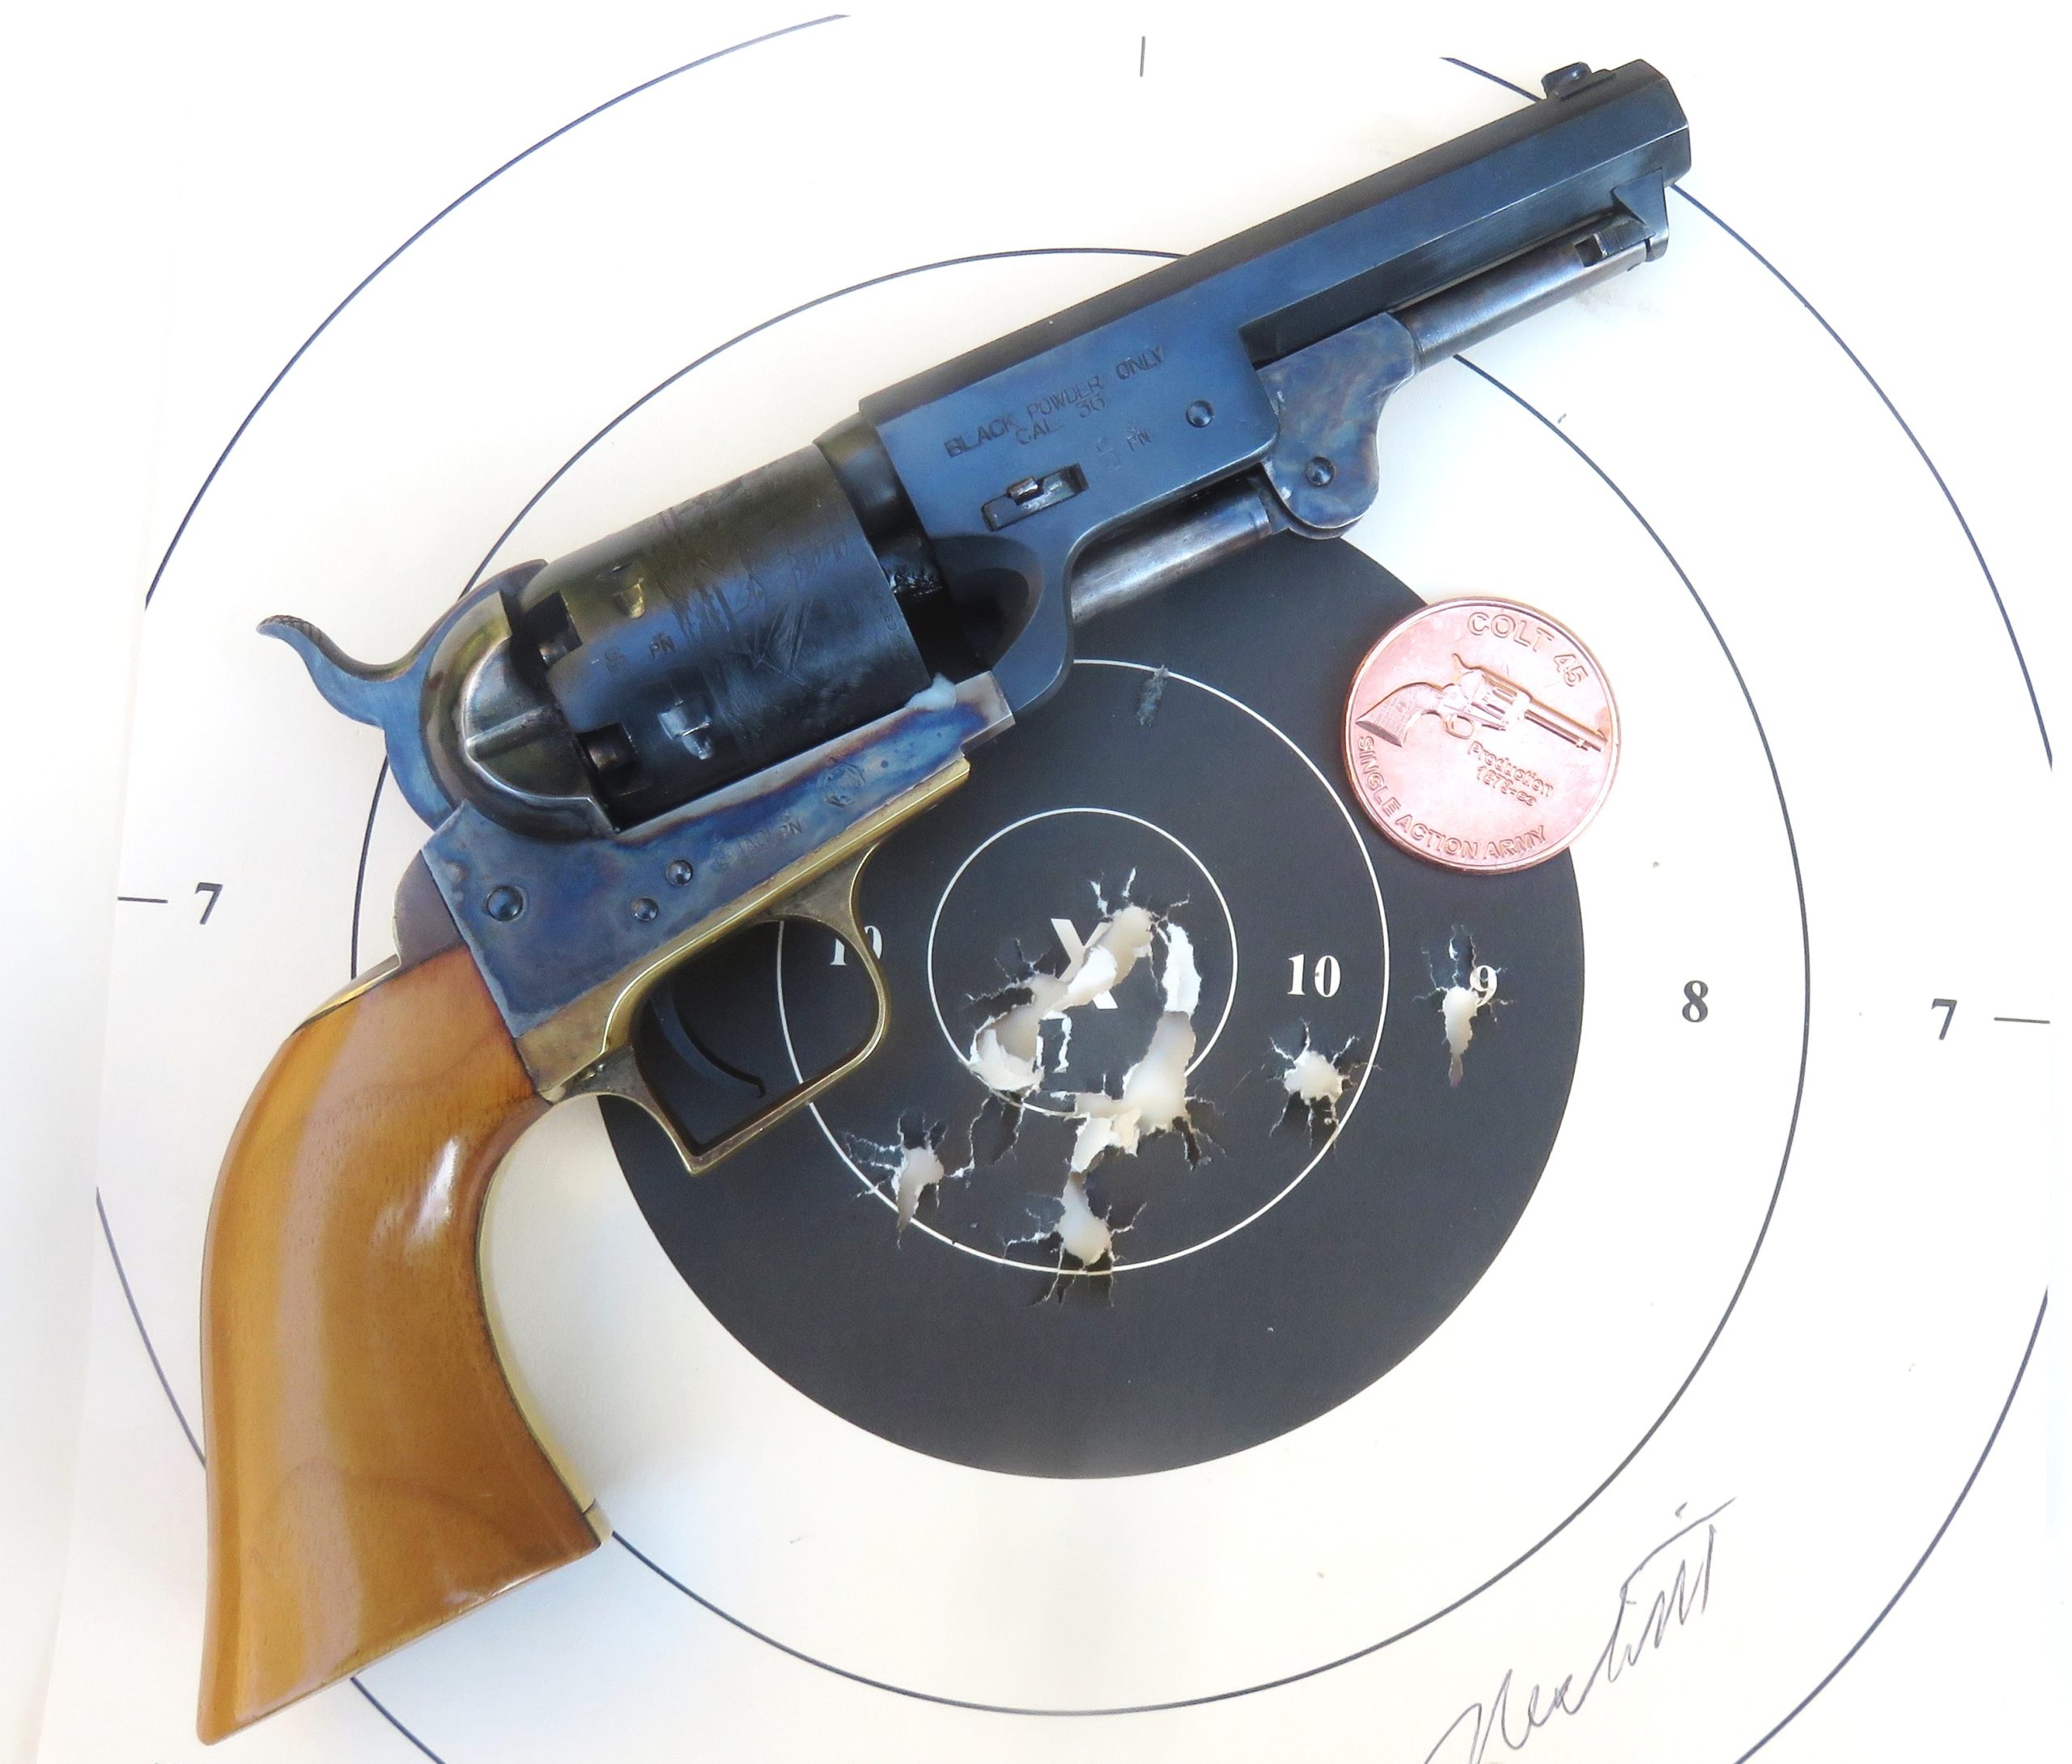
Then it is okay to charge the chambers with powder. That powder can be almost any black powder, the choice is up to you. The amount of powder is also up to you, although maxing-out at how much the chamber will hold. For my own shooting with a replica of the Colt 1851 Navy Model, the powder charge used is 22 grains of Olde Eynsford 2F. That’s a good powder, and rather clean burning, giving almost 100 feet per second more velocity than the same amount of GOEX 2Fg powder.
Some shooters charge all of the chambers before adding the bullets, like Jerry Johnson, but I’m somewhat afraid that I’ll spill, so I charge one chamber at a time and then seat the ball in that chamber before charging the next chamber with powder.
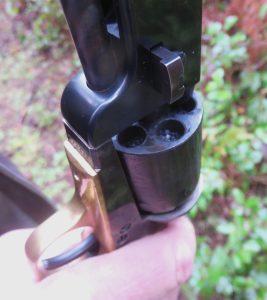
Adding the ball over the powder is easy enough. Simply drop the ball into the chamber, then rotate the cylinder so the ball is under the rammer, and force the ball into the chamber with the loading lever. I like to force the ball back as far as it will go. Certainly, the ball must be seated deeply enough that no part of the ball is higher or forward of the front of the cylinder. If a part of the ball is protruding, the cylinder won’t be able to turn to line up for the shot.
Sometimes the round-balls are just enough larger than the mouths of the chambers to cut a small ring of lead from the bullets when the balls are seated. That is a good sign of bullets being “big enough.” The bullets I use in my Navy Model are .375” diameter, either swaged by Speer or cast from my RCBS mold, but they don’t leave a ring of lead. Still, they are big enough and they fit very tightly.
After seating the balls in the chambers, it’s time to add enough bullet lube grease to go around the edges of those loaded balls. This does two things; first it lubricates the bullets as they go down the barrel, second, and perhaps more important, it does a great job in preventing chain-fires.
A chain-fire is when more than one chamber goes off and that has happened to me but just once. That was a long time ago. While chain-fires don’t often happen, we must do our part in making fairly sure that they won’t happen. With that in mind, always grease the bullets and always be sure a percussion cap is on the nipple of every loaded chamber before firing the gun. Having caps on the nipples is a simple way of preventing the flash from a fired cap from entering the nipple of an adjacent chamber.
Another way to add lubrication and chain-fire prevention when loading the gun is to use lubricated wads, such as Wonder Wads, between the powder and the bullets. I have used some waxed felt wads, a long time ago, but found the wads still sticking to the bullets down range. However, those wads were waxed, perhaps with beeswax, and I don’t know if the Wonder Wads stick to the bullets or not. I have used Wonder Lube and have always liked it.
To get this far in loading your cap & ball revolver, you must have already gotten some of the accessories generally needed for loading. Just as an example, I carry my powder in a copper flask with a 22-grain spout. That spout was made from a 25 or 26-grain spout and shortened. The most common spout on a flask for a .36 caliber revolver is about 13 grains, which is plenty for the police or pocket model revolvers. To find powder flasks and spouts visit the websites of Buffalo Arms, Track of the Wolf, Dixie Gun Works, or the aforementioned October Country.
For adding the percussion caps to the nipples, I prefer to use the Universal Capper, Pistol, Snail or Teardrop Shape, made by Cash Manufacturing. This capper holds nearly 100 caps and it is designed to be used with revolvers. These are often available from the businesses I’ve already mentioned or you can buy one directly from the maker.
One more tool you should certainly have is a nipple wrench and revolvers need and use a different sized nipple wrench than what we’d use on a typical percussion rifle. The places just mentioned will have revolver nipple wrenches but the very best one that I have used came from SliXprings and I have mentioned that in previous articles. Their SliX Wrench is simply the best. I got one when I bought the new SliX Shot nipples for my Navy Model and I highly recommend those nipples as well.
Just a little note, your percussion revolver is not considered a loaded gun until the caps are added to the nipples. I most often load the powder and balls in my revolver at home and then add the caps after getting to the place where I’ll shoot, right at the shooting station. You might check the laws in your own State before giving this a try.
What if we wanted to carry our percussion revolver on a hunt or at a time when we’d want it to be capped and ready to shoot? We could load the gun with only five shots, if it is a six-shot revolver, and carry it with the hammer down on the empty chamber, just like a cartridge-shooting single action. Or, if we wanted to carry it with a full cylinder, we could do what our Civil War soldiers did.
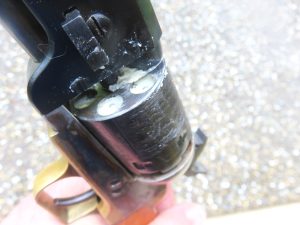
On the Colt-style revolvers there is a small “pin” between the nipples on the cylinder. Those are called “safety pins” and they have nothing in common with the diaper variety. Those short little pins correspond with a small notch in the bottom of the striking part of the gun’s hammer which can fit over the pins when the hammer is all the way forward. With the cylinder completely loaded, the hammer can be lowered to fit over one of those pins and that prevents the cylinder from turning. Thus, we have a safe way for the gun to be carried with all chambers full.
The Remington-style revolvers have a better way of doing this same thing. Their cylinders have notches in between the nipples that the lower part of the hammer fits into when the hammer is lowered. That’s a lot “beefier” than the safety pins on the Colt-style guns.
Some of today’s replicas do not have these safety features.
Now for a “what if?” What if we’ve loaded the cylinder but forgot to put powder in one or more of the chambers? That’s what we call a “dry ball.” The only way to remove a dry ball that I know of is to take the cylinder out of the gun, remove the nipple (this is why you need that nipple wrench and have it with you while you are shooting) and pour some powder into the back of the chamber though the hole for the nipple. Then replace the nipple, cap it, and take the shot.
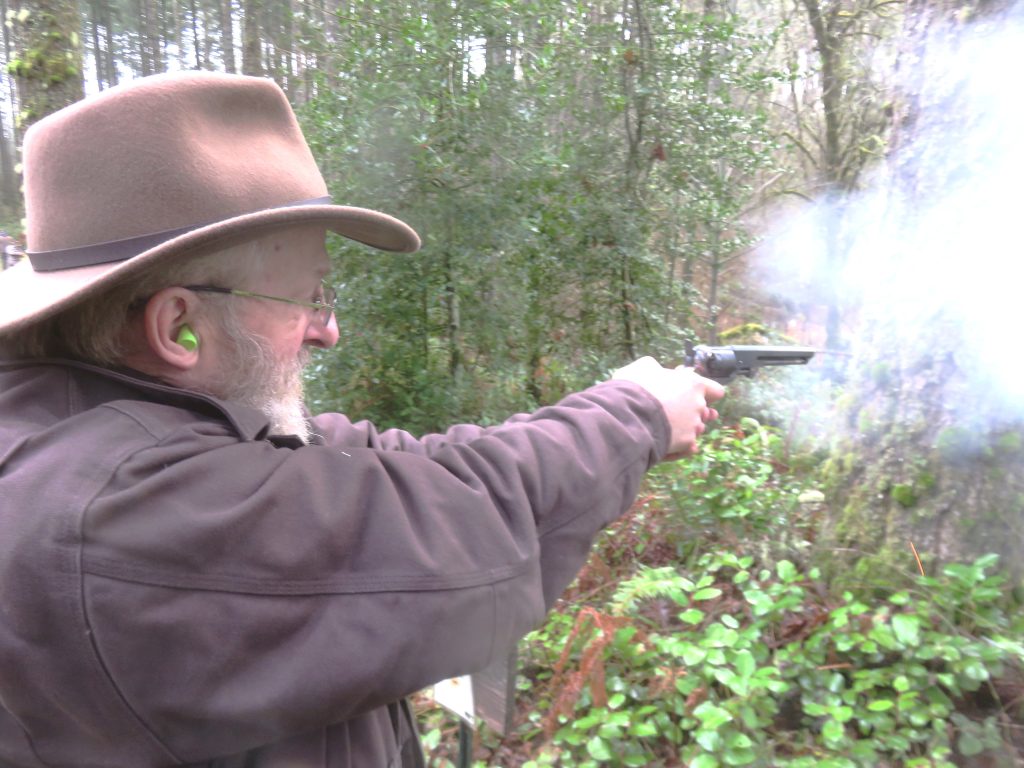
If we have prepared and loaded the gun properly, adding the caps to the nipples at the shooting station, we should be ready to shoot. We can assume that an appropriate target is already posted. Shooting the gun should be virtually no different from shooting any other revolver, except that firing a cap & ball revolver is more fun and it makes plenty of smoke. Then, after just six shots, it’s time to load the gun all over again.
Loading doesn’t actually take that much time. Certainly not as long as this description of how to do it. Of course, the powder flask, more round-balls, and the capper must be with you. While on the trail, I often carry those needed accessories in my coat pockets. And in a short time, my gun is loaded and ready for more shooting.
Then, after the shooting is done, it’s time to clean the revolver again. This might seem like we’re back where we started but not exactly. Now the gun is certainly dirty from shooting black powder. So, it must be cleaned with a black powder solvent. My choice is Three Rivers Black Powder Solvent from The Gun Works, see this on their website at thegunworks.com. Usually, it takes only two patches moistened with this solvent to clean the barrel and the chambers of the cylinder. After being satisfied with the cleaning, the bore and the chambers are treated with a little oil. Also oil the gun’s hammer where any of the blast or flash from the nipples might have reached it. And put more of that good grease on the gun’s base pin which allows the cylinder to keep turning without binding.
Get those things done to clean and maintain your cap & ball revolver, and you’ll most certainly look forward to shooting it again.