by Art Merrill | Contributing Editor
Starting with nothing but your fired brass, how easy and inexpensive is it to begin handloading? What equipment does the beginner really need? Why handload at all?
Like Glinda the Good Witch of the North told Dorothy in “The Wizard of OZ,” “It’s always best that you start at the beginning…” so let’s scoop up that brass you’ve been leaving at the range like money on the ground, take it home, and consider.
Since I mentioned it, yes, rolling your own is cheaper than buying factory cartridges, and it doesn’t take long to recoup your initial investment in basic reloading tools. You measure savings in perhaps the 5¢ to $1.50 per cartridge range over factory cartridges, with many variables determining the actual savings. With handloading comes an increase in your knowledge of ballistics and in the evolution of ammunition. Your ability to make obsolete ammunition opens up opportunities for bargain firearms in calibers for which no factory makes ammunition anymore. And your shooting skills will improve because you will be shooting more.
In addition to keeping your Fun Meter needle pegged in the green, handloading is good mental exercise, flexing both your left brain logic and right brain creativity with hands-on experience. All these benefits will make you a happier person, and everyone likes to be around happy people, so family and friends will enjoy you more and you will start receiving guns for Christmas presents.
 Here I will give you an overview of the handloading process; in subsequent articles we’ll focus on the details of specific elements like primers, what makes powders different, useful tools, choosing the right bullet for the job and how to use a load data manual.
There are minor but important differences between loading bottleneck rifle cartridges and straight pistol cartridges, but we perform the same basic operations to either style:
Clean
Lube (when using steel dies)
Deprime
Resize
Trim (after several firings)
Chamfer the case mouth
Clean the primer pocket
Prime
Expand the case mouth (if a straight-sided case)
Charge with powder
Seat the bullet
Crimp (if the seating die does not also crimp)
Measure cartridge overall length
For a specific example, let’s walk through reloading the good ‘ol .38 Special.
Clean
The brass case is the only reusable part of a cartridge. So, looking at that pile of brass, where do we start? Well, it’s dirty from powder residue so let’s clean it to prevent gunking up our dies and so it will chamber smoothly in our firearm.
If we have, say, 20 to 50 pieces of brass, the cheapest way to go is simple steel wool. Not the soapy stuff under your kitchen sink —use 0000 steel wool from the hardware store. Just hold a wad of steel wool in one hand and spin the case in it with the other; after a few turns the brass is shiny new. Tap the case mouth down on your bench or tabletop to knock out loose residue from the inside. Later, when working with hundreds of cases at a time, you’ll want an electric case tumbler with walnut shell or corncob polishing media, or a liquid cleaner setup.
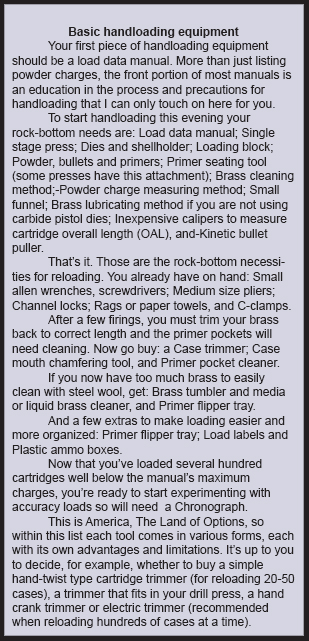
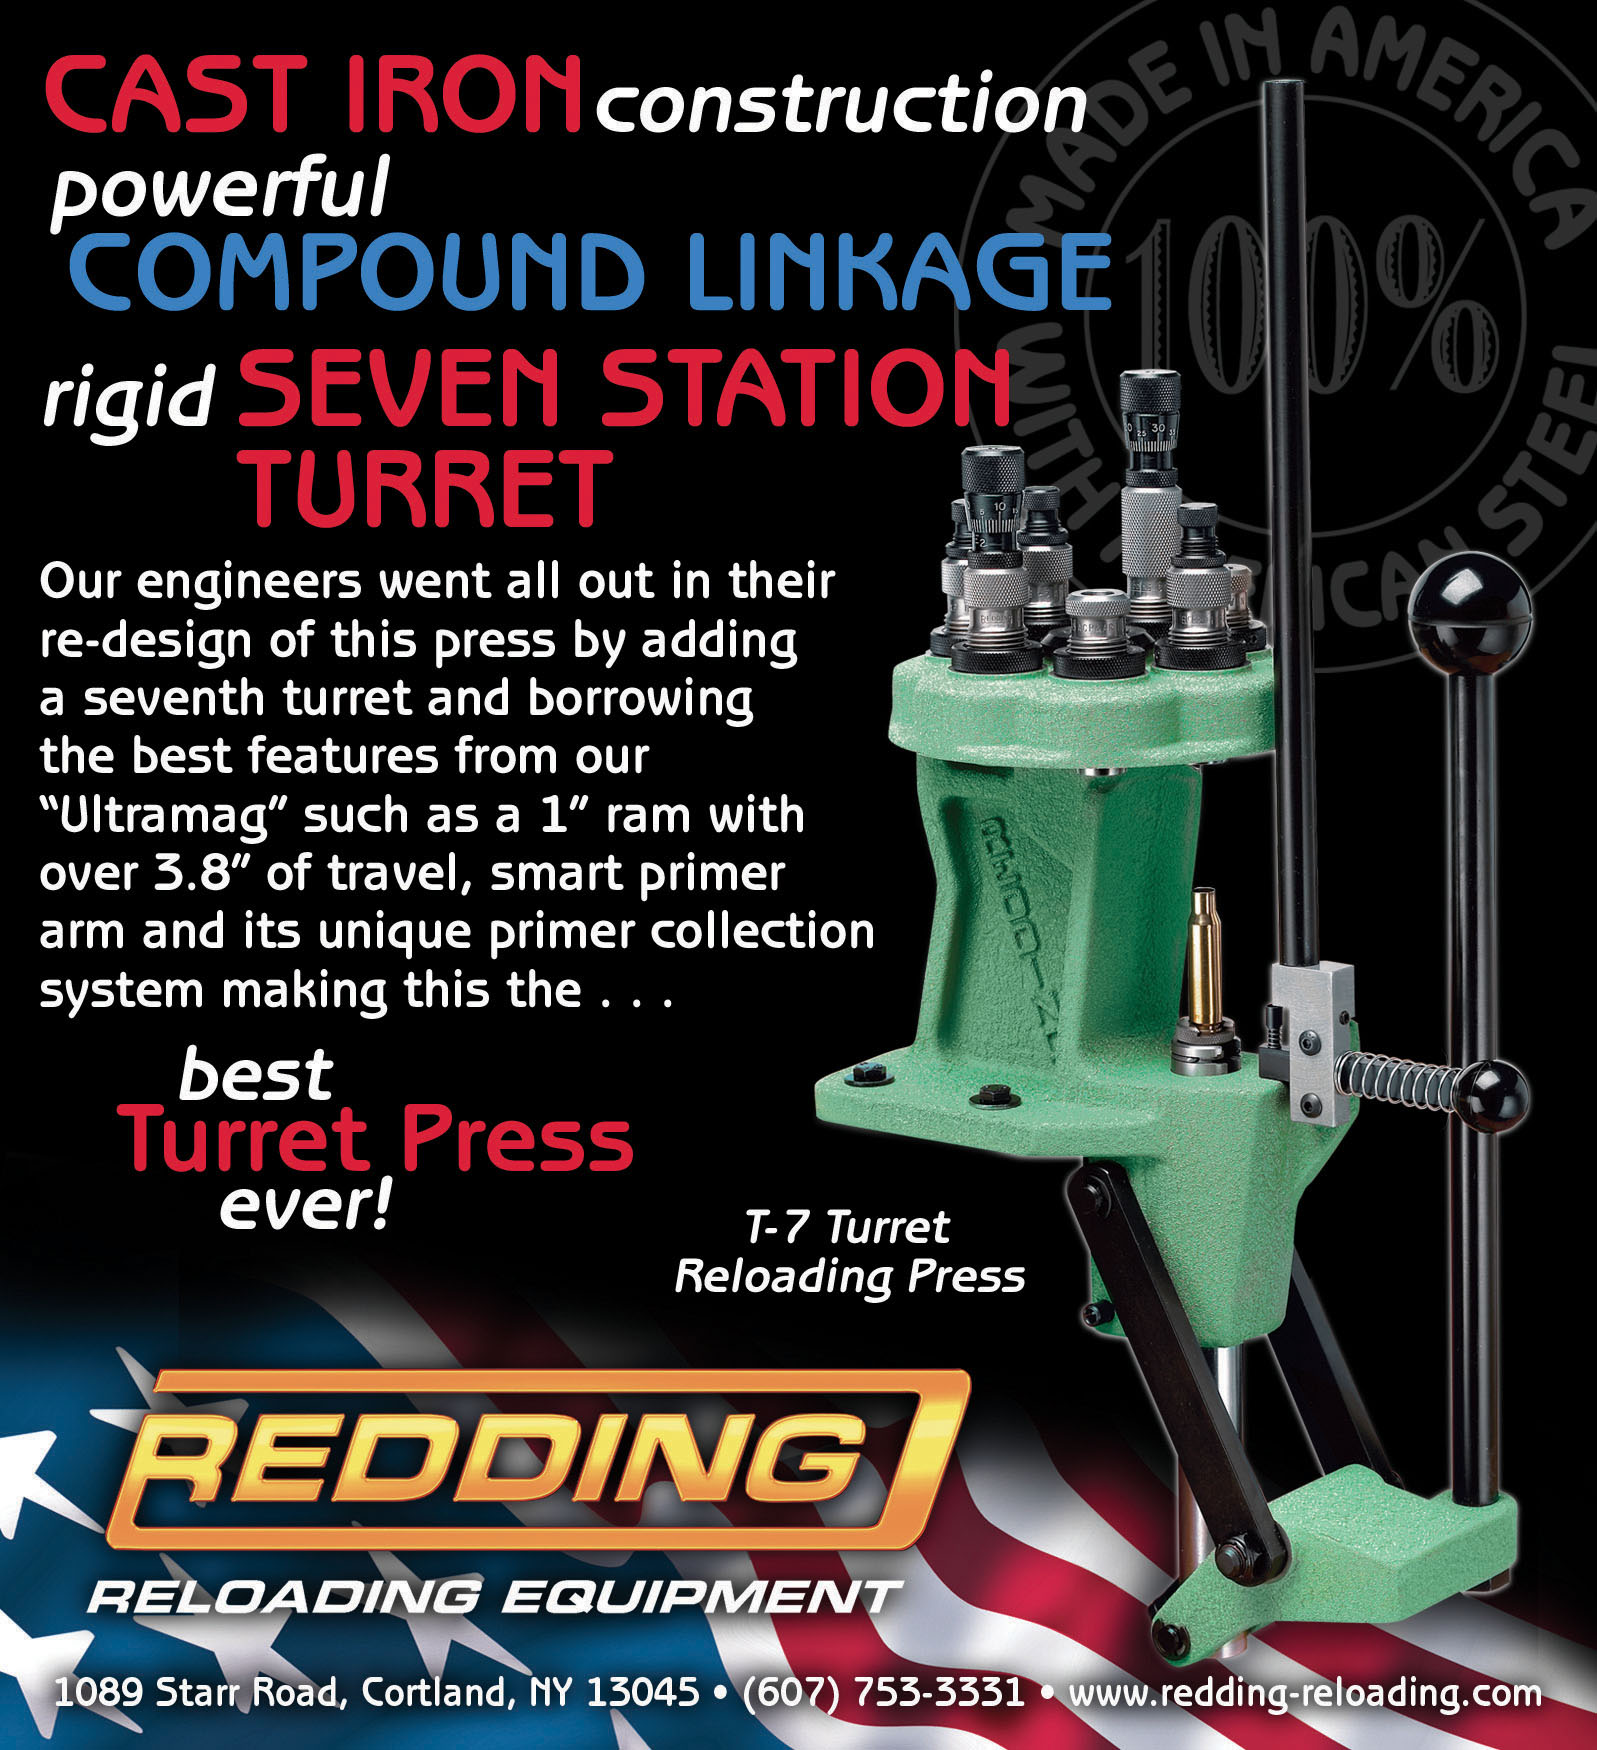
Now we need specific handloading tools (see sidebar). We are going to use the RCBS Rockchucker O-frame reloading press; using carbide rather than steel .38 Special reloading dies means that we don’t need to lubricate cases before resizing (we’ll do that with bottleneck rifle cases).
Resize
First we’ve got to resize the fired case. Cases expand on firing so we must squeeze them back down to proper size so that they will chamber easily. The first of the three dies does that. Again, you must lubricate the case to prevent it from sticking in a steel die; with carbide or titanium nitride dies, no lube is necessary. Install the proper size shellholder on the press ram, run the case into and out of the die and voila! – resized.
Deprime/expand case mouth
We get a two-fer with the next die, which knocks out the spent primer with a decapping rod or pin while also expanding the case mouth to allow easy seating of a new bullet. Be careful not to expand the case mouth too much; doing so will either cause the neck to split, or will weaken the brass so that the neck eventually splits upon firing.
It’s a good idea to clean out the primer pocket afterward with a special tool or brush to prevent primer seating problems, but it isn’t absolutely necessary if you are diligent about ensuring primers are seated fully in their pockets.
Seating primers
Next we must seat a new primer in the pocket. You could buy a separate tool at additional cost for this operation, but our Rockchucker comes with an attachment for seating primers, so let’s save that money to buy more primers. After seating, examine the primer to be sure it is seated just slightly below flush with the case base.
Charge
We’ll use a powder measure to “throw” our powder charge, and a balance beam scale to weigh it. Electronic scales are also an option. Once we’ve used the scale to adjust the measure to throw our desired charge, we throw charges directly into 10 cases then weigh every 11th charge on the scale to ensure Murphy isn’t playing with our powder measure in some way. Then we visually inspect them to be absolutely sure each got one charge. Pistol cartridges typically use a very small powder charge and it’s possible to put two or more charges in a case, creating a very dangerous situation.
Also dangerous is the case that gets no powder charge at all. The primer alone is usually powerful enough to drive the bullet part way into the barrel—a “squib load”—obstructing it for the next shot with the same consequences as for a double charged case. If you ever fire a cartridge that “just didn’t sound right,” definitely stop shooting and investigate.
Seat & crimp bullet
Now we seat a new bullet in the charged case and crimp it in place with the bullet seater die so that it does not move from handling or cycling through actions. One die usually performs both operations.
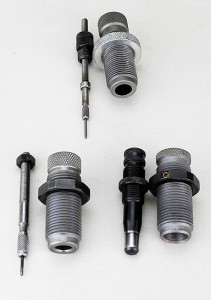
The rifle die at the top will perform all the functions of the two lower pistol dies—resize, deprime and expand the case mouth.
Measure
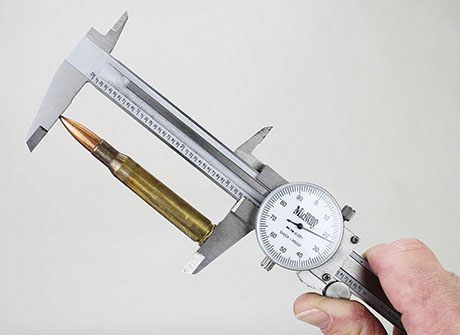
Lastly, we measure the overall length of the loaded cartridge with a caliper to ensure it will fit properly in the firearm’s chamber.
Bottleneck cases
For bottleneck rifle cartridges, the drill is only slightly different. With these, the first die resizes, deprimes and expands the case neck all in one stroke of the press handle. Remember, bottleneck cases must be lubricated before resizing to prevent them from sticking in the steel die. Avoid putting any lube on the case shoulder, as that can cause dents in the shoulder, and it’s a good idea to touch the case mouth to the lube pad to slightly lubricate the inside of the mouth for the neck expander. If you forget to lube a case and it sticks in the resizing die, a stuck case remover will help you get it out.
The second die seats the bullet and usually crimps the bullet in place. If the die is not designed to crimp the bullet, then you will need a third die that does so. The Lee RGB die set is one that needs a separate crimping die.
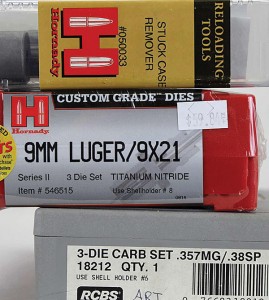
If the die label does not indicate carbide or titanium nitride dies, you must lube cases. If you run an un-lubed case into a steel die, you’ll need a stuck case remover to get it out.
Trim
Firing stretches the brass, actually causing it to flow forward to the case mouth, so after a few loadings you must trim your cases back to the proper length after resizing. There are many different types of case trimmers; the manually operated ones trim just as well as the electric trimmers, which are more expensive but are really necessary for high volume reloading. If your hands cramp up easily, you’ll quickly tire of the types that require hand squeezing and twisting. Somewhere in the middle are those that look like a tiny lathe with a hand crank; many today can be driven by cordless screwdrivers.
After trimming you must remove the ragged brass “flashing” on the outside of the case mouth, and chamfer (bevel) the inside of the mouth to prevent damage to the bullet when seating it. Again, you’ve got choices here, and some do both operations at once or are contained on the same tool. Even without trimming, chamfering the inside of the case mouth right after depriming helps ensure smooth bullet seating.
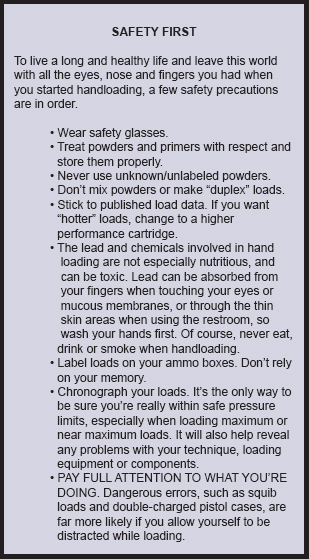
See? Not so tough. Handloading is safe, easy and satisfying when you break it down into steps and follow established safety practices (see sidebar). In upcoming articles we’ll examine these steps in more detail.


