By Mike Nesbitt | Contributing Editor
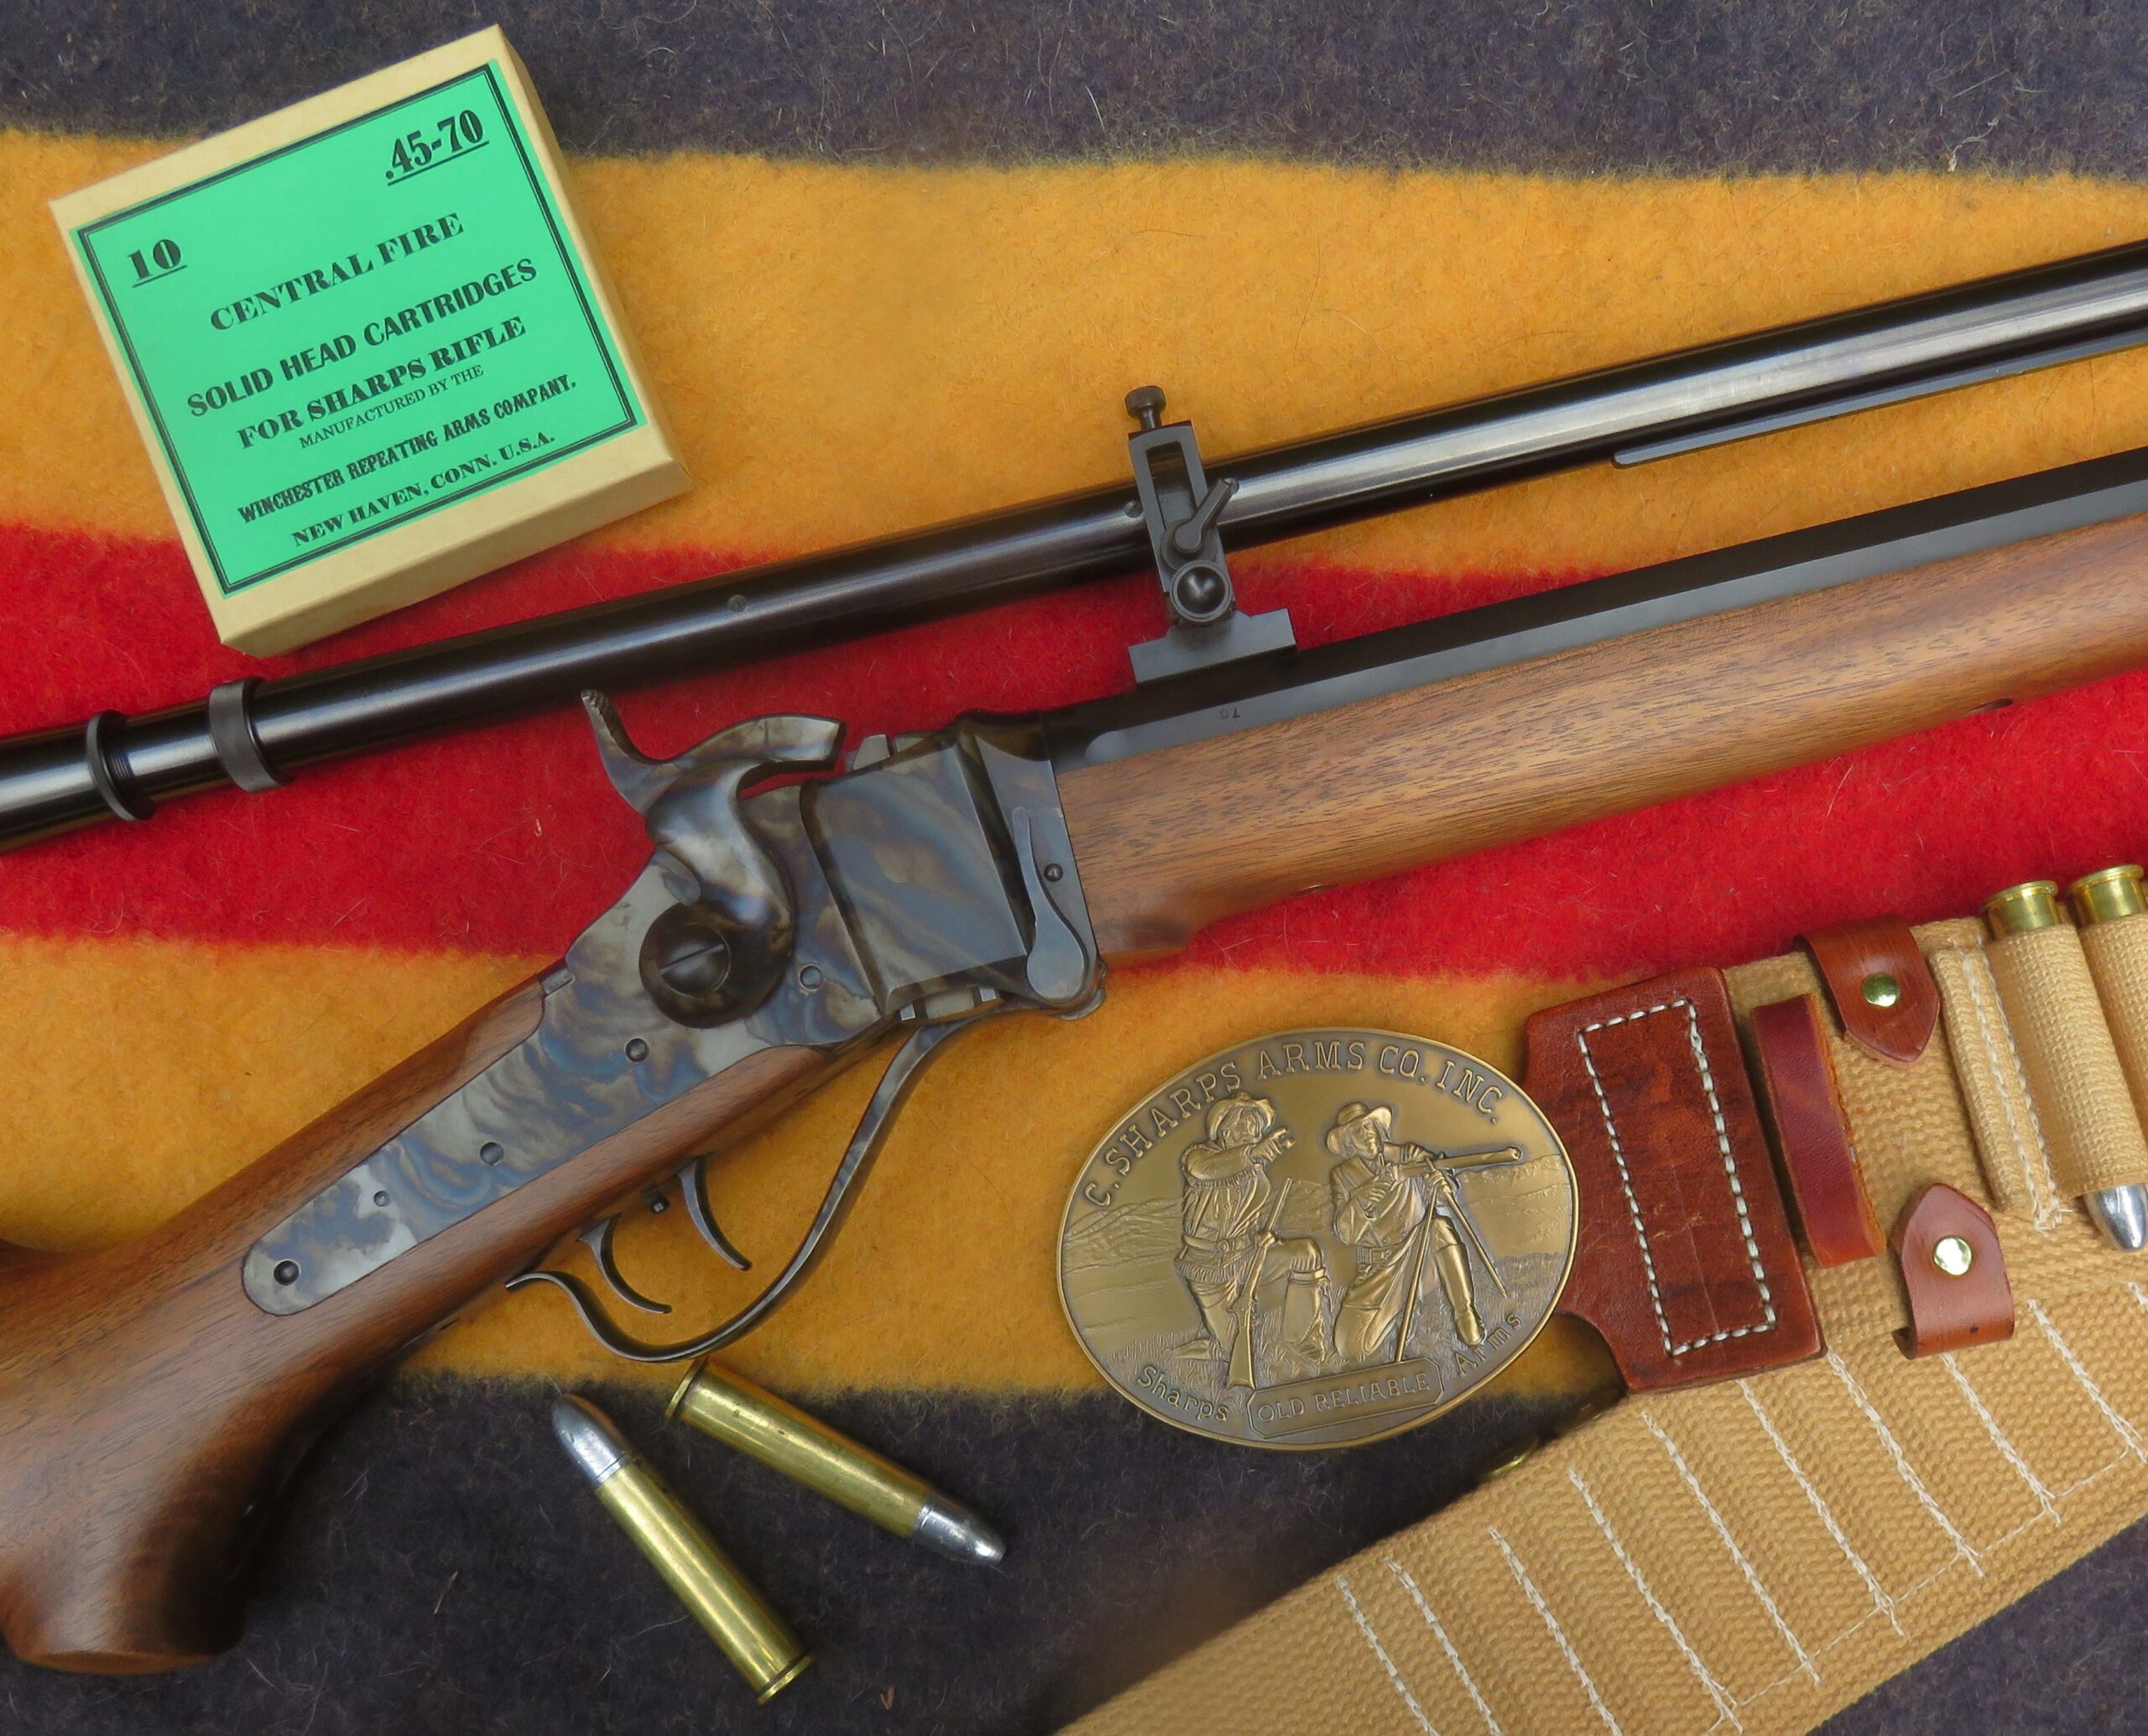
Just when I thought things were going good for my new .45-70 Sharps, I hit on another snag. But this can be considered a good thing because it opens up the need to try something new and, in this case, the new things are doing quite a job.
In the previous segment of this continuing saga, I discussed having some luck after tweaking loads in the .45-70 with the 480-grain bullets from the Saeco mold. Those loads were treating me rather well and I also had Allen Cunniff anneal several of my .45-70 Starline cases, just for good measure. More of the loads, as described in the earlier story, using 63 grains of Swiss 1 ½ Fg powder, were used in one of our Old West Centerfires matches, which was held at the Capitol City Rifle & Pistol Club near Olympia, Washington.
The turnout at that match was a good one, we had 16 shooters, and the competition was harder than usual. With that .45-70 I did almost as good as I had hoped. Maybe I’ve mentioned before that my goal is to score a 90 (out of 100) on each target at the Old West Centerfires matches and this time I almost did it. My 100-yard target was scored at an 86 and while several shooters commonly score higher at 200 yards, this time I didn’t, and my 200-yard score was an 85. That gave me 171 points for the match and put me in 6th place. That pleased me and I was able to pick a rather nice prize, a small “buffalo” key ring, from the prize table.
Yes, our Old West Centerfire Matches are mainly just for fun but they’re more fun if you do fairly well.
Prior to the Old West Centerfires Match I had used the same rifle in a silhouette match, at the Upper Nisqually Sportsman’s Club just out of Eatonville, Washington. In black powder cartridge silhouette matches the distances don’t end at 200 yards, they begin at 200 meters. (That is roughly 220 yards.) That’s the distance for the “chickens” which are shot offhand. I was hoping for, and actually expecting, to get about 20 hits out of the 40 shots fired for score. Let me give you the rundown, I got one hit on chickens, five hits on pigs (at 300 meters), three hits on turkeys (at 385 meters), and four hits on the rams (at 500 meters). That’s a total of 13 hits, enough to keep me in B Class, right where I started.
It was after that silhouette match that I asked Allen Cunniff to anneal some of my .45-70 brass, because I needed more help. And Allen has a dandy annealing set up that he bought at Quigley a couple of years ago. He annealed my brass for me and even polished it! And with that annealed brass, I thought I’d see some real improvements.
The Old West Centerfires Match that I just told you about was fired with that annealed brass and so similar loads were used again, in the next silhouette match at Eatonville. To my dismay, my number of scoring hits dropped quite a bit. That really left me wondering why. To let you know how bad things got for me, I made only eight hits. But two of those hits were on the chickens so I did receive a couple of dollars in “prize money” that. The other hits were just three pigs and three rams, with no hits on the turkeys.
Cary Thorogood, a master silhouette shooter, talked to me at the range and suggested that my problem was my choice in bullets. The 480-grain bullets, according to Cary, are too light for consistent accuracy at the long ranges required for silhouette shooting. The reason for that is because they tend to lose stability beyond 200 yards. Cary recommended trying some 550-grain bullets and I already have a Hoch mold for the 550-grainers, which I use in my .45-90.
In the old days, speaking about the 1870s, the .45-70 was designed for use in barrels with a 1-in-22-inch rate of twist. That twist was intended for 400-grain bullets. Most of today’s barrels for the .45-70 single shot rifles (I’m not so sure about the repeaters) have a rate of twist of 1:18 inches. That’s quite a bit faster and it is intended for stabilizing bullets weighing 500 grains and heavier.
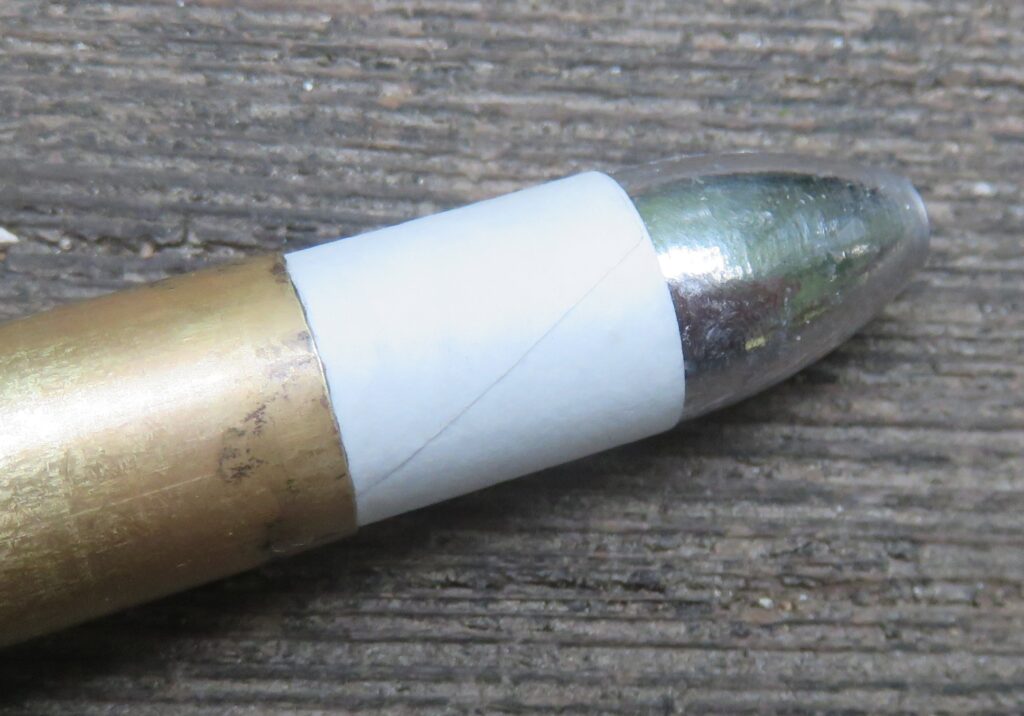
Okay, I told myself, I’ll give 500-grain bullets a try. That was no great “giving in” on my part, although I would really prefer to keep the bullets for this .45-70 on the lighter side and leave the heavies with the .45-90. But I’ve had a very good 500-grain paper patch bullet mold for about 40 years, a tapered paper patch mold made by the late Tom Ballard. Bullets from that mold are what I decided to try.
Along with those bullets, I’d also try patching them with the bullet patching jig made by Doug Fleming. He produces a whole Paper Patching Kit which I had purchased at Quigley but hadn’t used until quite recently. These tools are made of a PETG Plastic, which has rather strong tensile strength. These tools include adjustable templates for cutting the patching paper strips and other adjustable templates for cutting the patches. Those are very handy but the item of his that impresses me the very most is his bullet patching jig.
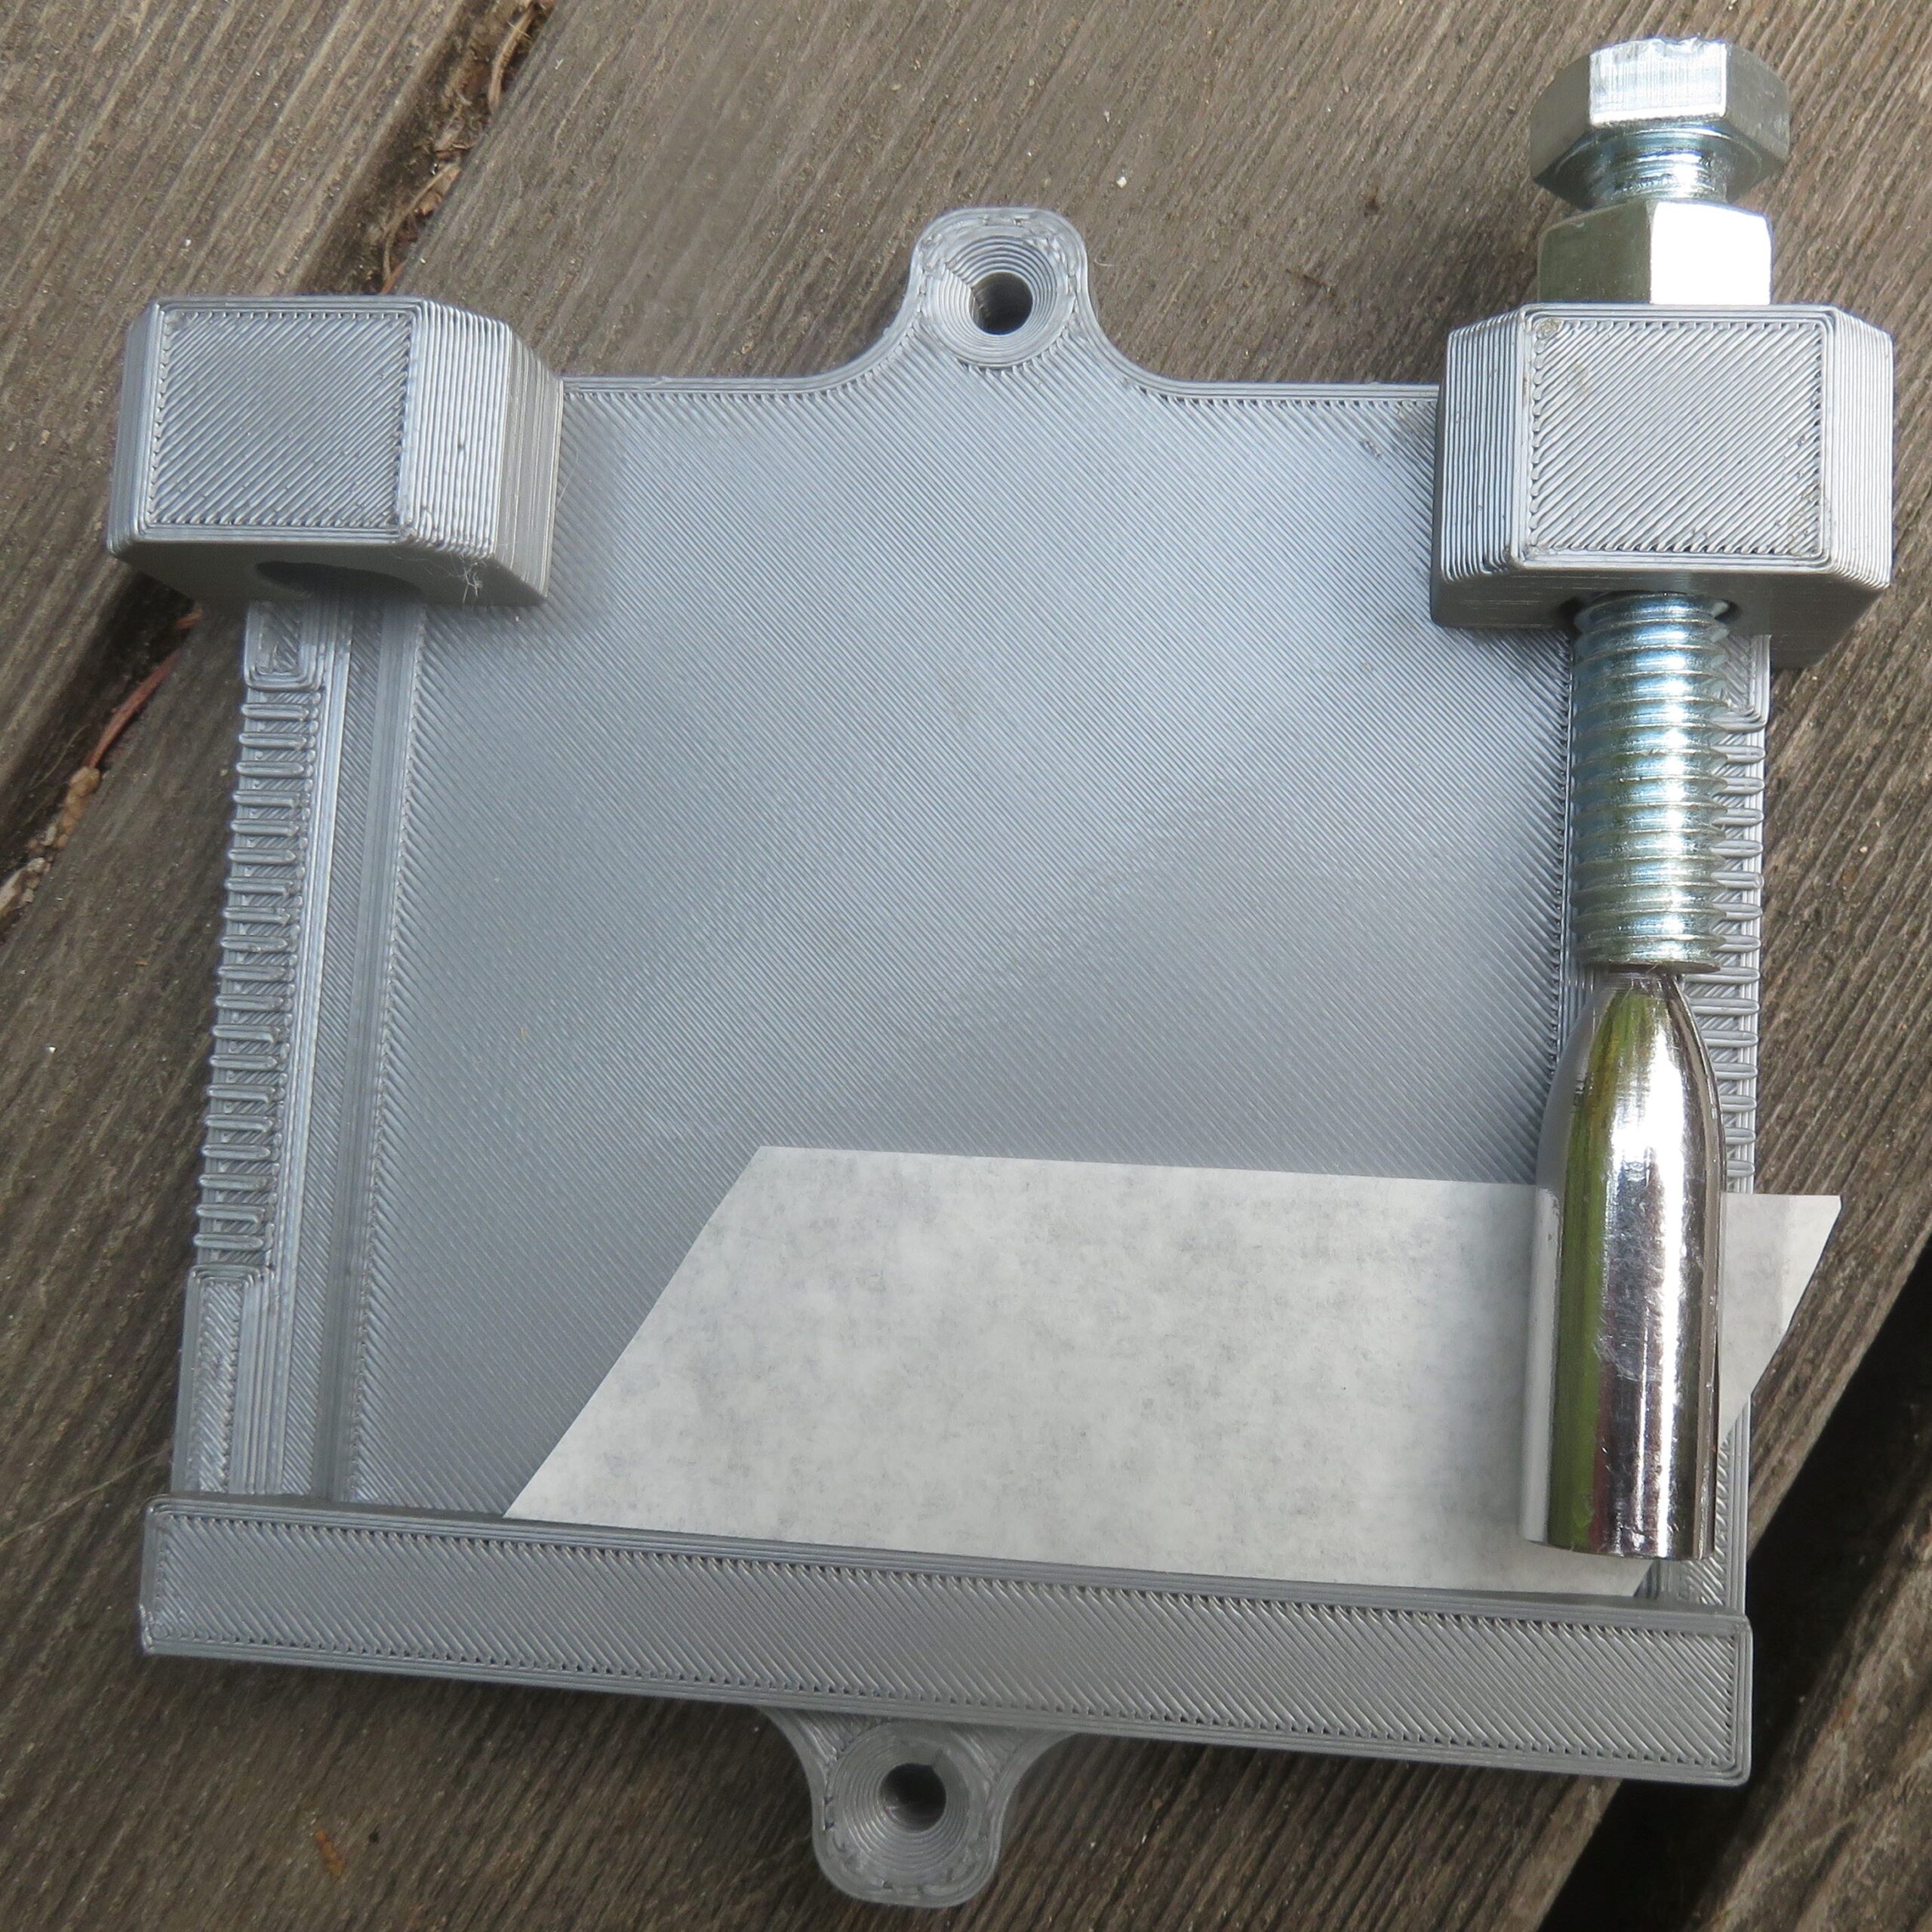
This patching jig has several features which should be mentioned in additiond to how to use it. It has twin screw holes so it can be mounted securely to a board or even a bench top. So far I’ve just used mine while it is sitting on a table with no real problems. And it can be set up to be used right or left-handed and, I guess, mine is set for right-handed use. It has an adjustment bolt which is easily set for the bullets and patches being used, so this patching jig does not favor one caliber over another. I’ve used mine (so far) with bullets for the .45-70 and .38-55.
To use this jig, a patch (for me, a wet patch) is put along the bottom of the jig where a raised line in the casting of the jig allows the patch to be positioned the same way each time. Then lay the bullet on the patch, in the groove which gets the bullet pointing perfecty forward, with the bullet’s nose resting against the bolt which asures consistency. With that done, simply hold the leading part of the patch to the bullet and roll both bullet and patch across the patching jig. Pick up the patched bullet, twist and roll the part at the bullet’s heel to make it flat. If using a wet patch, set the bullet on its base to dry.
You can see these tools in use by watching Fleming patch some bullets on YouTube. He also has more proper names for these tools than I do. Get on Youtube and look for “ Paper Patching with 3D Printed Tools” or check out his web site at www.bpcr3d.com.
With some of the 500-grain tapered paper patch bullets cast, I cut the patching paper into one-inch wide strips and then cut the patches using a .45 caliber template as a guide. The patches were applied wet and while using the Fleming patching jig, the patches went on more evenly and consistently than I’ve been able to do with my fingertips, even with over 40 years of practice. Then the bullets were allowed to dry and the loading began.
My first try was to load the bullets over 65 grains of Olde Eynsford 1½ F powder, with a Walters’ Wad over the powder and 1/8” of lube over that wad. Because the Ballard bullets are cup based, I did not add a card wad over the lube. The paper patched bullets were seated into the cases with just fingertips and then the loaded cartridges were run through the taper crimp die, just tight enough to keep the bullets in place.
Those were taken to the range and tried at 100 yards. I had great expectations for them, especially when being fired through the new Sharps .45-70 with the 10X scope. To my dismay, they failed so badly that at least one of the bullets missed the paper!
That sent me back to “square one.” I had to find a new base, a load that might be built upon. So more of the Ballard bullets were cast, selecting only the very good ones, and a new load was tried. The powder was changed to 68 ½ grains of Swiss 1½ Fg powder, still ignited with a large pistol primer. By the way, the powder type was changed but the powder volume remained the same. Swiss powder is denser than the Olde Eynsford, slightly more weight at the same volume.
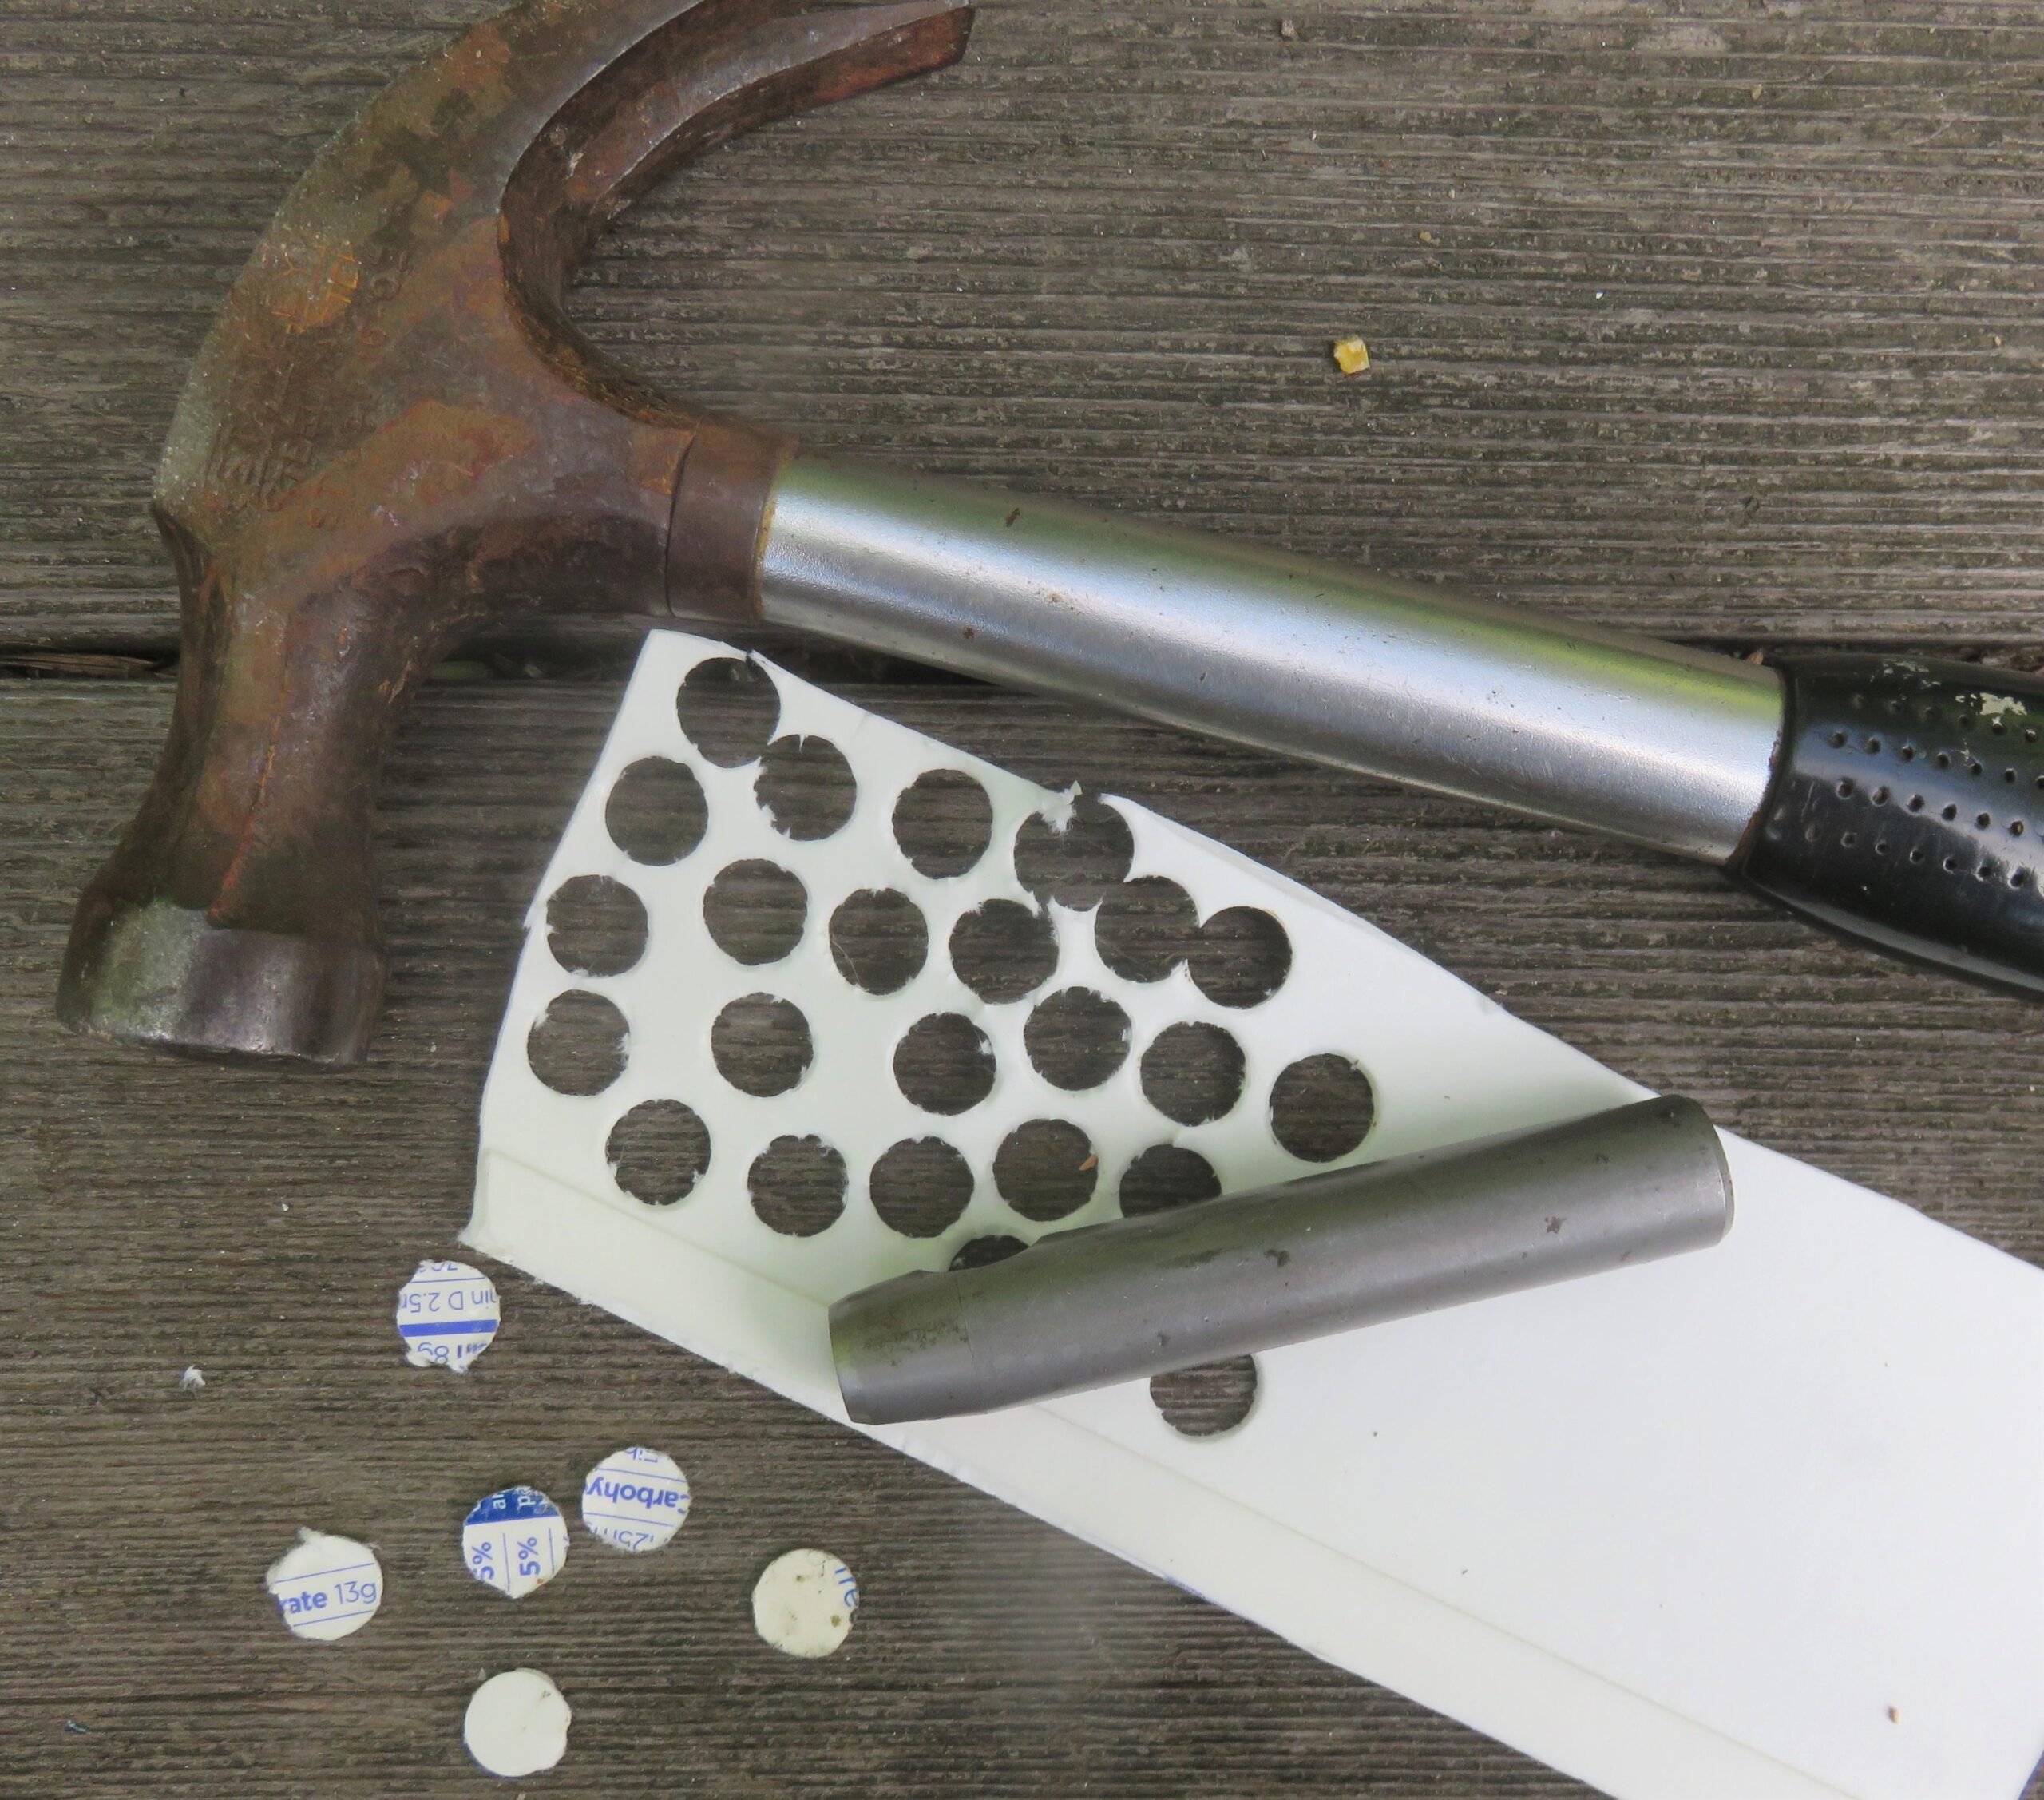
But one more change was also made. Yes, we shouldn’t be making two changes at once but this change is what I believe made the difference. I added a card wad, punched from a milk carton, over the lube and under the bullet. I’m just guessing that without that card wad, some of the lube was being forced between the bullet and the walls of the barrel which could give the bullet a “knuckle ball” effect instead of truly following the barrel’s rifling. Only nine rounds with the “new” loading were prepared.
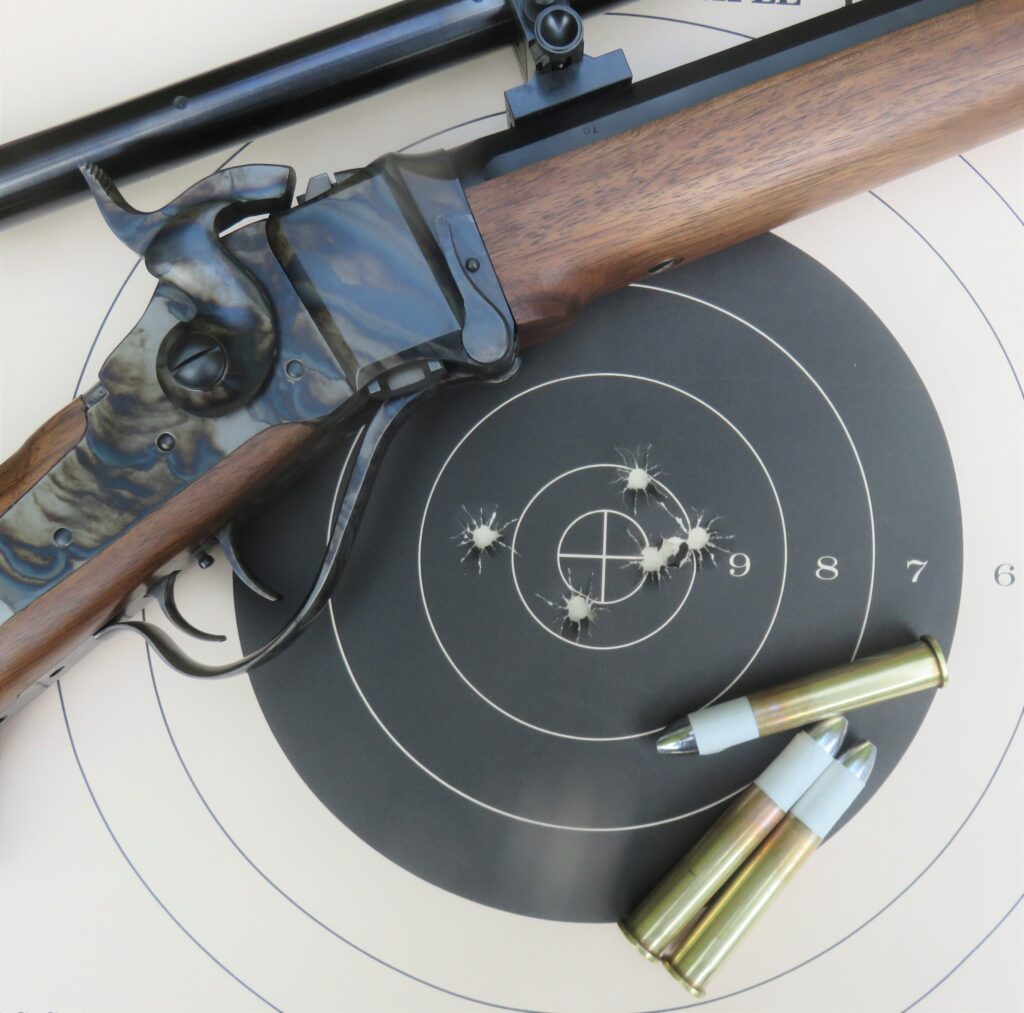
At the range they were tried but this time they were fired at only 50 yards. If they were going to spread as badly as the first try, I’d still see that spread at 50 yards. Because of the shorter range, I set the scope’s crosshairs at the 6 o’clock position on the bullseye of the target and fired. Five shots later I had a very delightful group, one that I’m proud to show a picture of even though it was shot at a closer range than I actually intended for the rifle and the load.
My feeling is that this is my “square one” and I’ll use this for my new base, trying the same load at longer distances soon. If expectations are met, I’ll be using this paper patched load in the coming Old West Centerfires Matches and maybe for the silhouettes as well. In fact, I’m eager to tell you how that shooting will go but right now I need to clean my rifle…

