By Mike Nesbitt | Contributing Editor
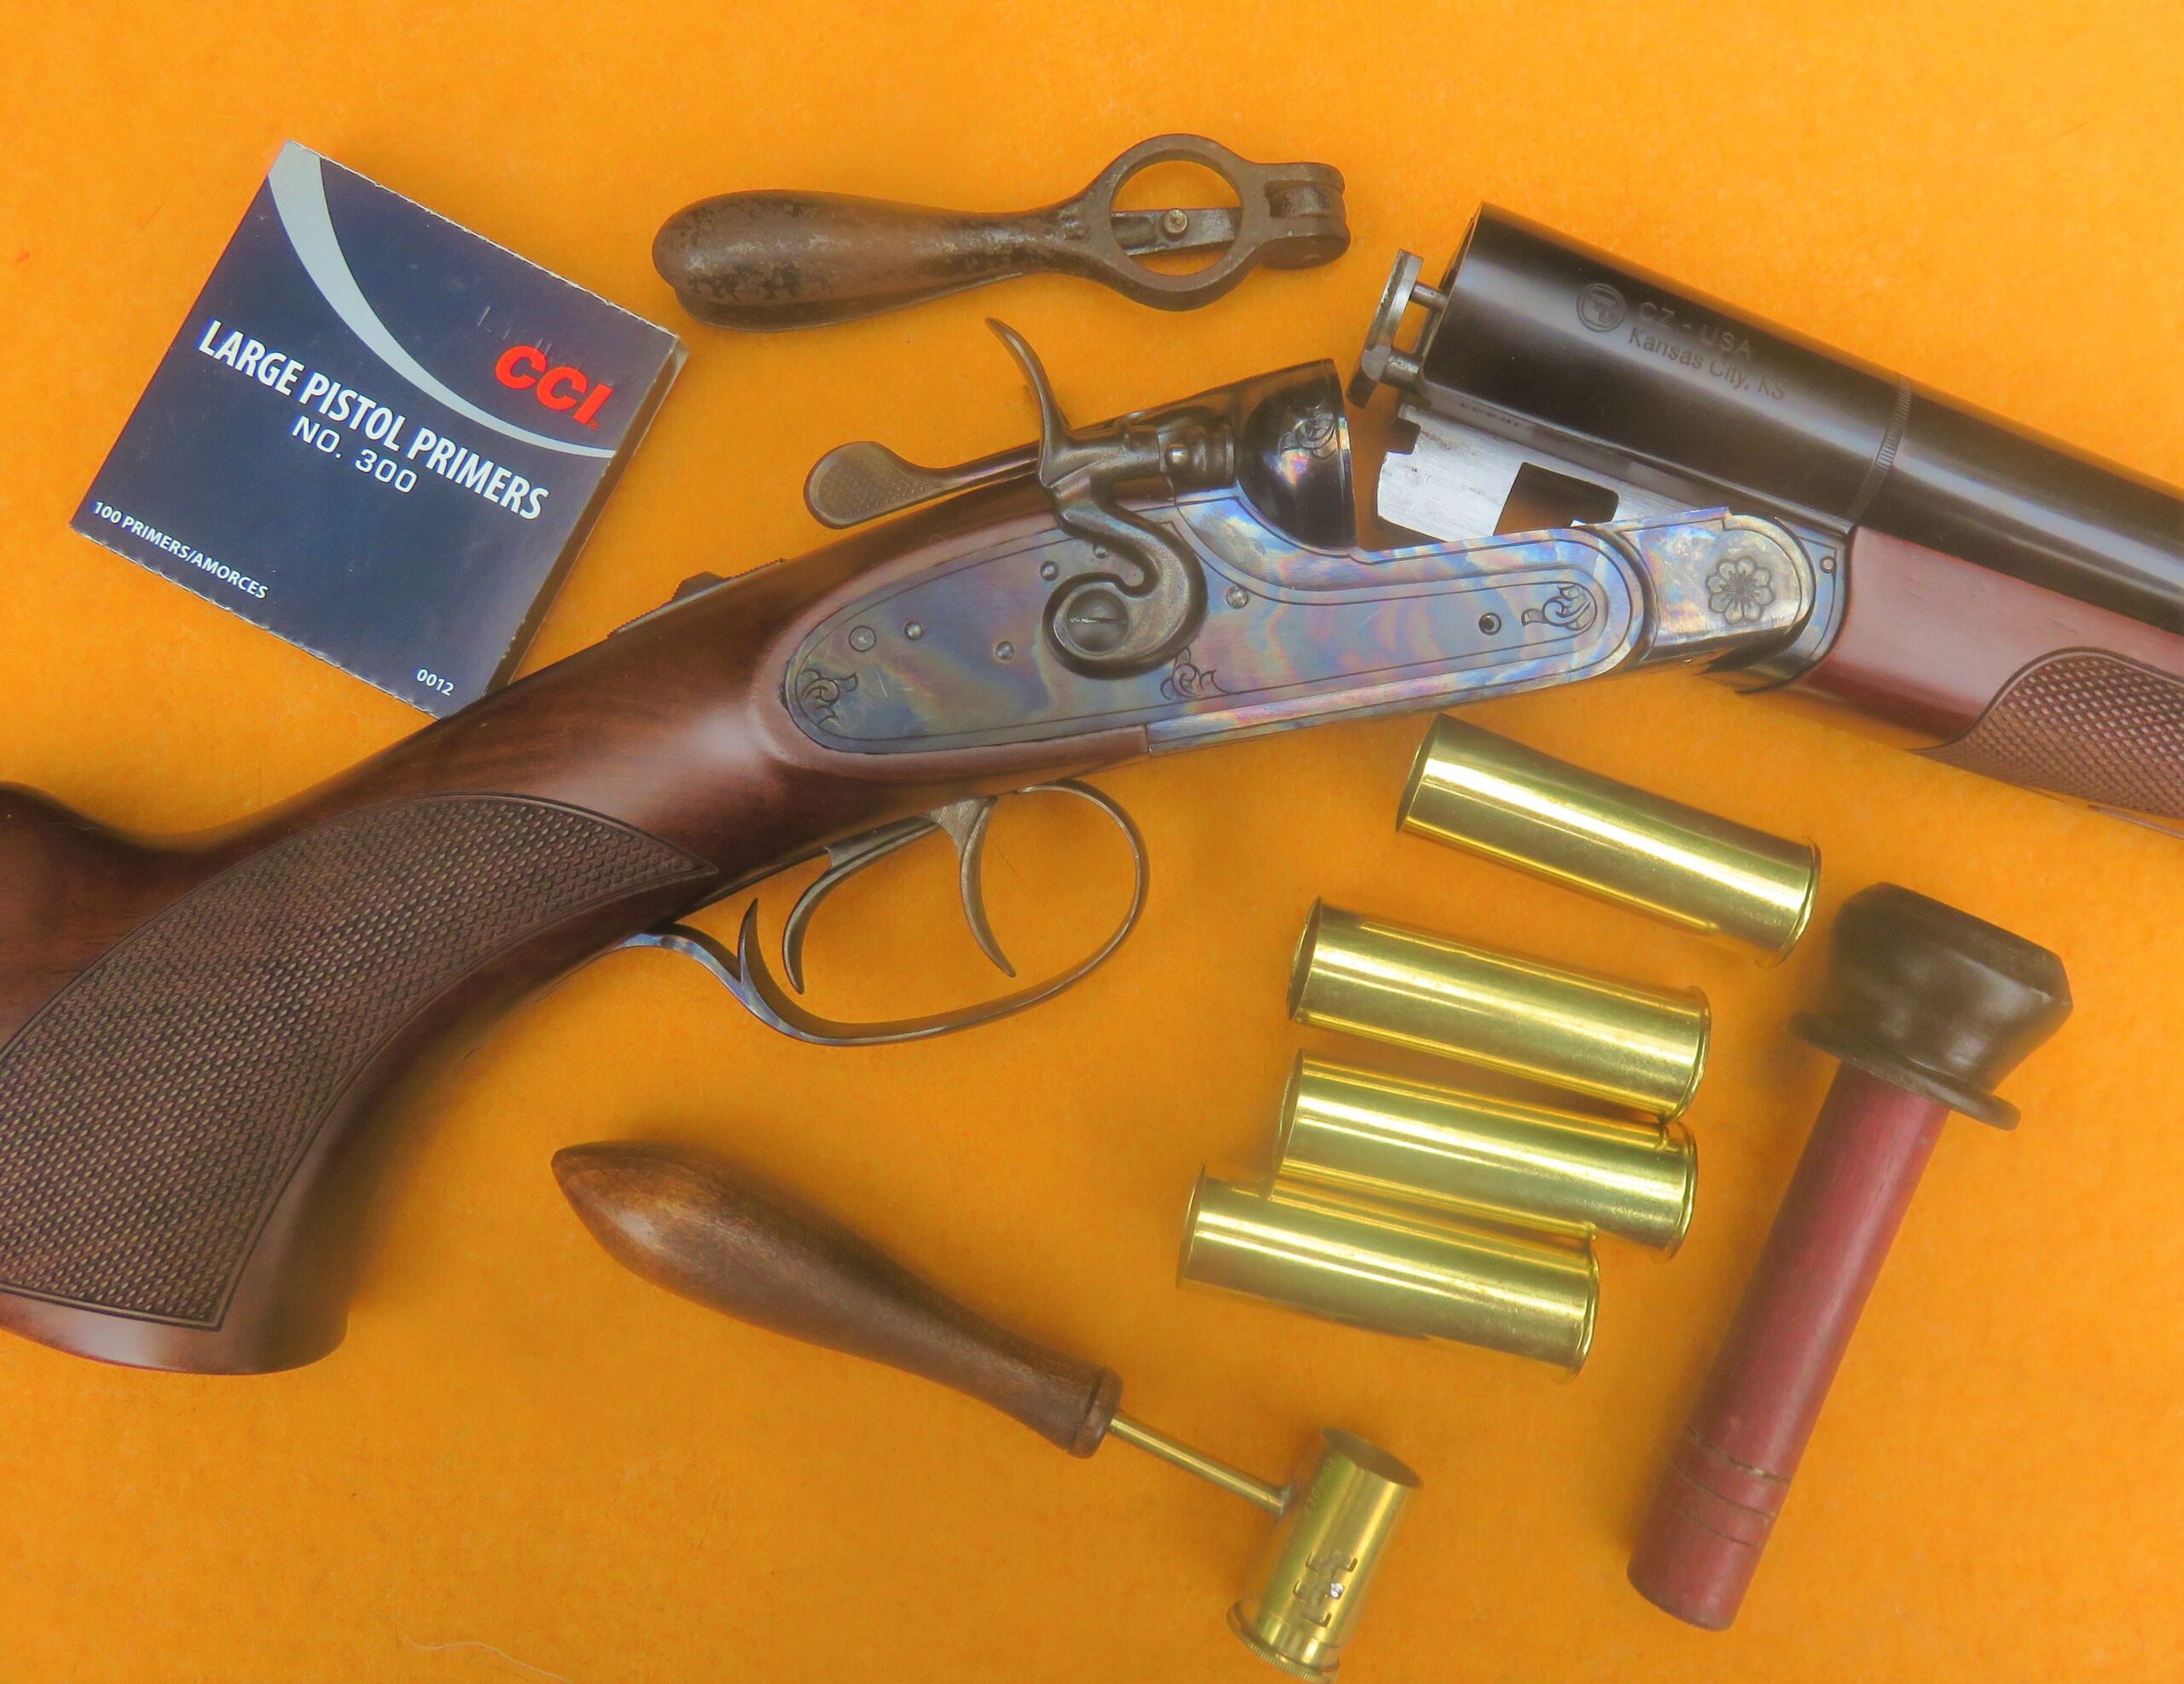
One of the easiest endeavors in black powder reloading is the re-charging of brass shotgun shells.
I suggest that it is the easiest simply because a collection of dies and tools is not required. No loading press is generally needed. I say “generally needed” because if the brass shotshell cases are badly deformed, then a press and re-sizing die will be very handy. Otherwise, no press is necessary. At the same time, some particular or special tools are needed but we’ll cover those as we get to them.
Essentially, loading brass shotgun shells is much like loading a muzzleloading shotgun.
What is needed, right from the beginning, is some brass shotgun shells. In my small variety of 12-gauge brass shells, I have gotten shells from two sources. The first source was from a cartridge show where loaded brass shells were purchased. Those were a combination of REM-UMC and Winchester shells (which were reloaded with birdshot and shooting those certainly helped bring black powder shotgun shooting to more interesting levels). The other source is new brass shells by MAGTECH. The MAGTECH cases should be available from several places and I bought mine from Midway USA.
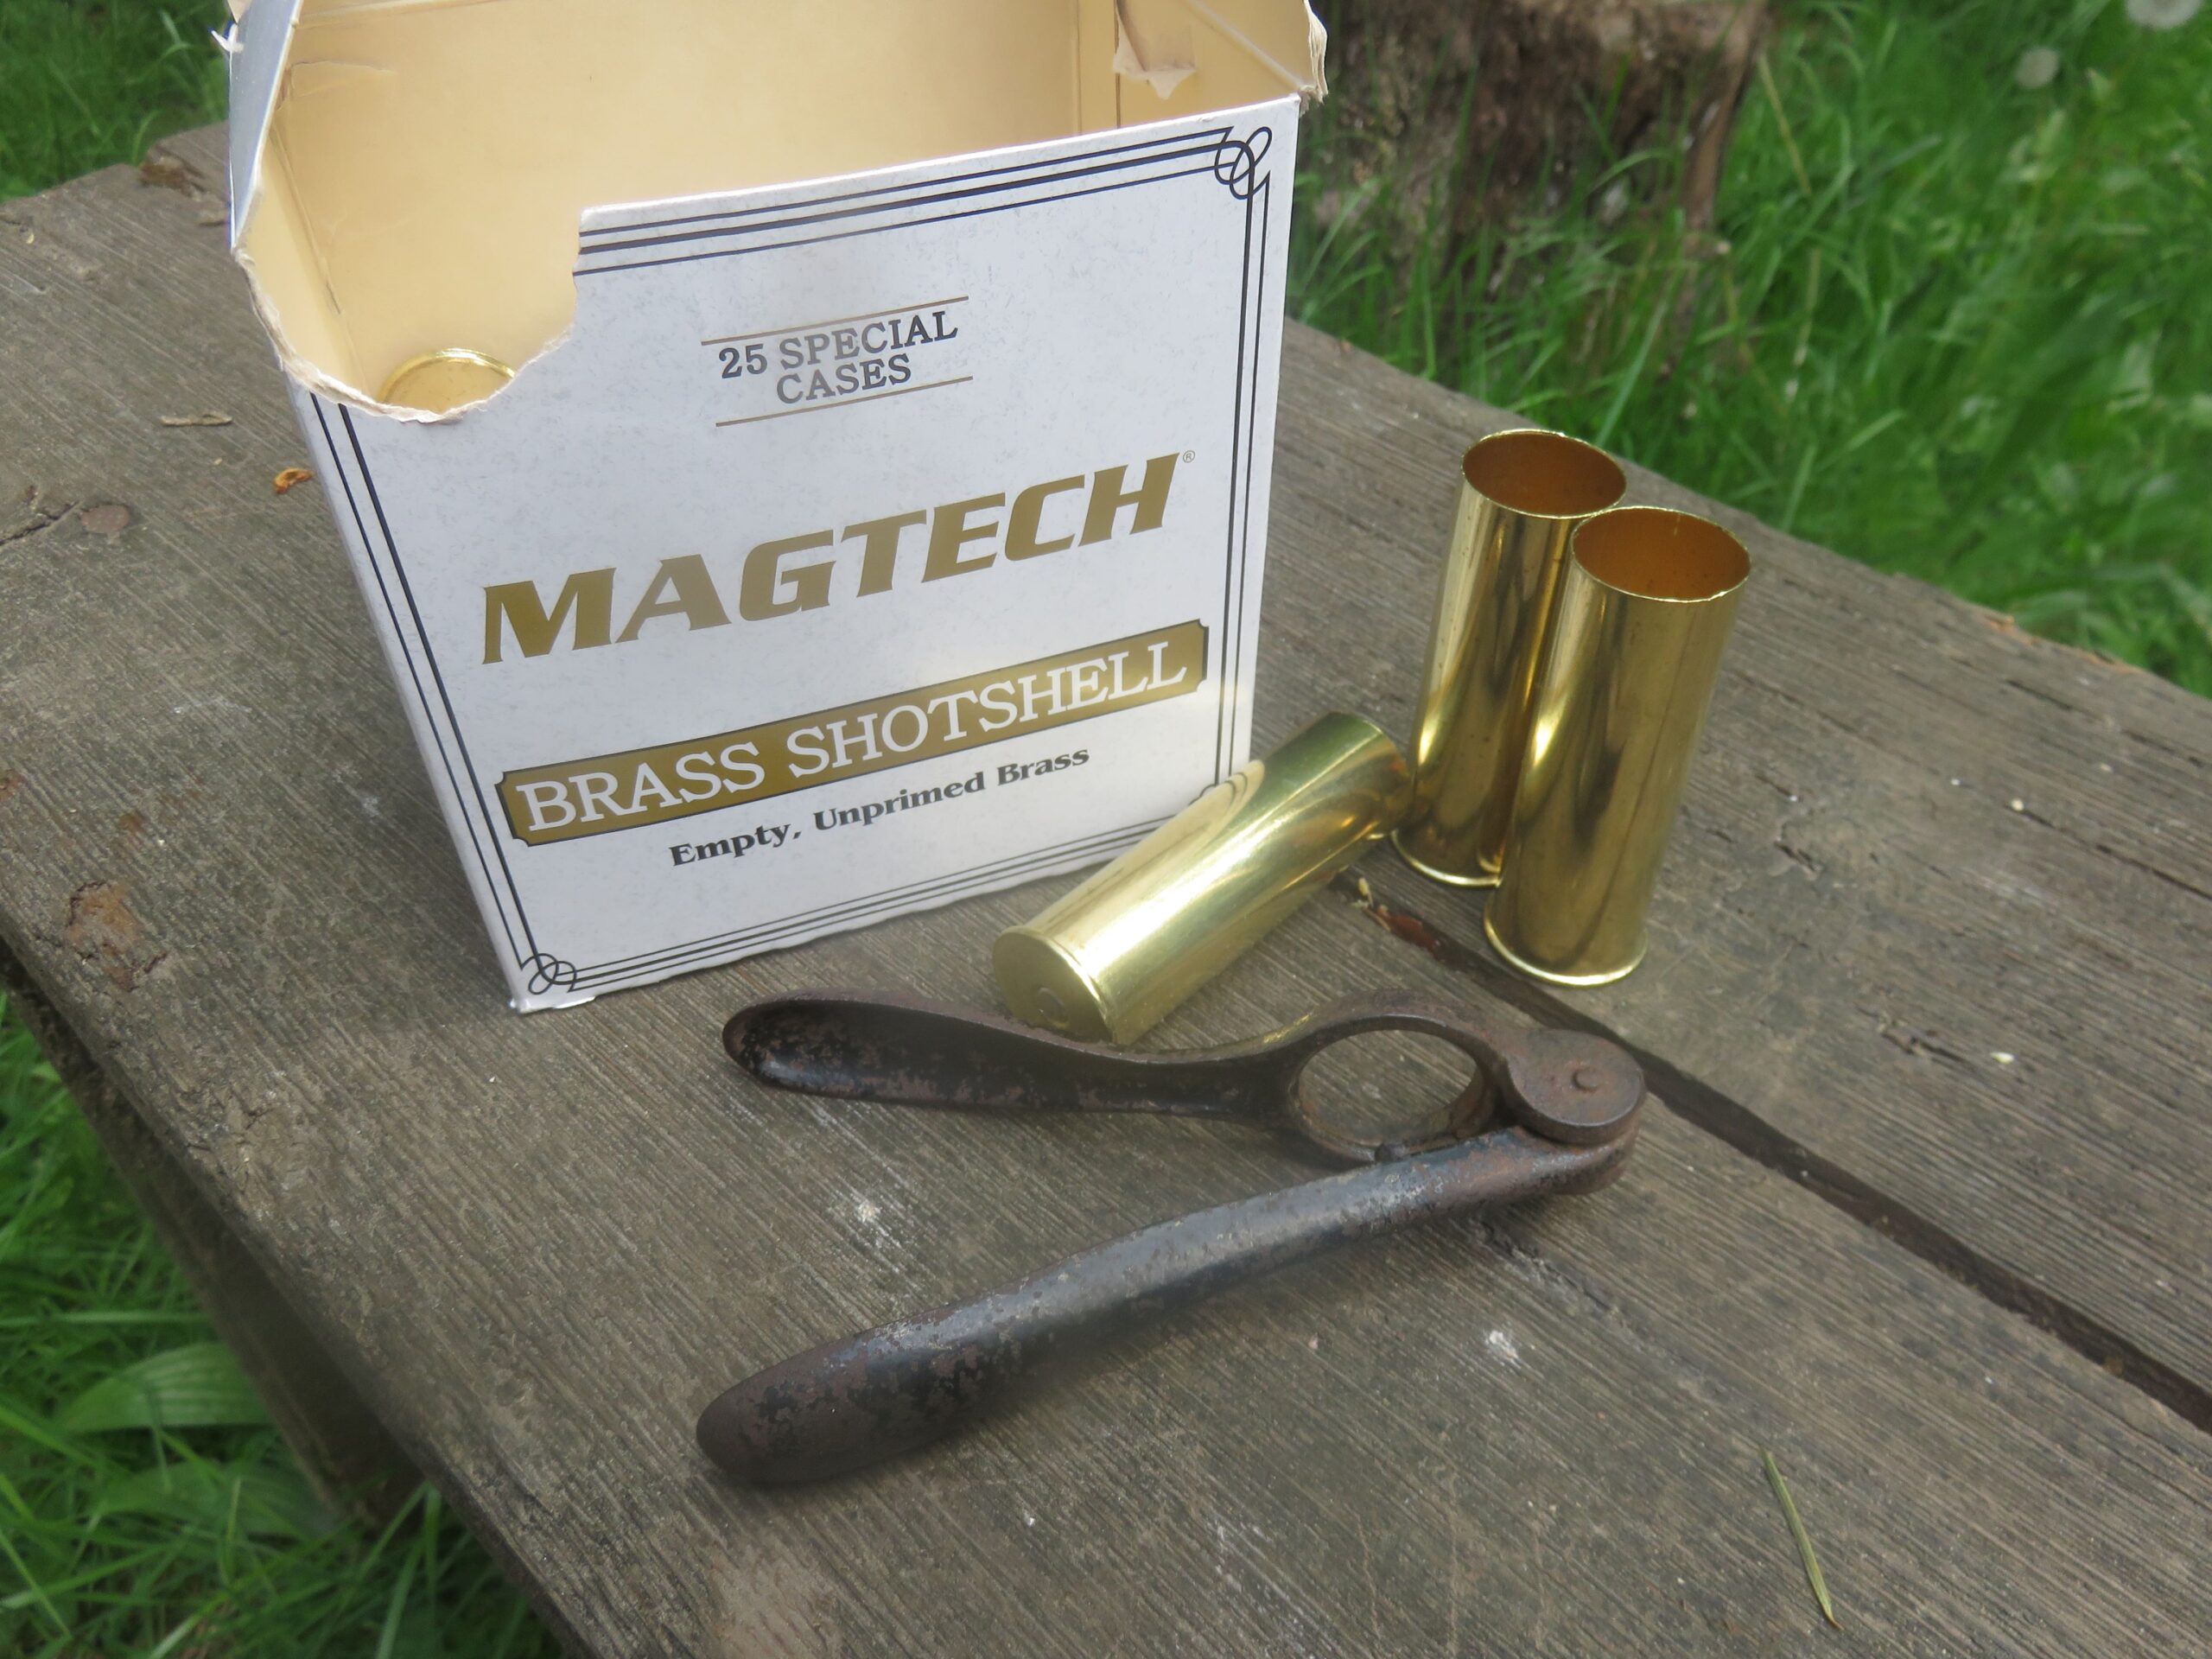
One advantage, at least for me, with the brass shotgun shells is the fact that they are to be primed with large pistol primers. Standard 209 shotgun primers are not to be used, in fact, they can’t be used. And, before trying to prime the new brass cases, I strongly recommend reaming out the primer pockets. Others to whom I have mentioned this were surprised that the primer pockets in cases I have needed reaming but all I can say is they certainly did. The reamer I used was intended to remove the primer pocket crimp often found in military cases.
At this point in the reloading, you might need a priming tool, or maybe not, because I’ve seen how some reloaders get the cases primed without using such a tool. They do it by placing the primer on a hard surface and placing the un-primed case’s primer pocket over the primer. Then a piece of large wooden dowel is placed into the case, all the way to the bottom, and the top of that dowel is tapped lightly with a hammer. Repeated tapping will work the case down over the primer and, when the primer is fairly flush with the head of the case, it is done. I pass this information on with some reluctance because I have not done it that way…
What I did do was to look for an antique 12-gauge priming tool and several of them were found. This old tool does a fine job in holding the brass shotshell and forcing the primer into position with “nutcracker” type handles.
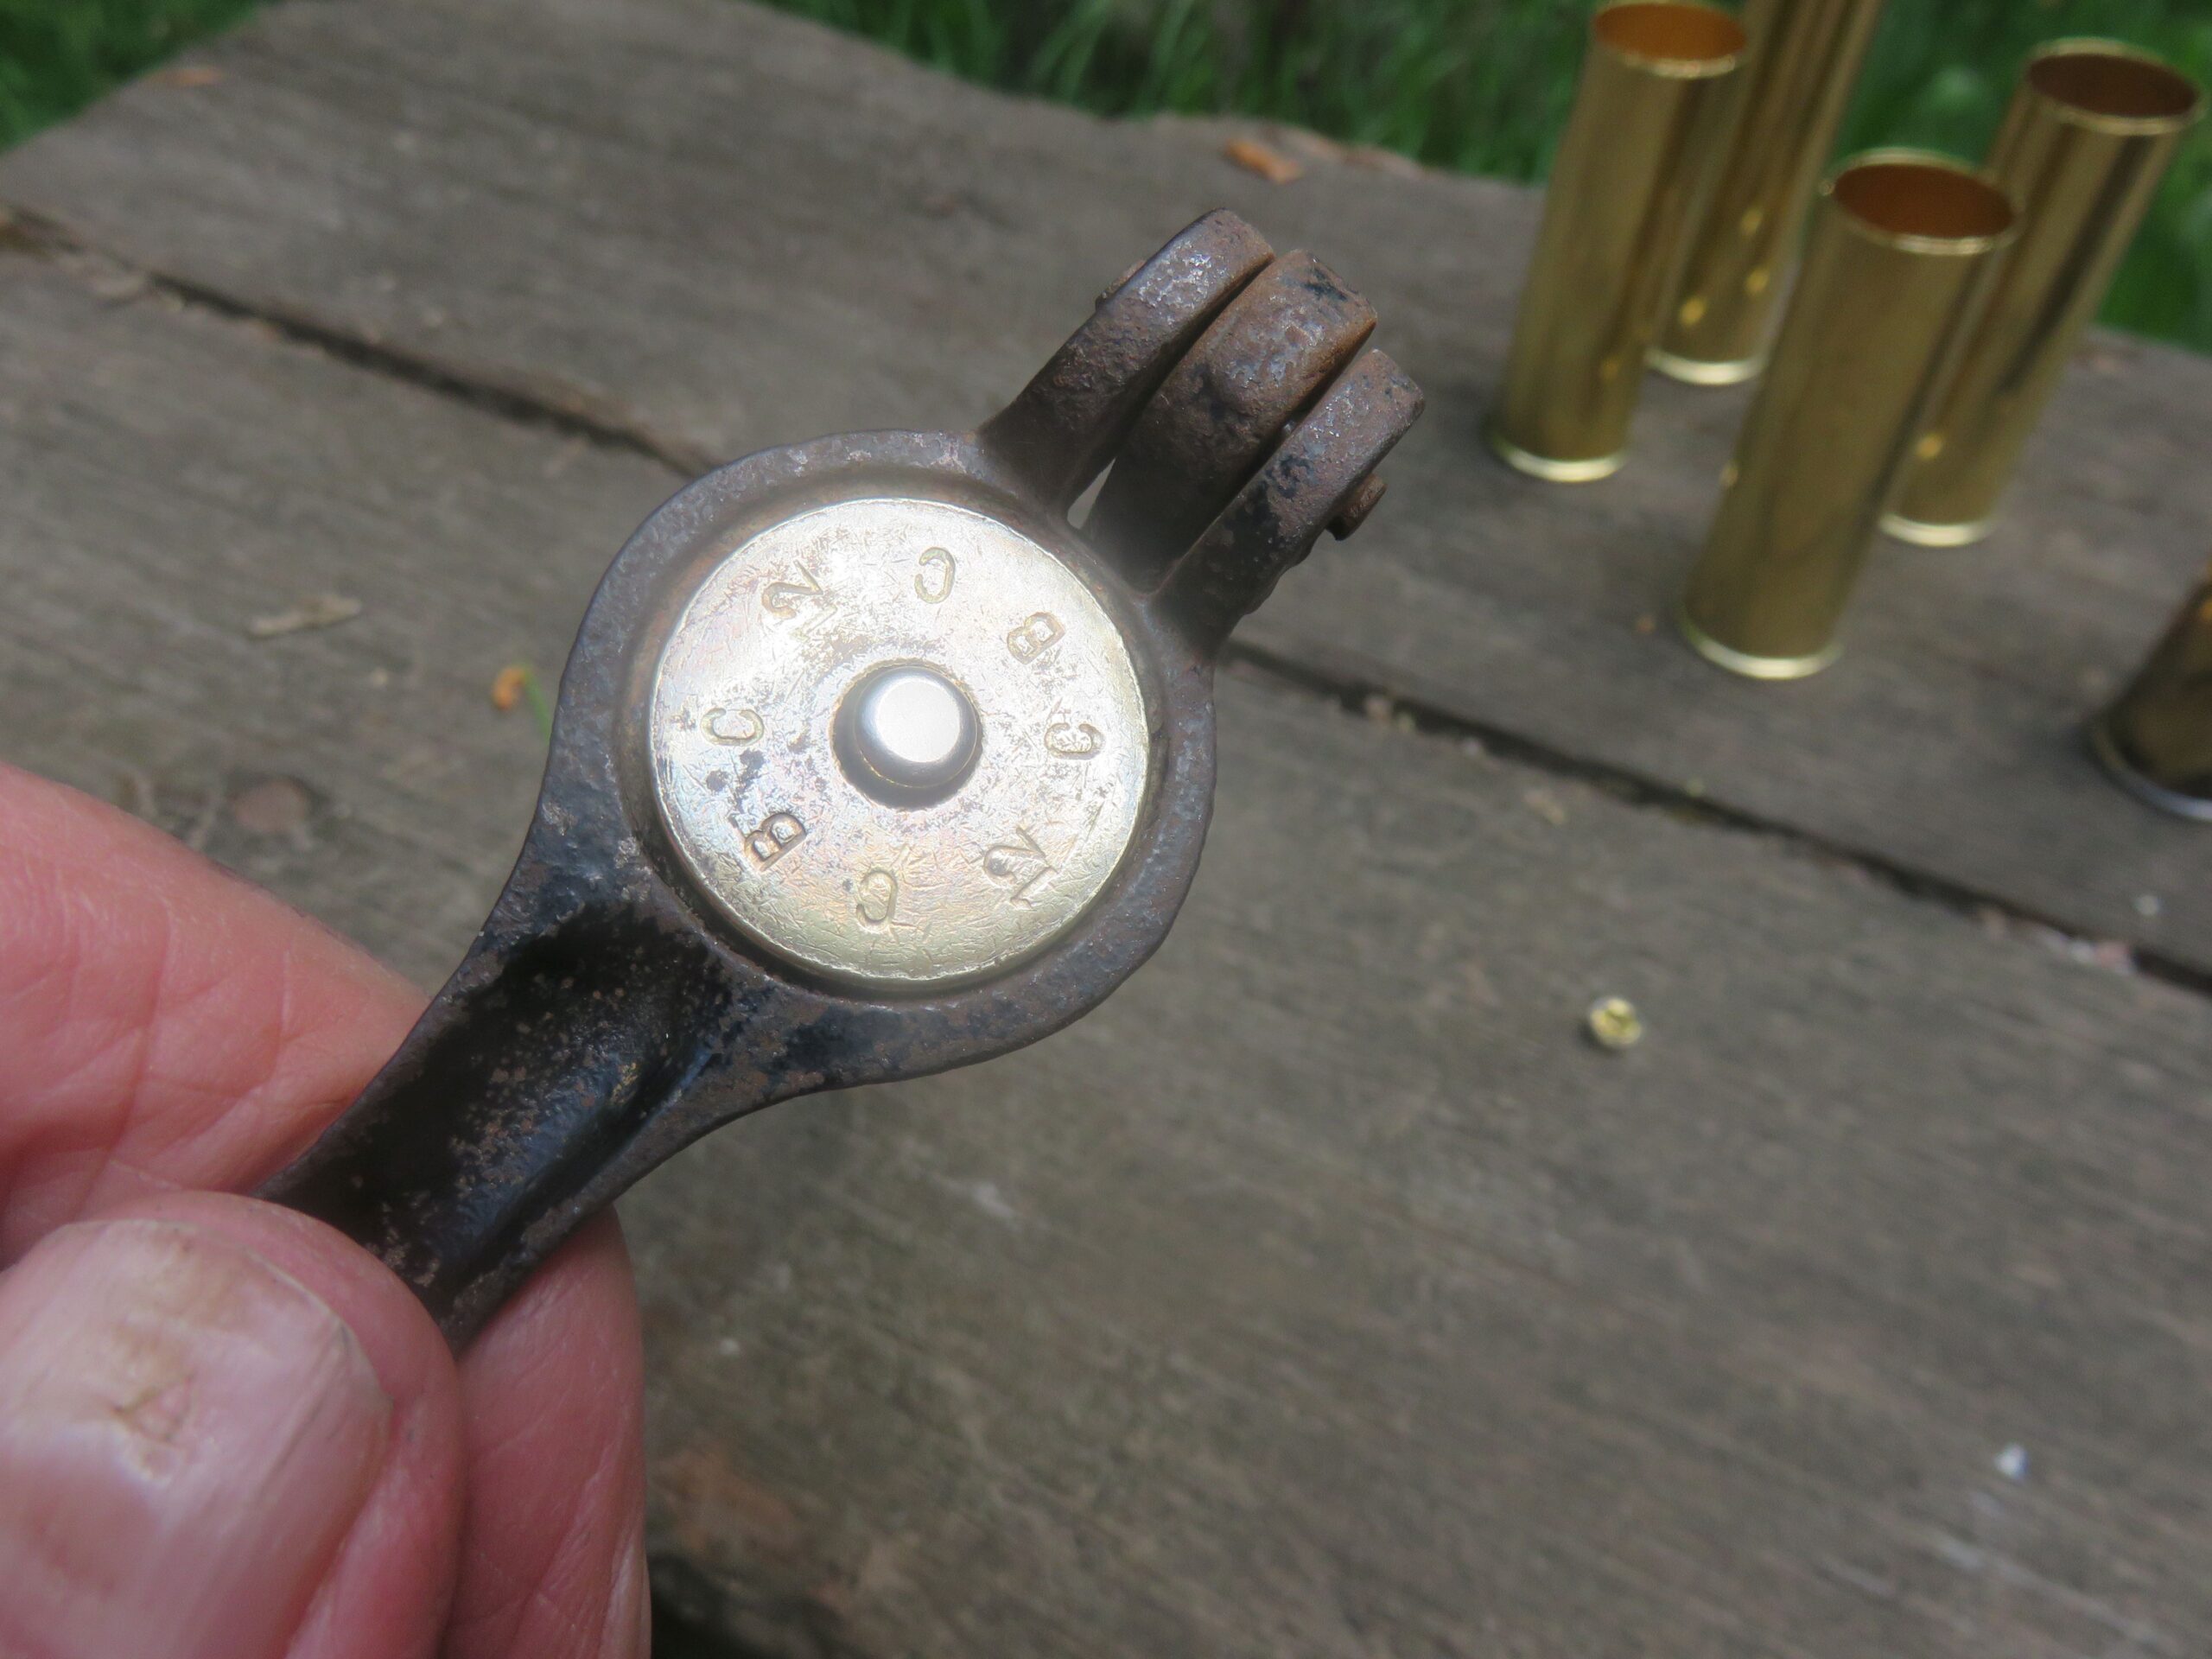
I used CCI large pistol primers and, after the primer pockets were reamed, the 25 cases in the box of brass shotshells were quickly primed and ready.
Next, adding the powder. For this you need some idea of how much powder you want to use and I stay with my old habit of using the same volume of powder and shot. (Using a greater volume of powder than shot often results in blown or hollow patterns.) For measuring the powder (and the shot) I used one of the new shot and powder dippers from Cash Manufacturing. They make dippers marked for either shot or powder and the dipper marked for the charges of powder can be adjusted from 2 ½ drams to 3 ½ drams, in ¼-dram increments. (A dram of black powder is about equal to 27 grains.) I selected a 3-dram load and charged each case with that much powder.
Shotguns are most commonly loaded with faster burning powders and that is a habit that carries over to smokeless powders as well. Remember that my recommendations are for black powder only. And my selection of powder was a 1 ½ Fg by KIK, a powder that I previously used in my rifles but it is now discontinued and I want to use it up. While a faster burning powder, such as a 2Fg, might give better performance, the 1 ½ Fg seems to be working fine, so far.
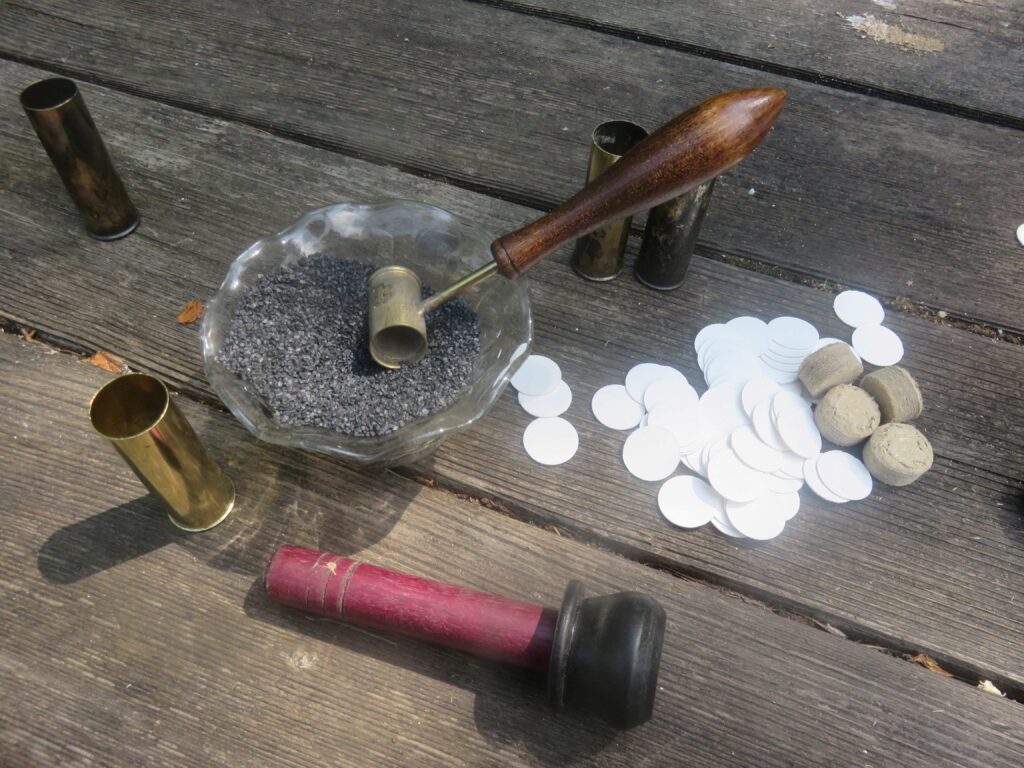
Now, about the wads. For loading in the 12-gauge brass cases, you’ll want to get 11-gauge wads. The walls of the brass cases are thinner than the paper or plastic cases so 11-gauge wads are used to keep things well fitted. And instead of using over-powder wads, I simply put two over-shot wads down over the powder. Those wads are pushed into the mouth of the case then rammed down to the powder with the rammer, that section of dowel with an enlarged head to push against. Go ahead and push the wads all the way down, so no air gap can remain.
Next, we’ll want to add one of the ½-inch thick cushion wads but before we do that, let’s talk about lubrication. Lubrication in the load is not essential, although it certainly doesn’t hurt. We can fall back and consider muzzleloaders for just a moment and realize that when loading from the muzzle, lubrication in the load is basically required. With a muzzleloader, if you don’t use lubrication in the loads, most commonly done with greased wads, you’ll have a terrible time in getting a following load down the barrel after firing only a couple of shots. So, when I’m loading my brass shotgun shells, I use lubrication and that is done in a couple of ways.
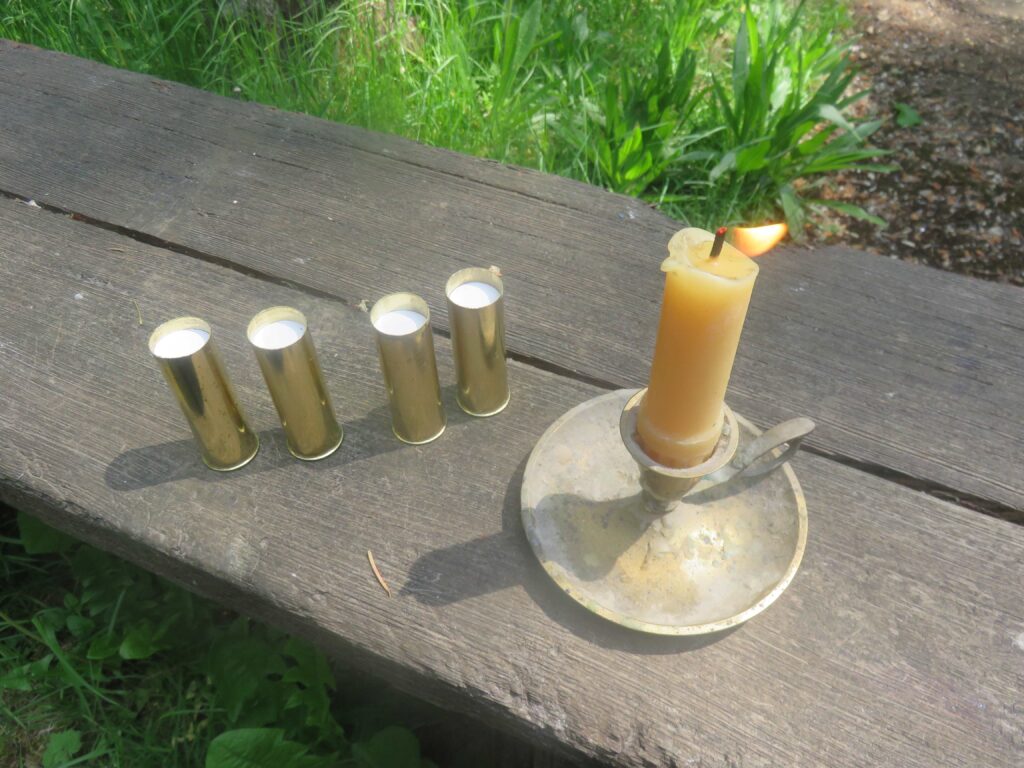
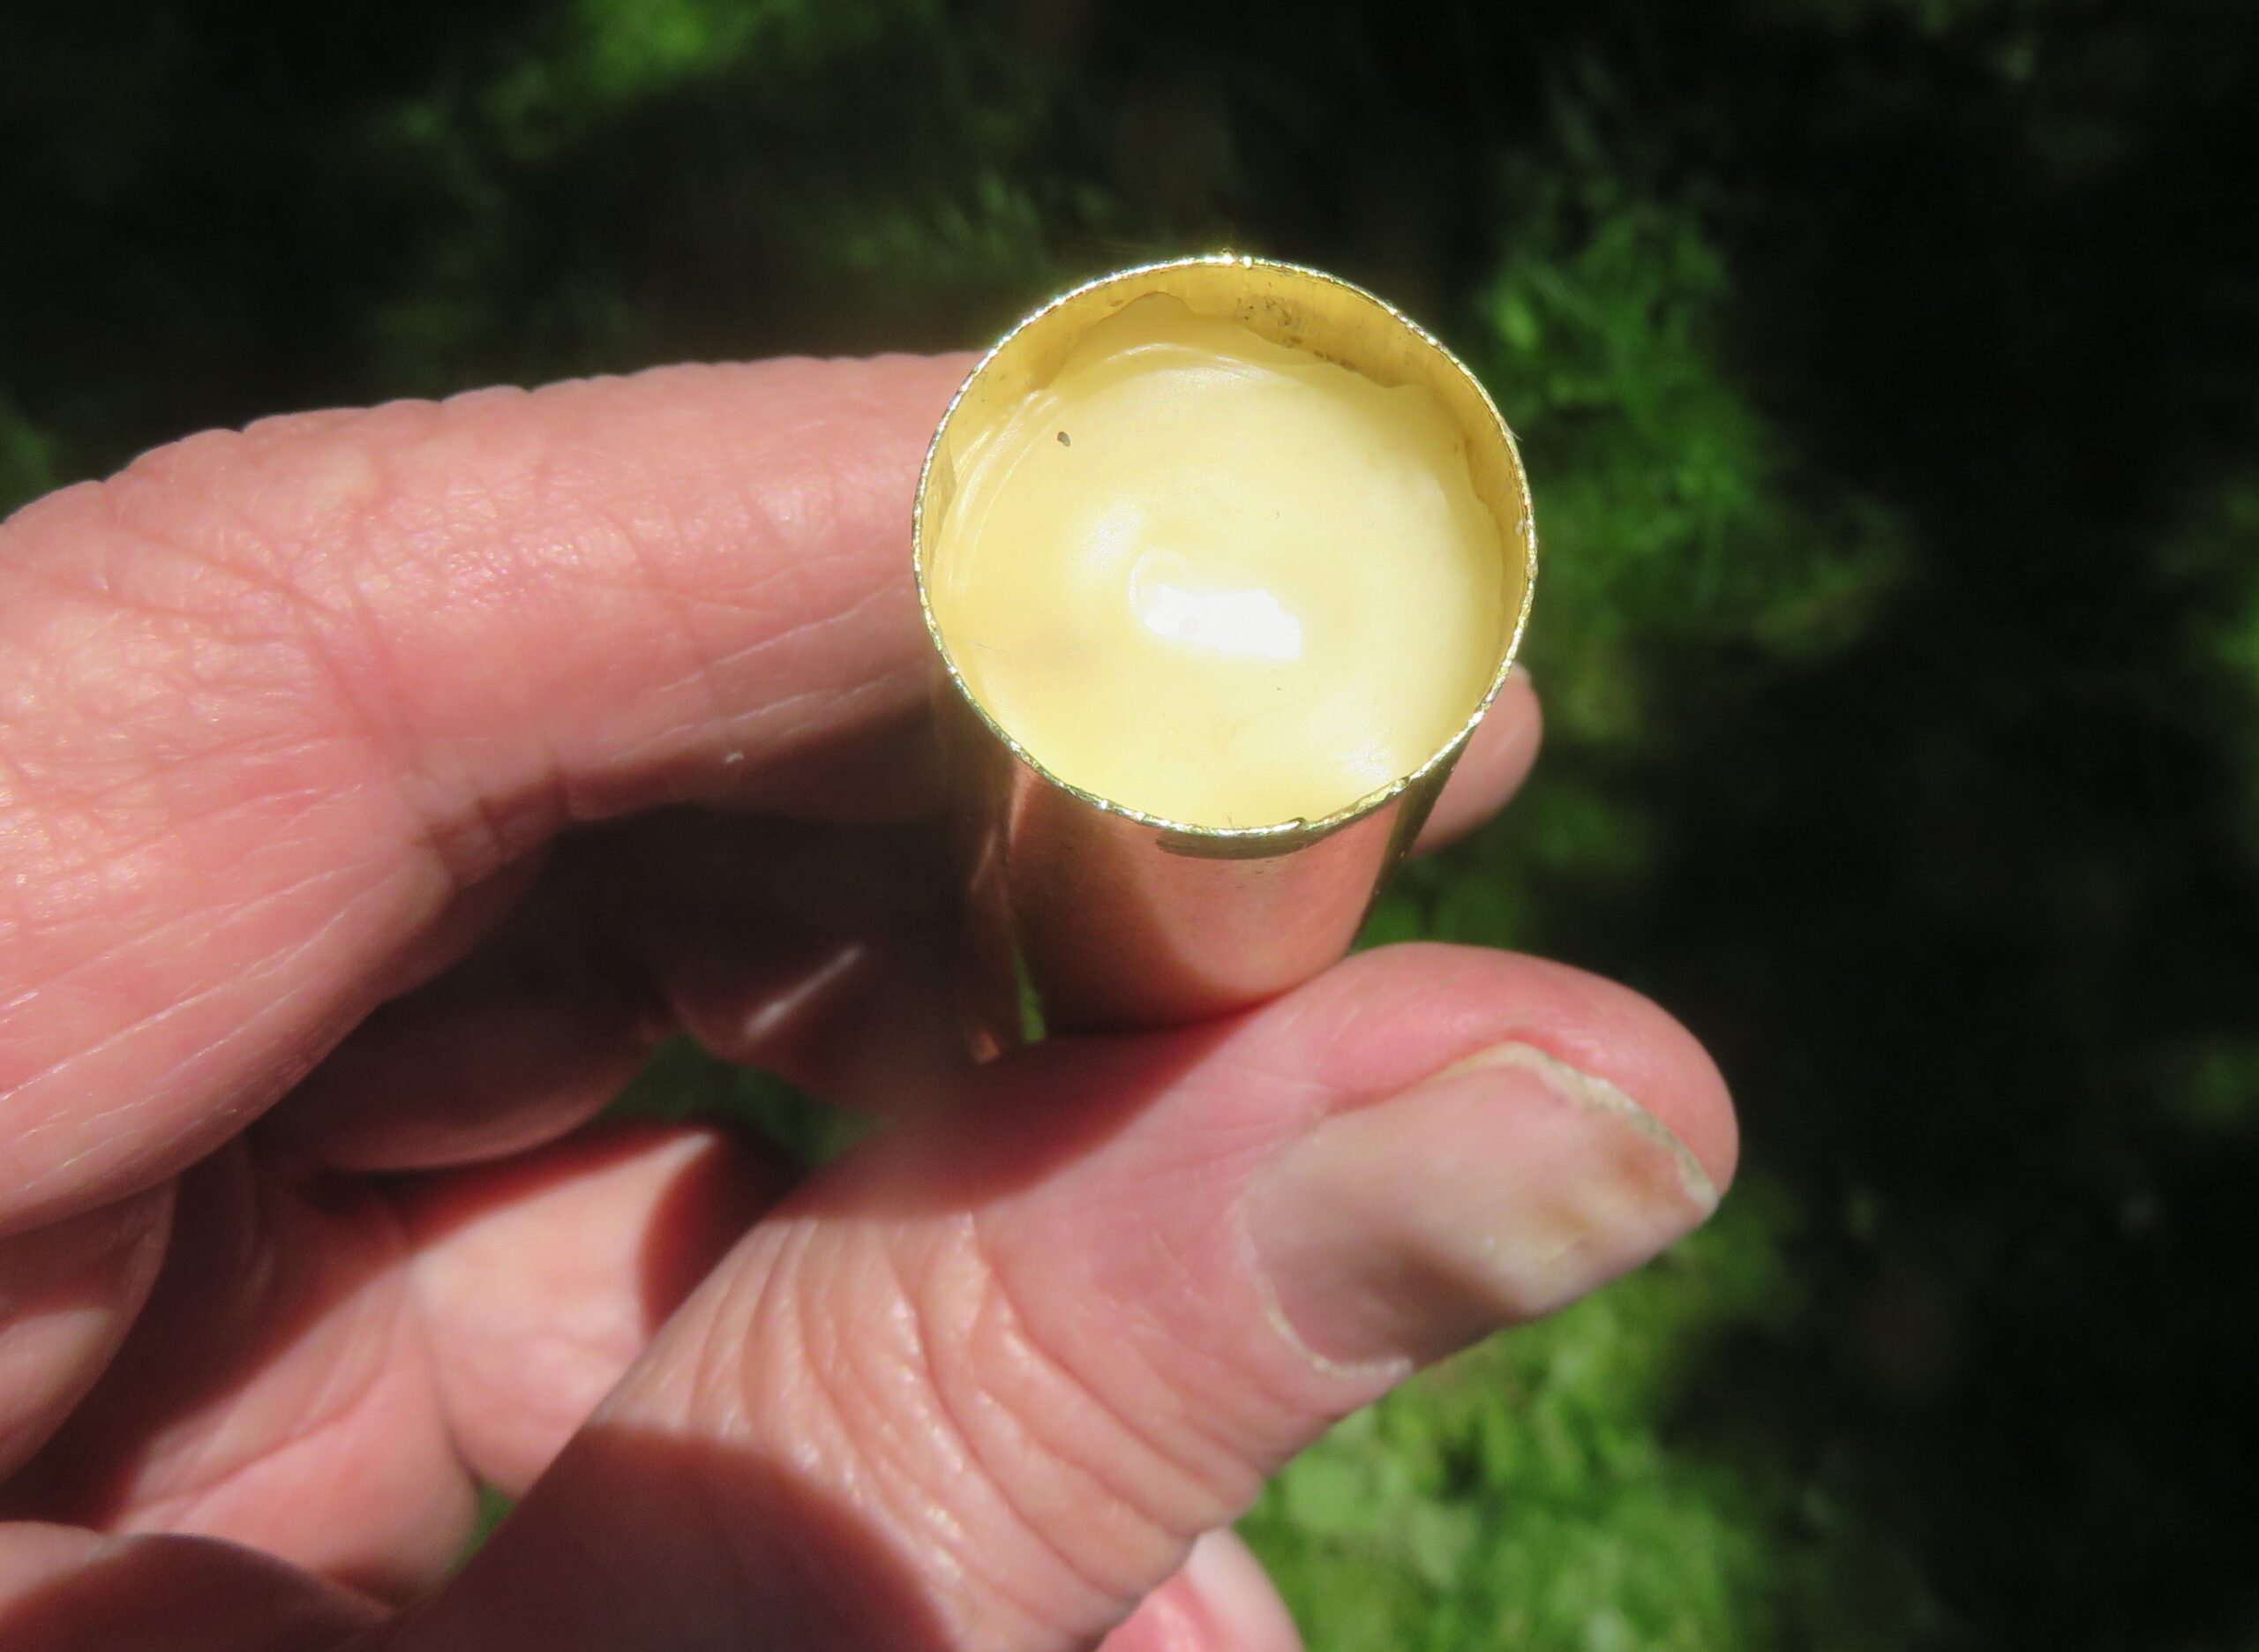
My favorite method is to use a 1/8-inch thick “wad” of beeswax and that goes right over the over-powder wads. Then the fiber cushion wad is placed over the beeswax. Another way of doing that is to soak the cushion wads in melted bullet lube, so the cushion wads will carry the lube, which will be squeezed out of the wad as the wads and shot are headed toward the gun’s muzzle when the load is fired. Either method should work just fine and you need to be prepared either way, either by pre-lubing the cushion wads or by having 1/8-inch pieces of beeswax ready for loading.
Again, push the cushion wads down over the over-powder wads so there is no air gap left inside the case.
Now, we load the shot. The shot can be anything you want just as long as it fits into the shotshell. It most likely will be lead birdshot of the size you prefer but it could also be buckshot which is mostly favored for “social events.” Or, you could even load a single round ball if you have the proper diameter, maybe even a slug. For my use, so far, I used re-claimed birdshot of mixed sizes, leaning to the smaller sizes as my targets are usually clay pigeons or, more hopefully, grouse. The 3-dram setting on the powder and shot dippers are equal to 1 ¼ ounces of birdshot. The dipper is filled flush to the top with birdshot and that is simply poured into the mouth of the case, added on top of the cushion wad.
Those new shot and powder dippers are available from Cash Manufacturing at $32.95 each and to see all of the things they offer just to go their web site at www.tdcmfg.com. And they can be contacted by telephone at 608-849-5664 or e-mail them at office@tdcmfg.com. Their address is; Cash Manufacturing Company, Inc., 201 South Klein Drive, P.O. Box 130, Waunakee, Wisconsin 53597-0130.
Next, almost the finishing touch, is the over-shot wad. That is easily added and simply pushed into place with the fingertips. The over-shot wads can be marked with the shot size for identification of the load, important if you are assembling different shot size loads. But the real finishing touch is sealing the over-shot wad in place and to do that I use beeswax again.
To prepare for sealing the loads, I put all other ingredients away, especially the powder. My favorite way of sealing the loads is the old-fashioned method of using a burning candle. Light the candle and let it burn just a little while. Then, while the candle is still burning, hold the loaded shell at an angle and let some melted beeswax drip into the mouth of the case. While the shell is held at the angle, the wax will flow to the edge of the top wad. Rotating the shell as the drips of wax continue will put a ring of wax around the edges of the top wad, sealing the wax to the sides of the case and also offering more lubrication when the load is fired.
Following that, the loads are ready for shooting. After they are fired, the cases need to be de-capped and for that I use a Lee de-priming rod and a hammer, with the case resting in a hardwood “shell holder” a partner made for me. Then clean the cases with a water solution, inside and out, and dry them. That prepares them for being loaded again and, once more, re-sizing isn’t necessary unless the cases have become deformed, such as by being stepped on. Loading brass shotgun shells with black powder is one of the easiest ways to get good shotgun reloads and it’s almost as much fun as the shooting.


