By Mike Nesbitt | Contributing Editor
(Editor’s Note: In his exclusive continuing series, black powder specialist Mike Nesbitt delves into one of the fascinating arenas of black powder metallic cartridges.)
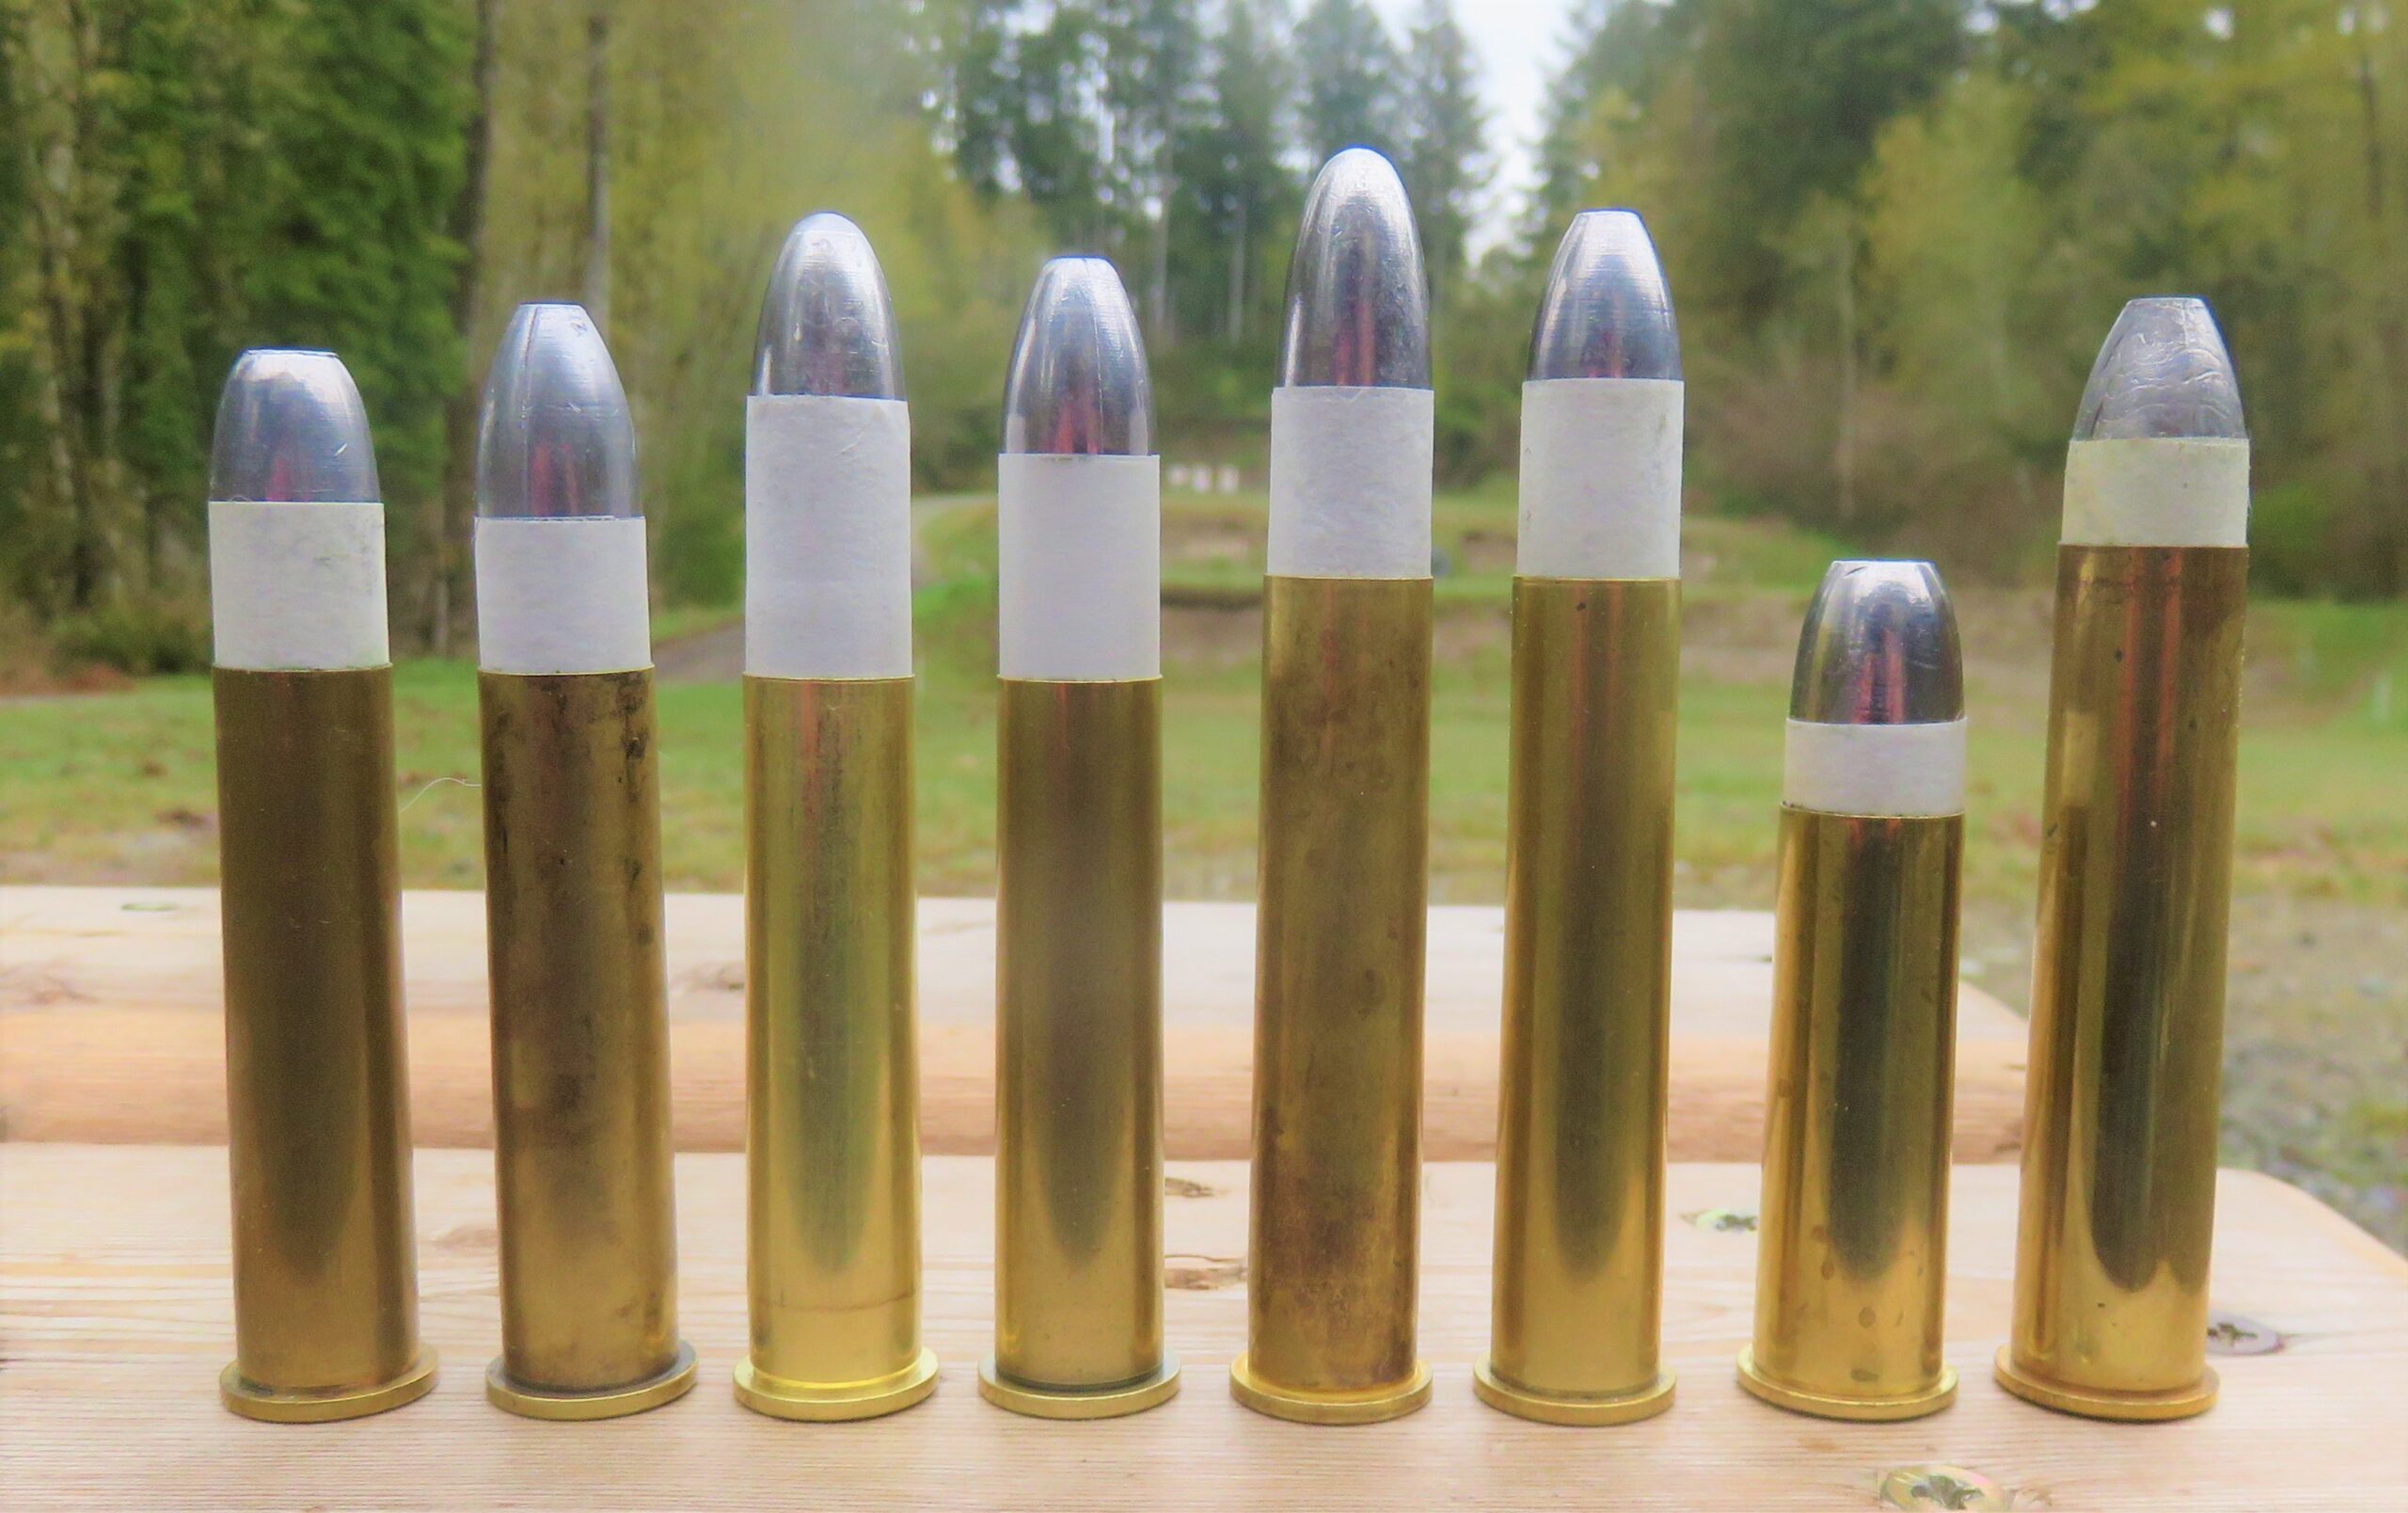
Perhaps the most historical and most identified of the black powder cartridge loads were the ones which featured paper patched bullets.
Yes, that statement comes from a devoted fan of the Sharps rifles as well as the Sharps cartridges but Sharps rifles and cartridges were not the only ones to use paper patched bullets, even though they were some of the most outstanding. Various black powder cartridges were available with factory loaded paper patched bullets up to our nation’s entry into World War 1, so the paper patched loads lasted longer than what many people think.
Paper patched bullets need consideration in special ways. Generally, they are smaller in diameter to allow for the double (or even triple) thickness of the patching paper. There are plain based paper patched bullets as well as cup-based versions, straight and tapered bullets, depending on what is favored. Selection of a paper patched bullet can be based on several features, primarily the weight of the bullet and the diameter. But we’ll save selection of the bullet for another conversation because for now we’ll only discuss how to load the paper patched bullet, after they’re already cast and wrapped with the paper patch.

I will briefly explain the purpose the paper patching has; it simply keeps the sides of the bullet from rubbing on the inside of the rifle’s bore. In that way it greatly reduces leading inside the barrel. We might say that our first “jacketed bullets” were paper patched, and, frankly, the main purpose of the copper alloy jackets is the very same.
Loading the paper patched bullets requires special consideration because simply running them through a seating die with re-sized cases will usually tear the paper. To describe my favorite way of loading paper patched bullets, we’ll pick on one cartridge and load it all the way through the process, like we recently did with the straight walled cases. Let me add, this might not be the best way, or even the right way, but it is my way…
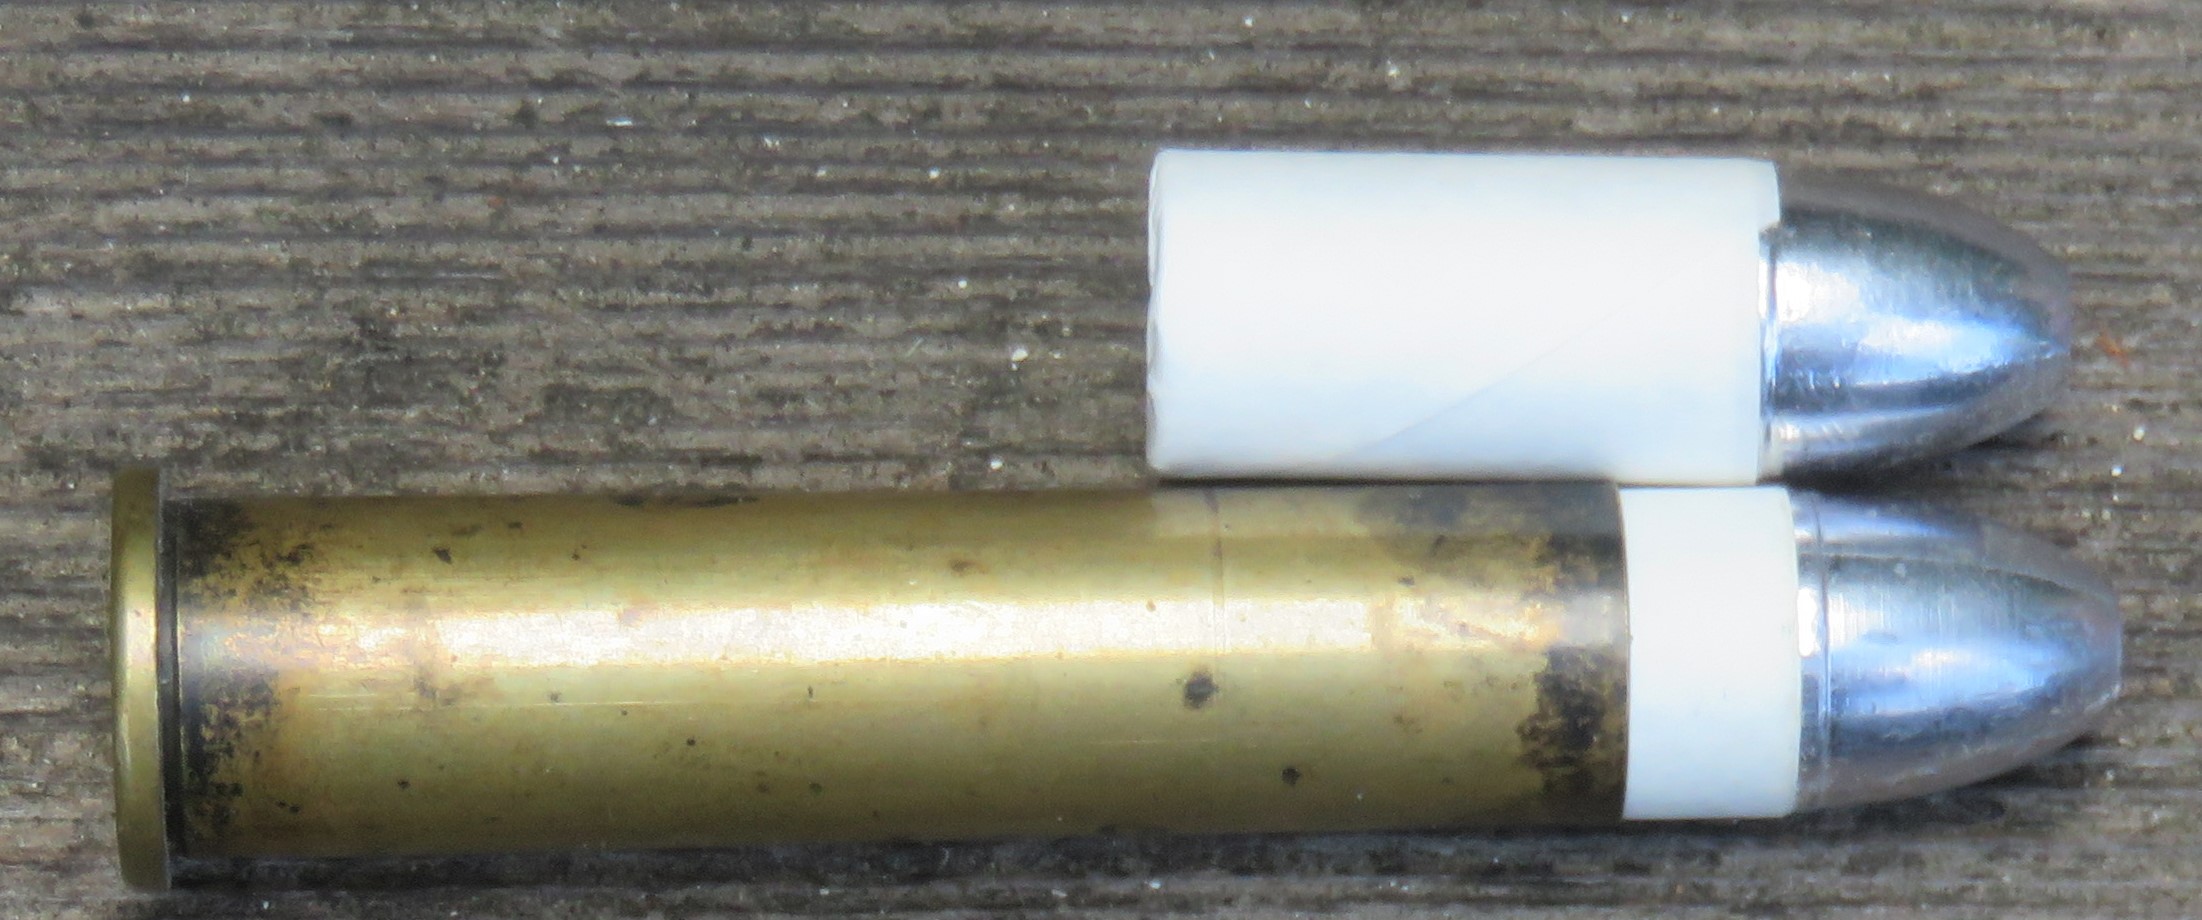
For this example, let’s use the .45/70 (does anyone else use that?) and we’ll start with fired but de-primed and cleaned cases. Take just one of those cases and with your fingertips insert a paper patched bullet just a little way into the mouth of the case. Then, being careful that the bullet won’t either fall out or fall deeper into the case, chamber the case with the bullet into the rifle. Chamber it completely, with the breech closed. Then, being just as careful, remove the case with the bullet from the chamber. The bullet, most likely, was pushed back into the case at least a little when the breech was closed and that should give you the overall length for your loaded cartridges with the paper patched bullets.
The bullet might also have some marks on it from the leade of the rifling and that should be just fine. Paper patched bullets generally extend into the rifling when they are chambered. That’s a desirable thing and it also helps the bullet to start its travel down the bore the same every time.

With the overall length determined, we’ll get going on making some ammunition for paper patch shooting. Run those un-sized cases through the expander die first. This will round-out any deformed case mouths and it will also flair or “funnel” the mouth of the case. Then re-prime the cases. This gets the brass ready to receive the powder.
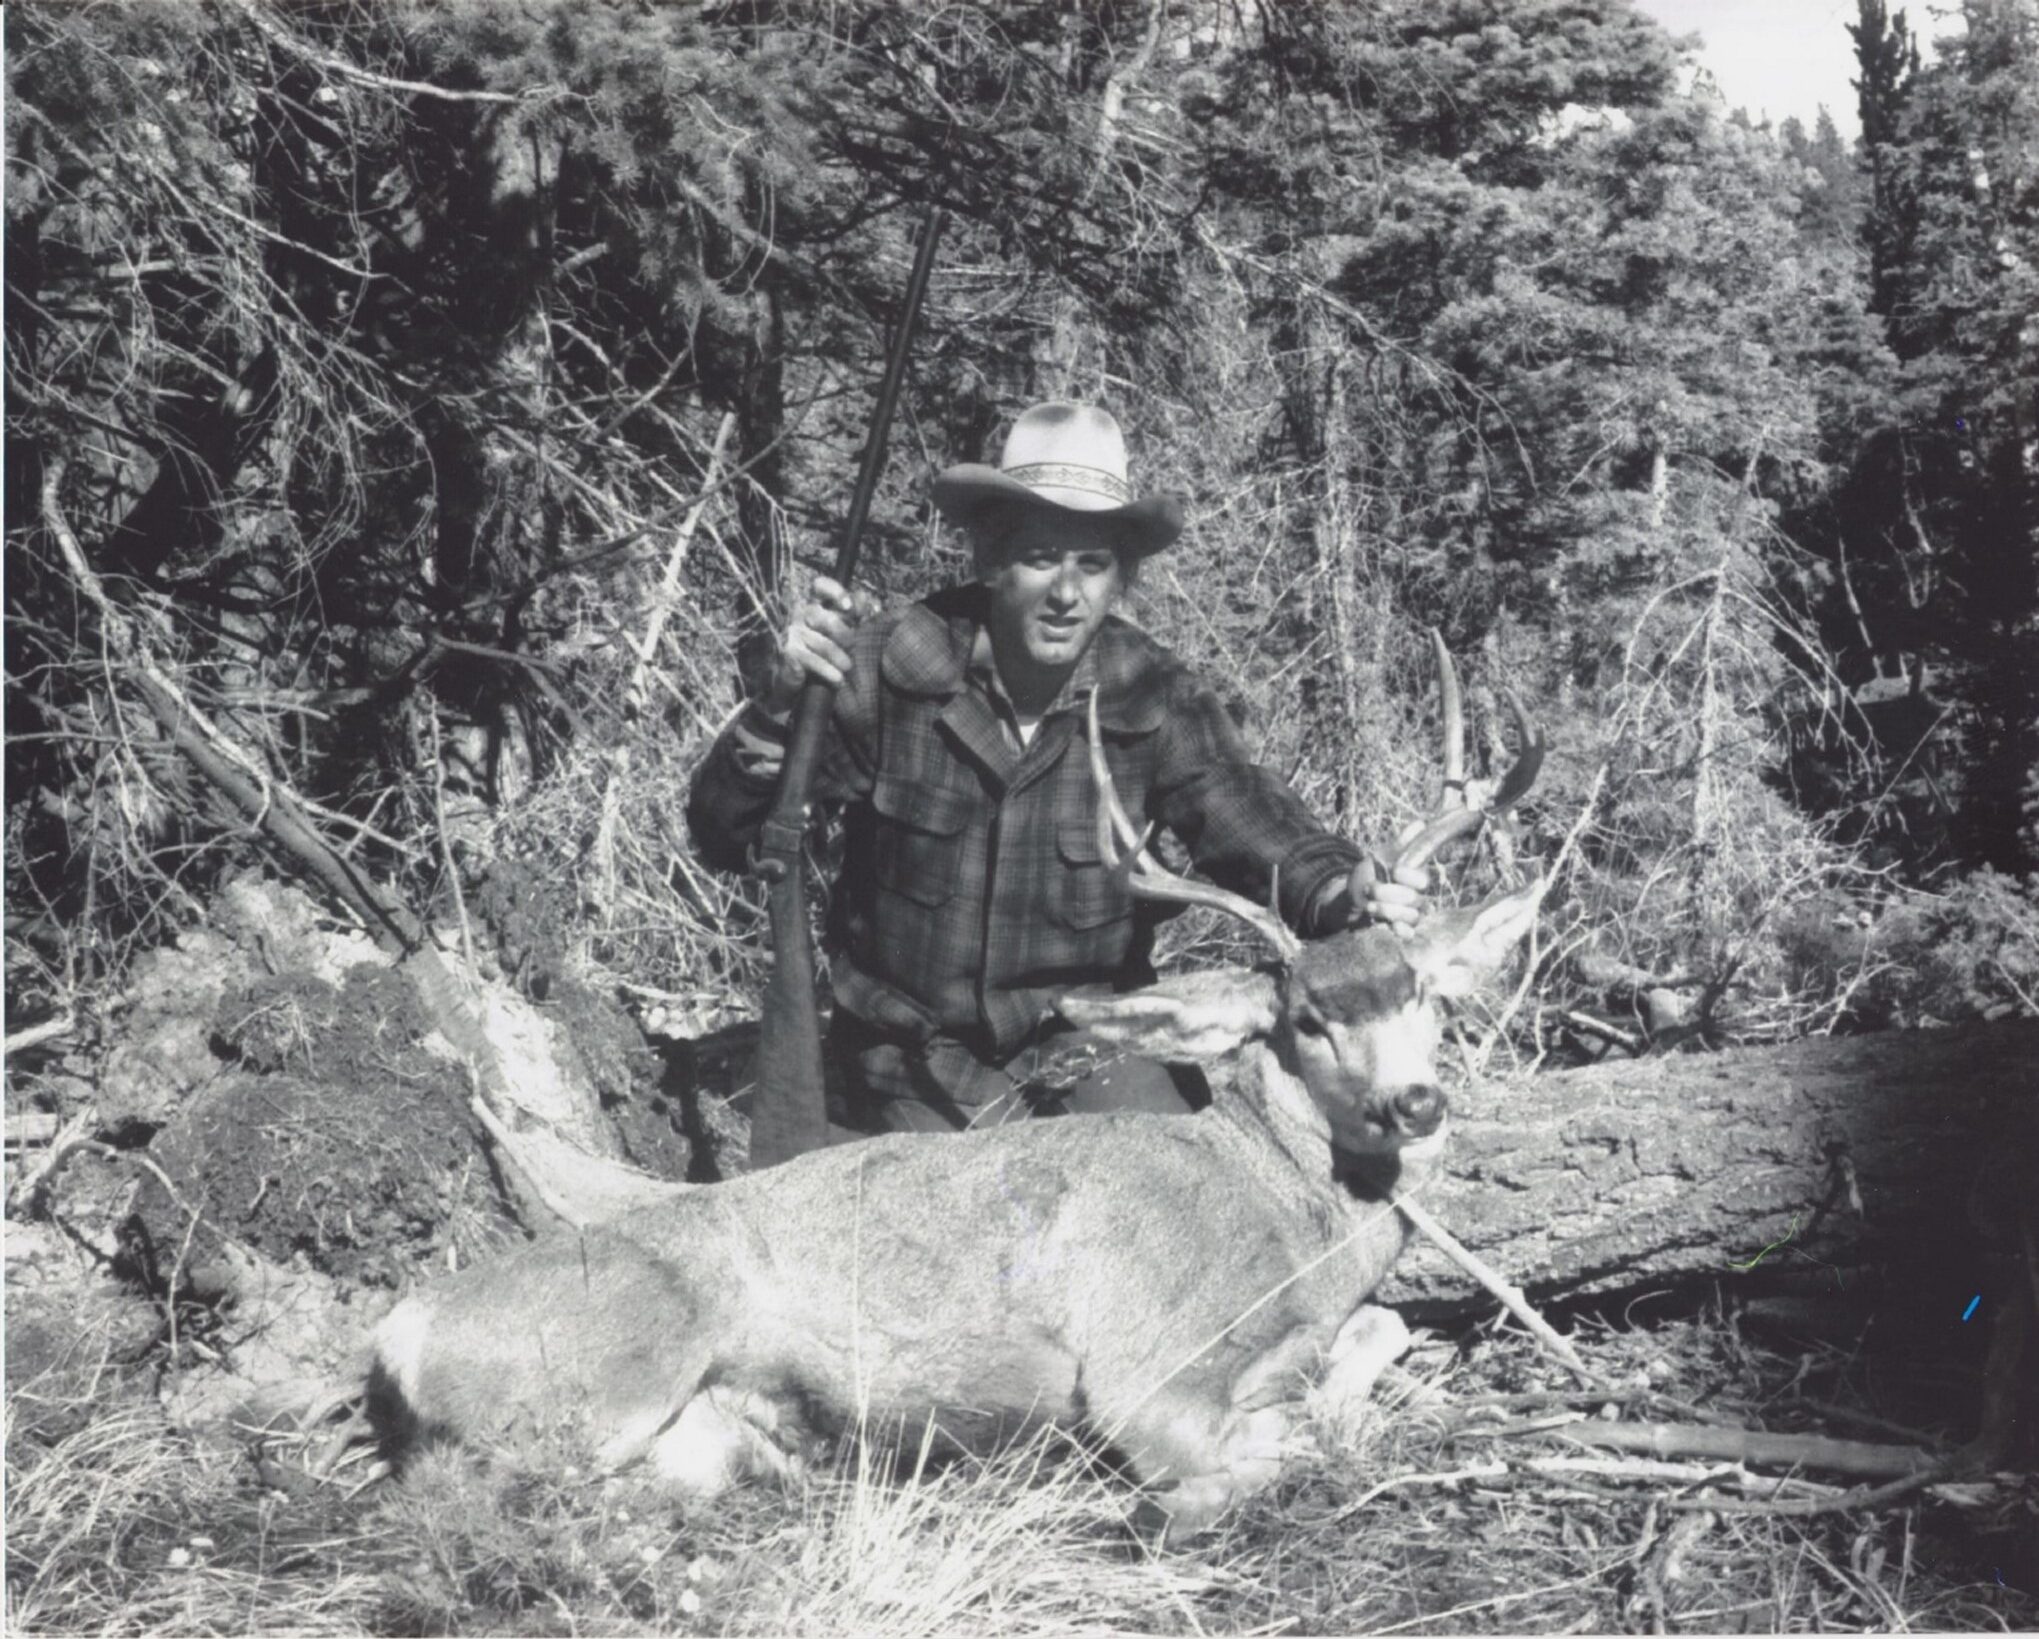
The load I’m going to describe now is for the old .45/75/420 Sharps which used the standard .45/70 case, 2.1 inches long, with 75 grains of powder and a 420-grain paper patched bullet which was 1 1/8-inch long. My 420-grain bullets are cast in a Rapine mold, no longer available, with a diameter of .449-inch, patched with two wraps of Buffalo Arms patching paper. That makes a fine hunting load and I do speak from experience. In order to load the 75 grains of powder, and I’ll recommend Swiss 1 ½ Fg, it is best to use a drop tube just to get all of the powder into the case. Then, take a fiber wad, perhaps with an .030-inch thickness, and put the wad over the powder.
The .45/75/420 Sharps loading was available, in the Winchester catalog, up to at least 1916 and the cartridge boxes were generally marked “For Sharps Rifles” because the bullets extended beyond the mouth of the case far enough that the cartridges could not be used in repeating rifles. That ammo could easily be used in other single shots, such as the Highwall or rolling block but not so for leverguns. Perhaps the Sharps load could be inserted into the chamber, let’s say in the 1886 Winchester, but then it couldn’t be removed until it was fired.
Next, we’ll compress the powder, either with a compression die or by using the expander die again. The depth of compression can be determined by the overall length we want our cartridge to be. Compress the powder down so the bullet can be seated to the overall length, then add 1/8 to 3/16 of an inch of further compression. The added compression, or the “extra” space created by it, is for a disc of lube either 1/8 or 3/16” thick.
For a hunting load, that disc of lube, some of us call that a grease cookie, is necessary because the lube isn’t for the bullet it sits behind in the load, instead it keeps the fouling in the bore soft for the next shot.
Then, if we’re using a plain based bullet, we want another .030-inch wad over the lube. That keeps the lube, which becomes liquid under the pressure from the burning powder, from trying to pass the bullet in the bore. However, if we’re using a cup-based bullet, let the bullet sit right down on top of the lube, so that lube will fill the cup and add its hydraulics to help expand the base of the bullet.
After doing all of that, it’s time to re-size the case. Run the brass, completely loaded except for the bullets, through the sizing die to straighten the case at the mouth and to assure a good tight fit for the paper patched bullets. Seating the bullets is done with the fingertips and starting the bullet into the case can be difficult. I often turn the bullets, in the direction to keep the paper tight, and once the base of the bullet is started into the case, pushing the nose of the bullet against the loading bench will usually set the bullet down against the wad or lube rather nicely.
It would be easier to load the bullets into the cases before re-sizing, very true. In my experience, however, the brass has a bit more memory than the lead, so the case is likely to expand or loosen a little after being re-sized which leaves the bullet loose again. Crimping has also been tried but any type of crimp will have an unwanted cut or separation of the paper. A slight taper crimp might do well but I’ve found that seating the bullets inside re-sized cases to be the best. The bullets are held firmly enough to carry the ammunition in a cartridge belt.
While the .45/75/420 loading is a favorite for hunting, I also use a .45/70/500 loading with a bullet from a Tom Ballard mold (also no longer available) that is a tapered 500-grain slug. That load is a very good performer but I have to say that I’ve never hunted with it.
Another load, using a different bullet, follows the same techniques for loading but with a few changes. This is for a target load and the bullet is a 525 grain non-tapered “slick” (because it has no lube grooves) from a Hoch mold. The diameter of this bullet is .452”, which is larger than most paper patched bullets for the .45 cartridges, and the first thing I did was to ‘load’ a bullet into an empty case, then chamber it in the rifle to find out what the overall length of the loaded cartridge could be. This bullet needs to be seated deeply into the case to fit the rifle I was using and with that knowledge, the loading continued.

The loading sequence began just the same as for the previous loading, by running the brass through the expander die. Following that, the brass was re-primed and then loaded with 70 grains of Swiss 1 1/2Fg powder. Then, with a fiber wad placed over the powder, the wad and powder were deeply compressed to “make room” for the deeply seated paper patch bullet.
Here the sequence changed slightly, no lube was used in this load. The paper patched bullets were seated, after the cases were re-sized, right down on top of the over-powder wads. This is how several of the paper patched bullet target loads are put together, with no lube cookie inside the case. What this means, when shooting, is that the rifle’s bore will need to be cleaned between each shot. And, in this case, tolerances for the bullet’s fit in the chamber were so tight that a second shot couldn’t even be loaded until the barrel, chamber and bore, were cleaned. That “tightness” is fine, just what is wanted for a target load.
The 70-grain load using the 525- grain paper patched bullet was never speed checked over a chronograph but it was used in one of our club’s paper patch matches. These are short-range matches with targets at 100 and 200 yards, fired from the sitting position with the rifles rested over cross-sticks. My shooting with this load and bullet, in my 45/70 from C. Sharps Arms with the 34” barrel, was good enough to put me in 2nd place. What helped me claim that spot was a 200-yard score of 94-2X and my prize for the day was a package of bacon. (That’s “makin’ meat,” for sure.)
Loading the historic paper patched bullets is not difficult but a different sequence in the use of our loading tools has advantages when seating the paper wrapped bullets. While I’ve only specifically mentioned one caliber, the technique and sequence of loading can certainly be used with other calibers for different loadings.


