By Art Merrill | Contributing Editor
Why do you reload your own ammunition?

With the big uptick in precision rifle shooting the last decade or so, the focus tends to be on MOA or sub-MOA ammo for these guns. But “precision” is a relative term, and there’s more than one reason we handload our own ammo.
A revolver can shoot with precision, but it can’t match the precision of a rifle much beyond a stone’s throw. Yet we can make a revolver shoot more precisely within the context of revolvers by making our own ammunition tailored to it. Beyond the shooting platform, we must also keep the idea of “precision” in context with the goal. Deer hunting in the woods where a long shot might be a hundred yards does not call for the same precision as half-mile sniping at enemies of the Republic. If plinking (or covering fire) is our goal, then precision usually takes a back seat to quantity.
Precision or plink

Making our own precision ammunition involves more steps and more careful attention to detail than does rolling a couple hundred rounds of plinking ammo. Loading precision ammunition to exact consistency for 1,000-yard rifle competition includes case preparation including weighing and segregating cases, cutting primer pockets to uniform depth, beveling flash holes, neck sizing only, squaring case heads and trimming and chamfering case mouths. Then comes weighing and segregating bullets, perhaps trimming bullet meplats, weighing individual powder charges, and employing micrometer adjustable bullet seating dies for correct and consistent neck tension.
With informal plinking ammo, we can skip all those steps except occasional trimming and chamfering. But regardless whether we’re reloading for precision or for plinking, we must prepare our brass cases before re-priming and reloading them, and there is one step that is a “must” to either endeavor: cleaning. A little brass fastidiousness precludes dirty, gummed-up reloading dies; a dirty, balky progressive reloading press; and a dirty firearm chamber that can lead to a host of other problems.
Wet & dry
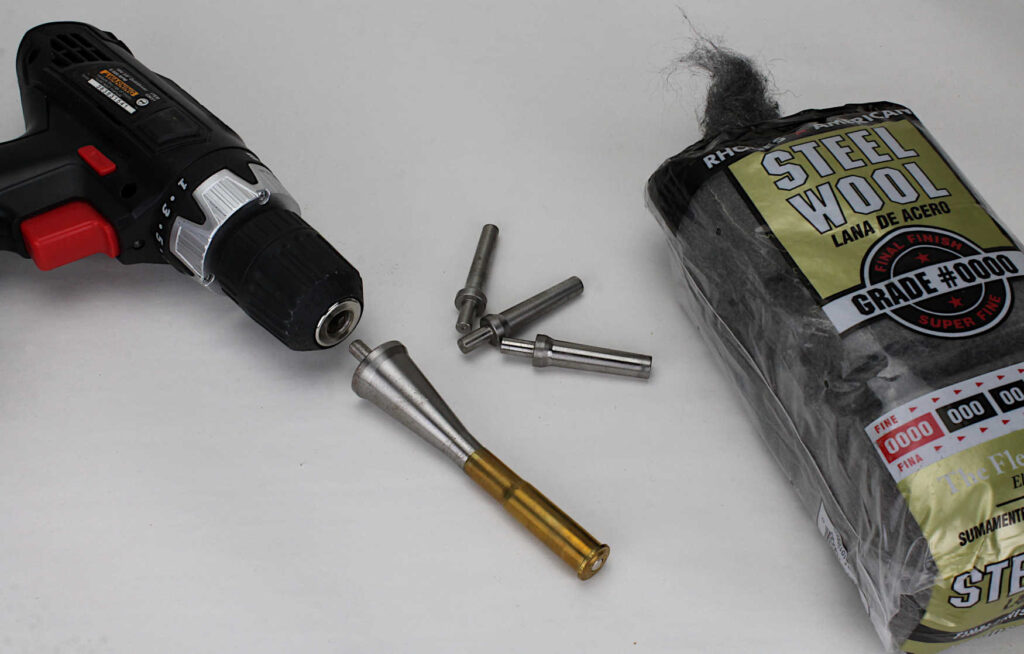
There are three basic approaches to cleaning brass cases: manual, dry and wet, and in the wet category we have two methods to consider. Sometimes we have so few cases to clean that it’s hardly worth firing up a tumbler. My black powder cartridge Model 71 Mauser in 11.15x60Rmm is an example; I’ve got 20 brass cases for it that I reload, and it’s quicker to wash them out with soap and water and touch them with 0000 steel wool on a case spinner than it is to tumble them. Case spinners are tapered steel rods that chuck in a drill; slide your case onto the rod until it stops, turn on the drill, then apply the steel wool to the brass case as it’s spinning. It shines in about the same amount of time it took to read that sentence.

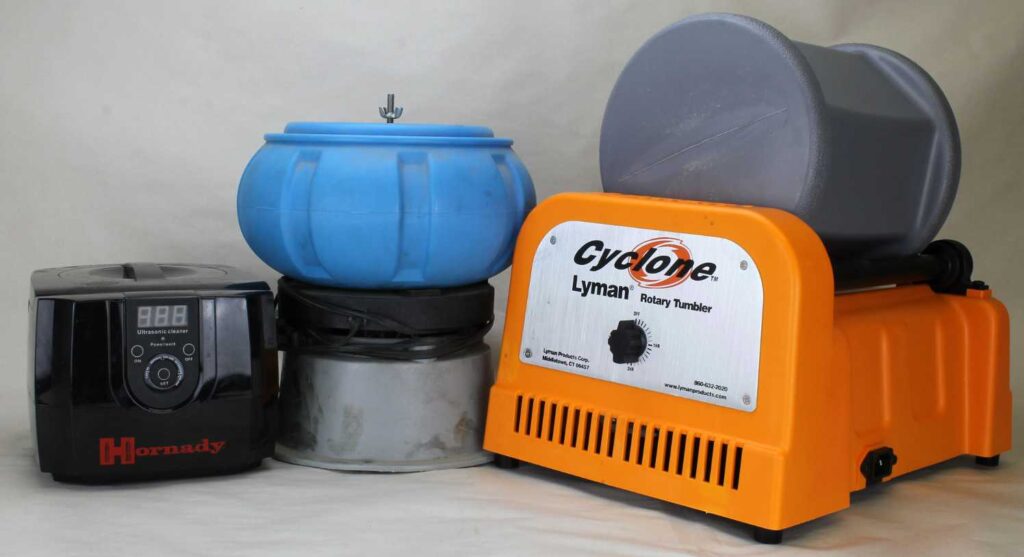
Dry tumblers appear to still be popular among handloaders. They come in different sizes for different needs but work the same way. Throw your dirty cases into the polishing media, typically walnut shell or corn cob, turn on the tumbler, then do something else while the tumbler’s vibratory action polishes your pile of empties.
Among wet cleaning methods, the ultrasonic cleaner is the fastest, with cleaning time measured in minutes rather than hours. Wet tumblers augment their tumbling action with tiny stainless steel rods and a soap and water solution to clean brass. They clean much faster than dry media tumblers but, depending on the cleaning solution, sometimes do not polish the brass. Some handloaders then toss the cleaned-but-dull cases in a dry media tumbler to get that shine, which adds more time and another step to the cleaning process. If you first punch out your spent primers with a universal decapper, the wet tumbler’s little steel rods will clean the primer pockets, too.
Pocket problems
Probably 99 percent of the time a dirty primer pocket presents no problem beyond requiring a bit more oomph to get the fresh primer to seat. Almost no one who reloads on a progressive press ever cleans primer pockets, as the progressive both punches out old primers and seats a new one with every pull of the handle, presenting no opportunity to inspect or clean primer pockets. But cleaning primer pockets can prevent a list of problems that range from “annoying” to “dangerous.”
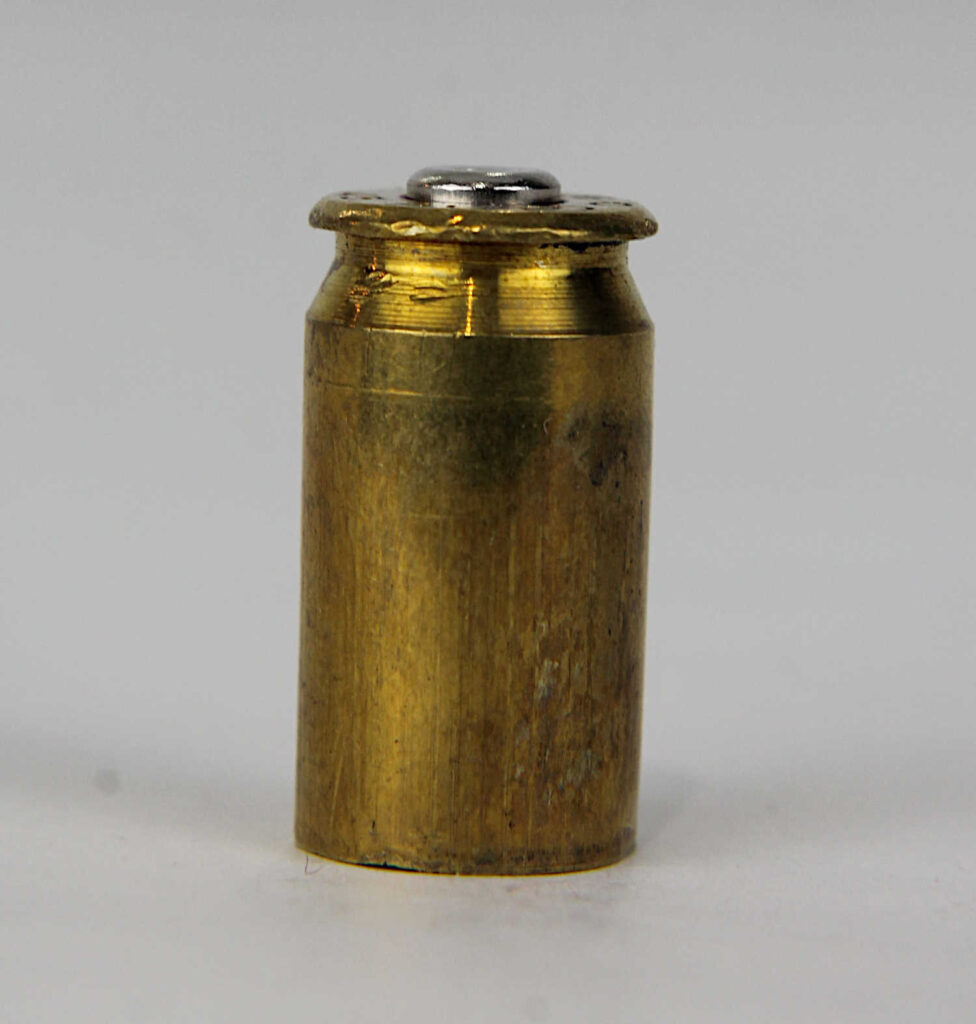
When primers detonate, they leave behind a gritty residue that clings to the brass pocket. This grit can accumulate and occasionally prevent a fresh primer from seating fully in the pocket, causing it to protrude above the level of the case head. Such protruding primers can jam a case in your shell holder, jam a progressive press, prevent a revolver cylinder from closing or turning, stop the primer from doing its job as it moves forward under the influence of hammer or firing pin, cause an alarming slam fire or dangerous out-of-battery fire in a semiautomatic firearm, or even induce a rifle’s firing pin to pierce the primer, which is never fun and a poster-child argument for always wearing safety glasses when shooting.

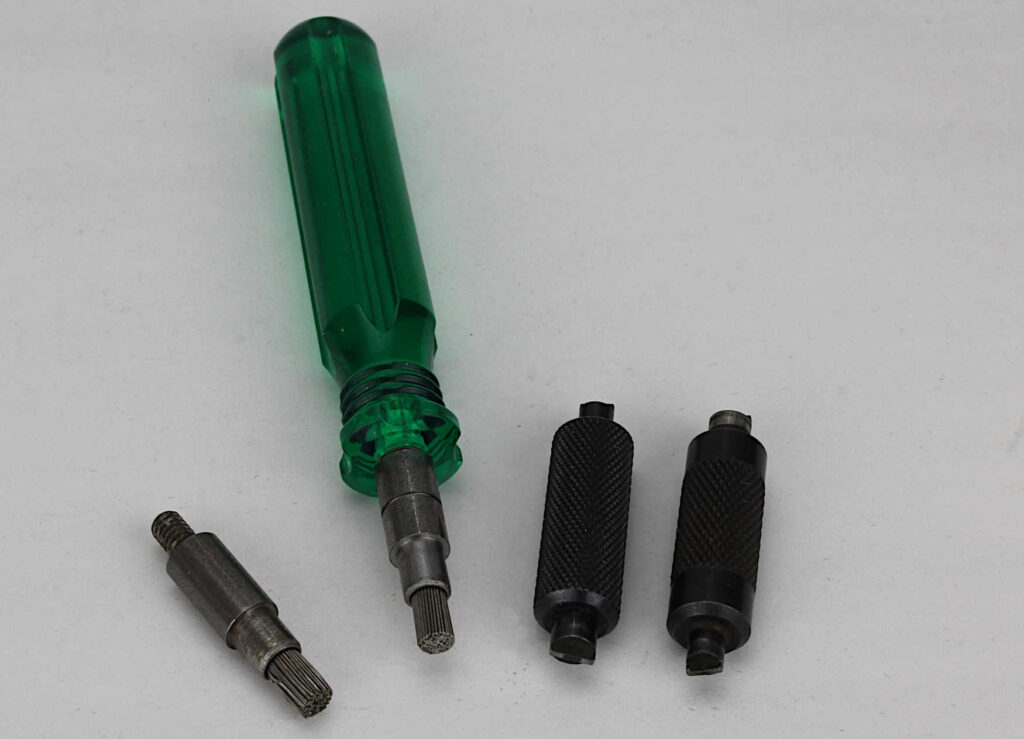
There are quite a few different tools for cleaning primer pockets. The most modern ones are electric and utilize the same steel wire brushes that the hand-powered tools have used since before Eisenhower was a corporal. Simply insert the brush in the primer pocket, twist or spin a few times and you’re done. Other tools are scrapers rather than brushes; I have an old-school primer pocket scraper that twists itself as I push it into the primer pocket, but I prefer using the wire brushes if I haven’t cleaned the pockets in the wet tumbler. All primer pocket cleaning tools are sized to fit either small or large primer pockets. Whatever you choose, the plethora of primer pocket cleaning options available would seem to indicate the importance of not skipping that step.
Cleanliness is next to godliness, someone said, and if true, I reckon cleaning brass cases may be the closest I ever get to being a real demigod, since both my parents were human. Even when we’re not loading for precision, our plinking brass still deserves some of the same lovin’ we bestow on our long range stuff.


